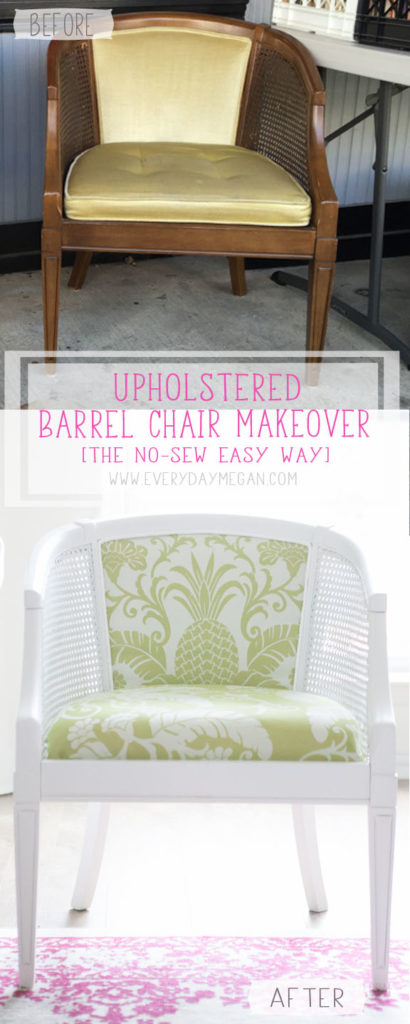
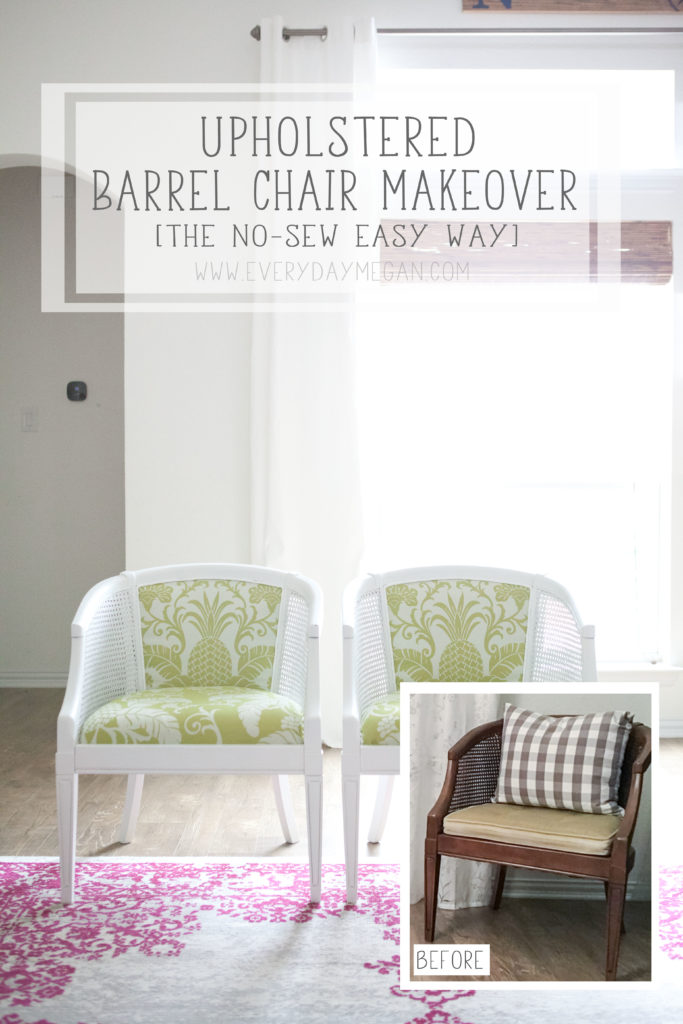
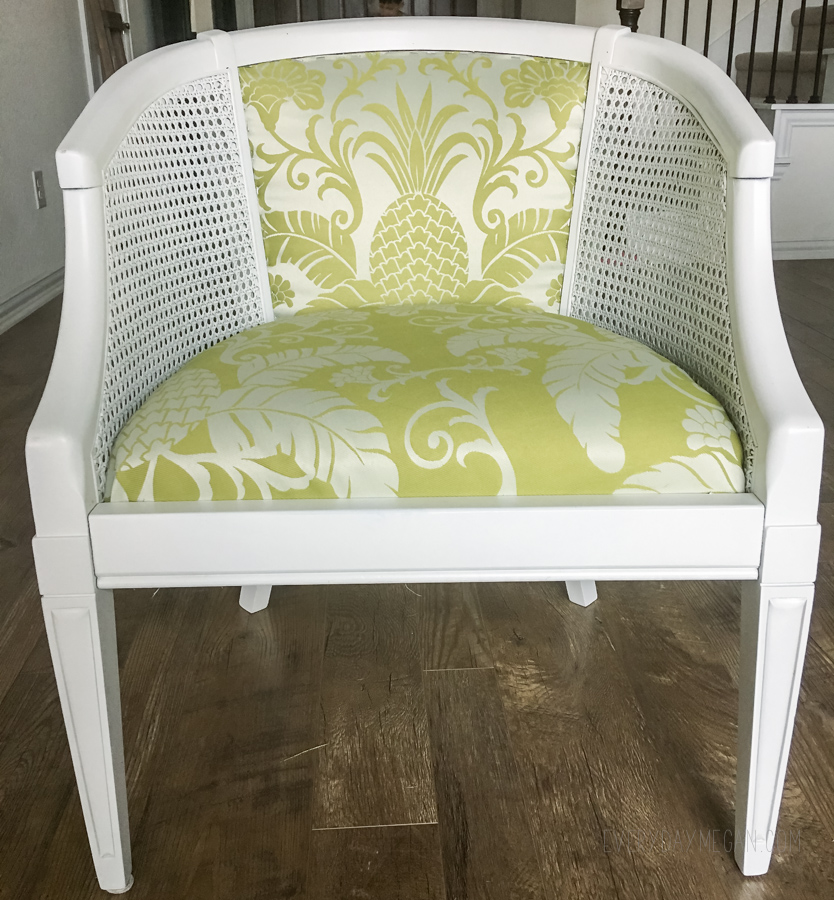
I’m so happy to say that my barrel chair makeover is done!
I’m going to show you how I went from this
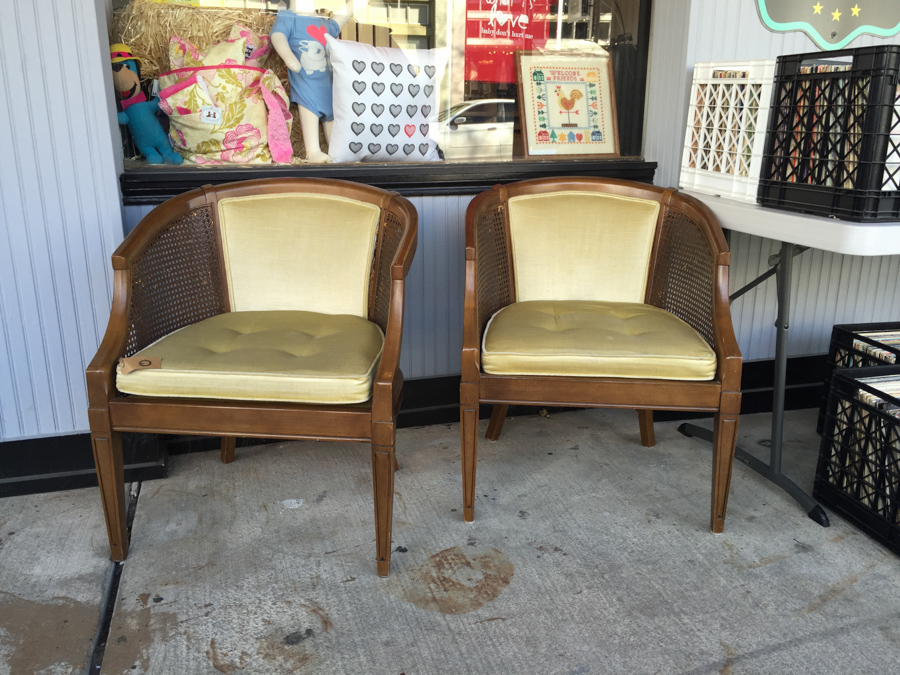
to this
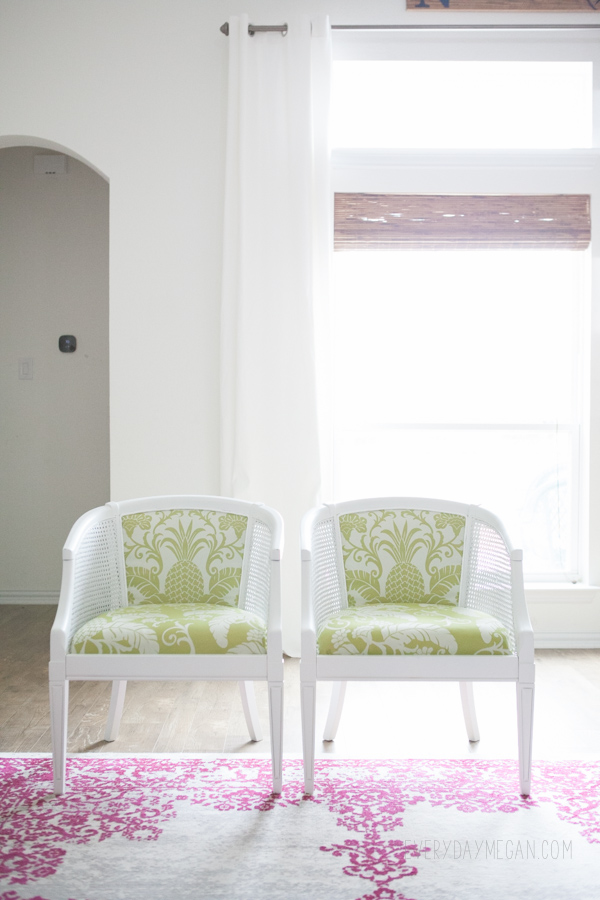
I’ve been tossing ideas around in my head for way too long. Like, 2 years too long! If you’ve seen me over on Instagram then you’ve already seen a few glimpses of these beauts. It was not a difficult task, far less daunting than what I made up in my head! The difficult part was dealing with the weather. It’s been freezing and then warm and humid and then freezing again, so everything took a little longer trying to get the garage space heated and optimal for spraying and paint drying. The beauty of this re-upholestry job is that it didn’t require any sewing!
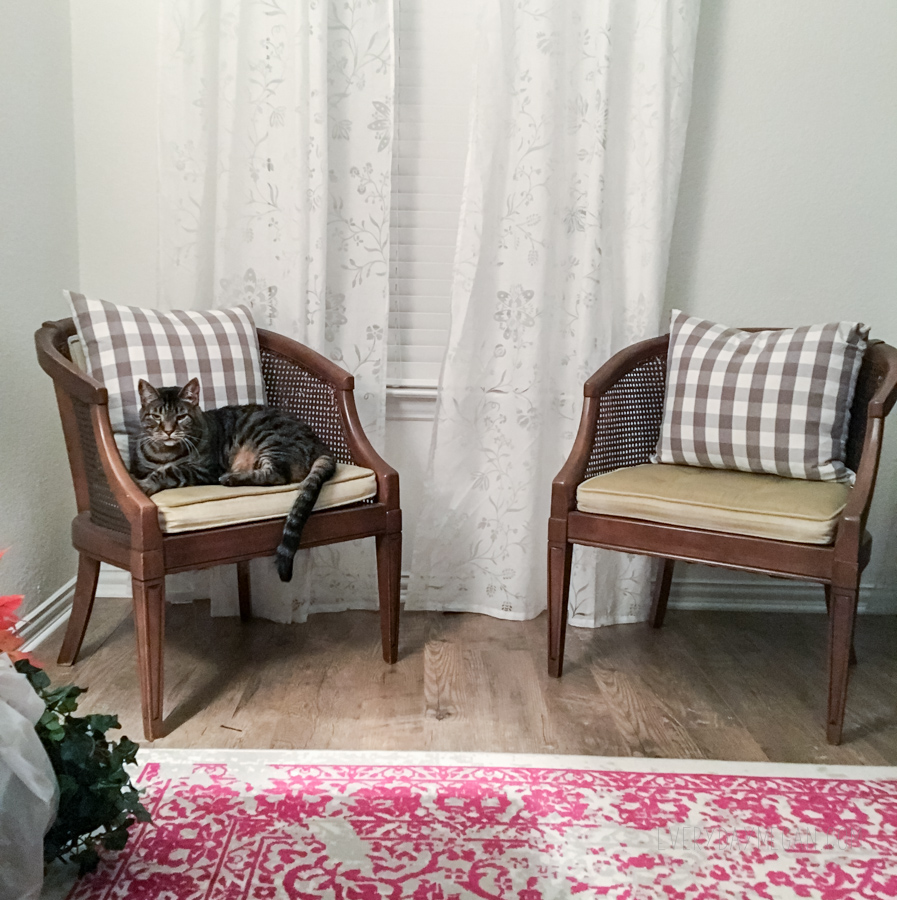
Here’s a before picture of the chairs. Pretty ugly, but I thought I’d dress them up with some un-matching pillows (HA!) 🙂 I had been on the hunt for some accent chairs to put in my living room and when I saw these, I knew they could be perfect with a little extra love and when I brought them home, my Tiger kitty totally approved! The frames were in good condition but the fabric was dirty, the wood was worn (particularly the cane part) and they just needed an overall pick me up.
I’ve repurposed and painted many chairs in my days, a few of my faves are these and then there was my massive table and chairs makeover I did a while back and I’ve seen the difference a little paint and new fabric can do so I’ve been dying to dig in and get this done! I’d been on the hunt for fabric for a really long time and hadn’t found anything that really stood up and shouted my name and then couple of weeks back I was walking through the fabric clearance isle of Joann and I heard it. This fabric was yelling my name. 😉 It was a little funky and just a teensy bit outside of my comfort box. I’m so glad I took the risk and got it. It’s perfect. Plus it was clearance and 60% off at Joann! 🙂
Now here’s my disclaimer: I do not claim to be a professional re-upholsterer. But I am a pro figure-it-out-DIYer 🙂 and the following is how I did it.
**This post contains a few affiliate links for your convenience, to learn more about my disclosure policy click here. If you purchase a product via these links, it doesn’t cost you more but I get a small percentage of the sale.
Supplies I used:
- Pineapple fabric (doesn’t look like this fabric is available anymore)
- trim
- upholstery padding – like this
- stapler and staples – like this and 3/8″ staples to go with it
- hot glue gun
- drill or screwdriver (to remove screws)
- tool to remove staples (I used a flat head screw driver, hammer and needle nose pliers to pull out the really tough ones)
- TSP + a bucket + rubber gloves + a rag (for cleaning the chair prior to painting)
- spray primer
- paint (I like to use Behr Matte Paint in the pro series, it’s very inexpensive but you have to buy it by the gallon)
- polycrylic top coat – this is the one I use most in satin finish
- paint sprayer – I really like this one and it’s easy to use
Disassemble
First I had to disassemble the chair. The panels were trimmed in double welt cord that was hot glued over the stapled edges. I flipped the chair over and removed screws so that I could take the bottom seat out.
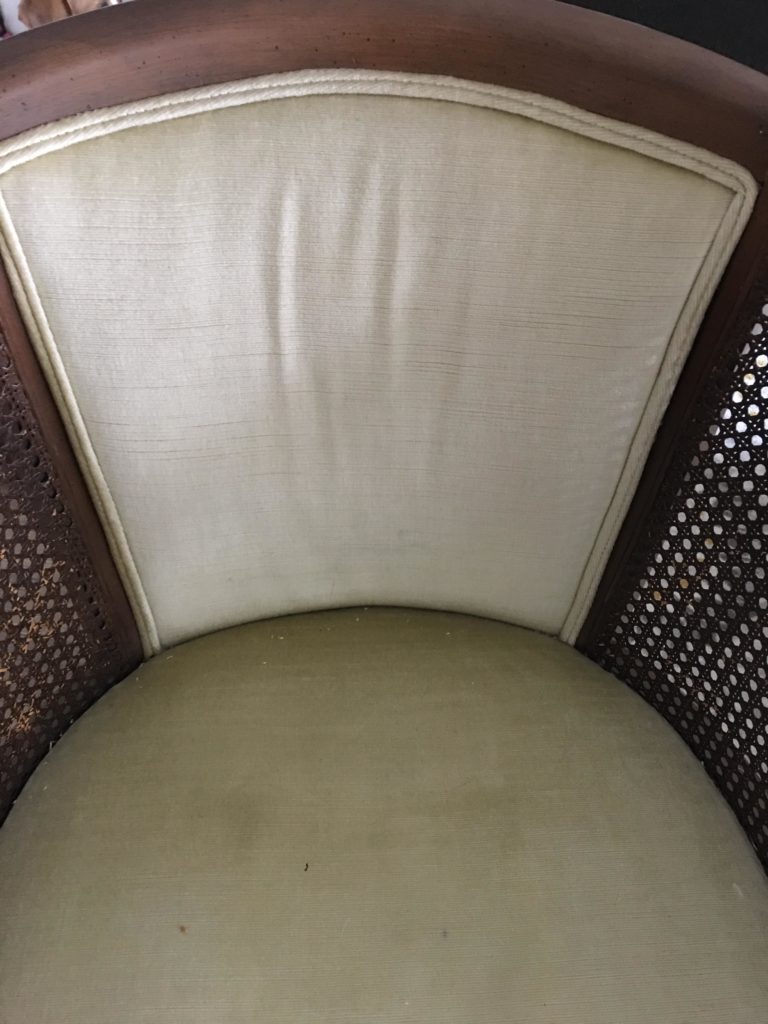
Then, I ripped up the cord and there were a million staples to remove. I used a flat head screw driver and a hammer to pry the staples up and then needle nose pliers to pull them out if needed. I was really careful to not rip the panel fabric because I knew I wanted to use it as my pattern for cutting new fabric.
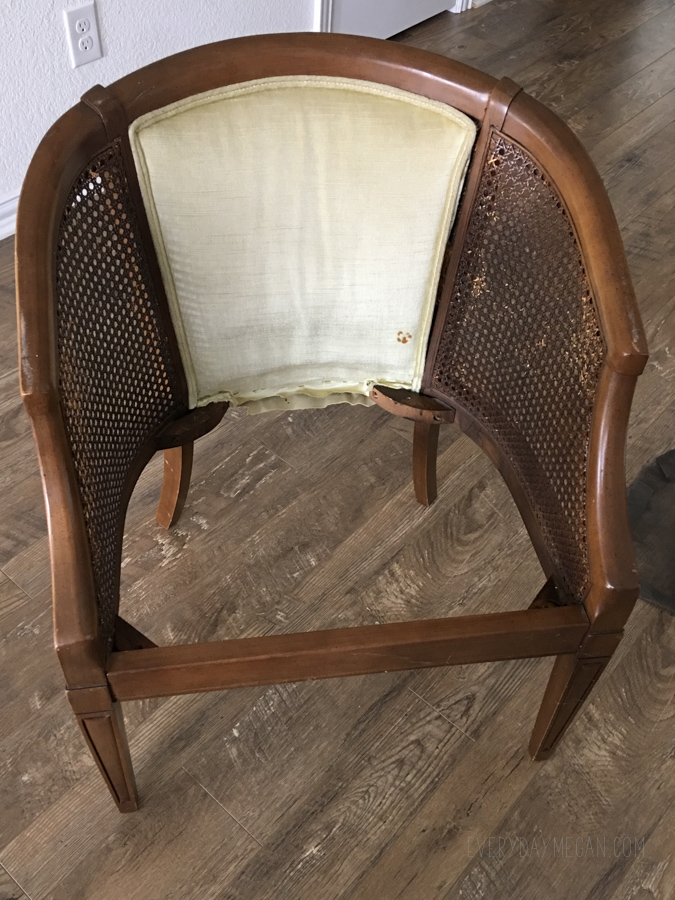
There are several different styles of barrel chairs out there some have fabric on the back and some don’t. Mine did, so it was the same process for the back. Ripping off the double welt cord, removing staples and there was some stuffing underneath (Must have forgotten that photo….oops, sorry)
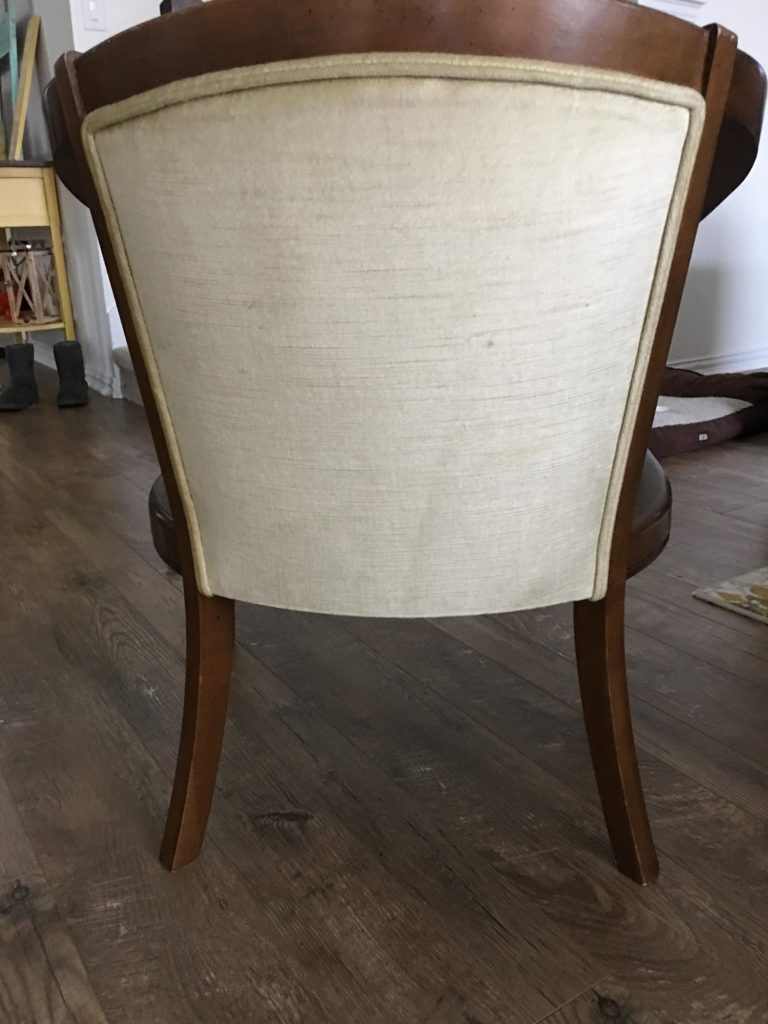
The Torturous Part aka The Prep Work
Once they were dissected, I had to clean them up. This is the crappiest part and the most important part of painting furniture! The frames were in overall good condition – no missing pieces or big dings – so all I had to do was clean them really well with some TSP mixed in hot, hot water. The thing about old chairs is that they usually have years and years of dirt and oils layered on. Sometimes you can see it and sometimes you can’t but I guarantee the oils are there and will interfere with optimal paint adhesion! To achieve the best results with painting, it is a must to get the surface stripped of the oils and treatments it’s received throughout it’s existence (hello pledge, I’m talking about you). I’m always amazed, and disgusted, at how dirty the water is after I clean a project for painting. I’ve tried using other cleaners but I always come back to TSP.
A few words on priming
Next, I spray primed the frames with my favorite spray primer.
Why did I prime, you ask?
Here’s the deal, I am a fan of chalk paint and I primarily use some version of it (wether it’s a powder, paint or DIY version of it) but the theory of never needing to “prep” is somewhat deceiving because A) you always have to clean a piece no matter what and B) there is always a chance (meaning you never know when it’s going to happen) that the wood tannins are going to seep through after you paint over an older piece of stained wood especially if you are trying to paint it a light color (like white-ish). So – with that being said – when it comes to painting older pieces of furniture I have found that I have better success if I – just accept the fact that I have to prime – and suck it up and take the time to do it in the beginning.
Nothing is more frustrating than spending the hours to prep a piece and paint it only to have wood tannins in the form of yellow-y brown or pink streaks seeping through my pretty new paint! It’s so much easier to just buy the primer (in the spray can, especially on a smaller project like chairs) put a mask on and paint a first layer of primer.
So now that I got that off my chest…here’s a little tip.
I always start spraying a furniture project upside down. It makes the process so much easier to get all the angles and undersides. And then you are not flipping it over on the newly painted top surface. (like if you were to spray from the topside first and then flip it over you could ruin your piece before you are done – no bueno)
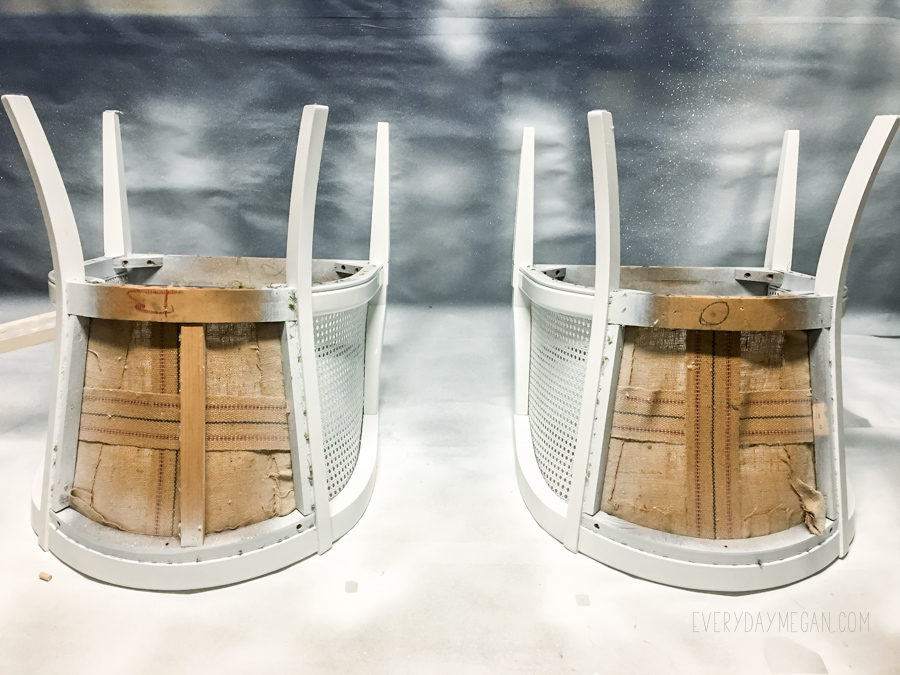
Painting
I will save the in depth tutorial with the details of the nitty gritty on refinishing a piece for another time.
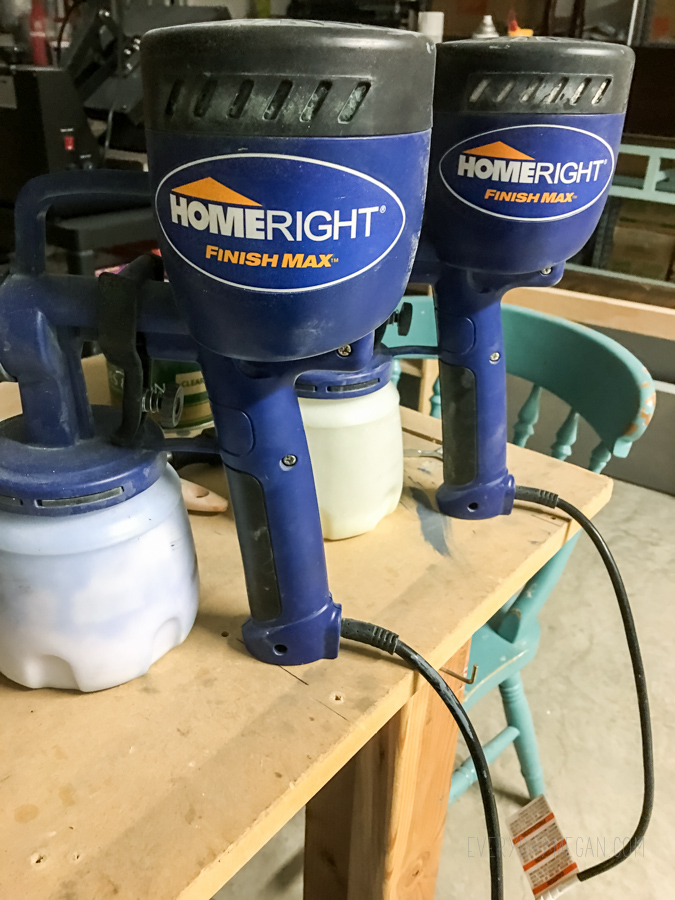
So the easy version is, with these two chairs, I spray painted 2 coats of white paint with my homeright sprayer and then I sprayed a couple of top coats of polycrylic to seal the paint, also with a sprayer. {This post is not sponsored but I do really like these sprayers and use them quite often! And for the price…that is why I have 2 of them. ;)} When I’m working on a paint job, I always have one ready with the paint and one with polyacrylic….because I’m usually impatient and lazy and don’t want to repeatedly be cleaning it out. Plus, I like to assembly line my painting jobs by color and so sometimes I’m juggling colors in paint sprayers.
Re-upholstering – Seat Cushion
In between spraying coats of paint on the chairs in the garage, I worked inside on the seat cushions. Originally the chairs had a removable cushion (see photo up above). I don’t like any sort of cushion that is removable because my children like to rip any sort of pillow or cushion off of furniture and beat each other (and my house) with them and then throw them across the room on the floor. So, I have pledged to myself and my sanity to make any cushion I can, as permanent as possible. To do that, I took the old removable seat cushion, took the cover off (it was a zipper cover) and took the foam cushion + the bottom piece of wood and wrapped them together to make ONE attached cushion.
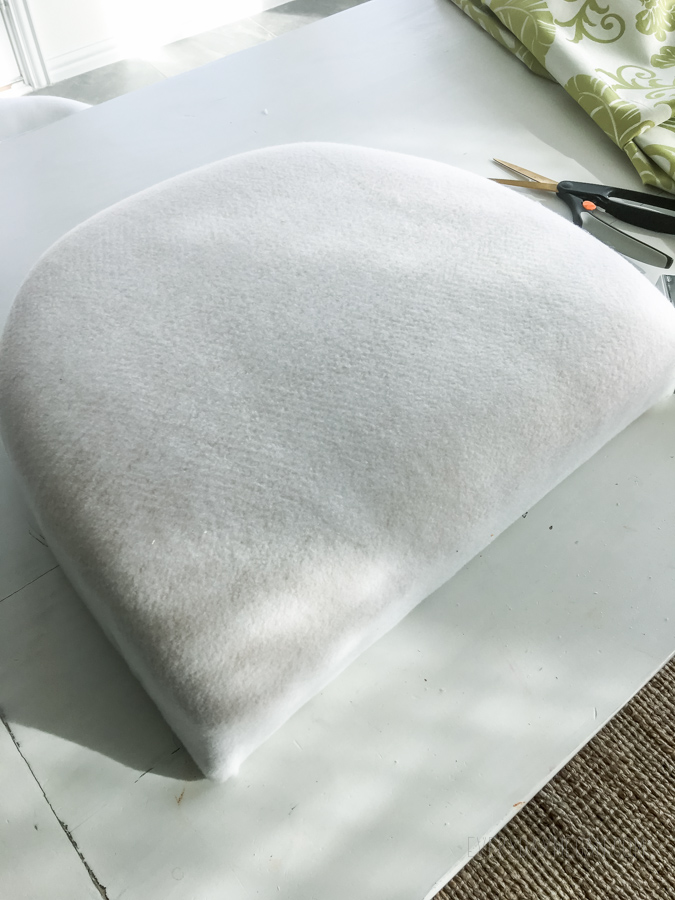
Once I had the seat covered in the padding. I moved onto cutting the fabric. (When I removed the pieces off of the chair I sharpied what part of the chair it came from)
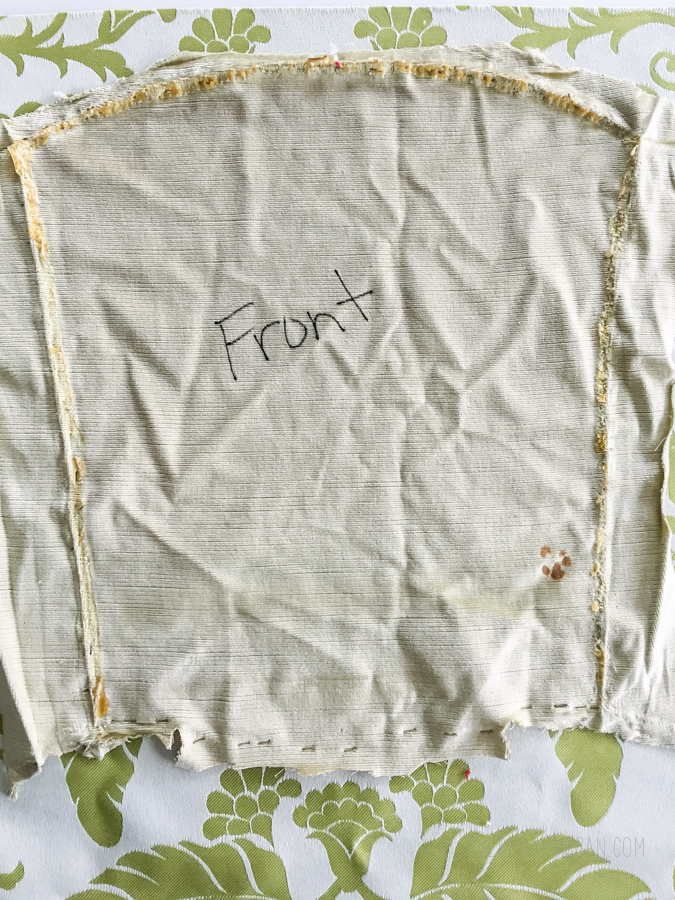
Then it was a matter of placement. I wanted the pineapples to be centered in the front and back panels but not on the cushion. So I guesstimated the best that I could and cut accordingly.
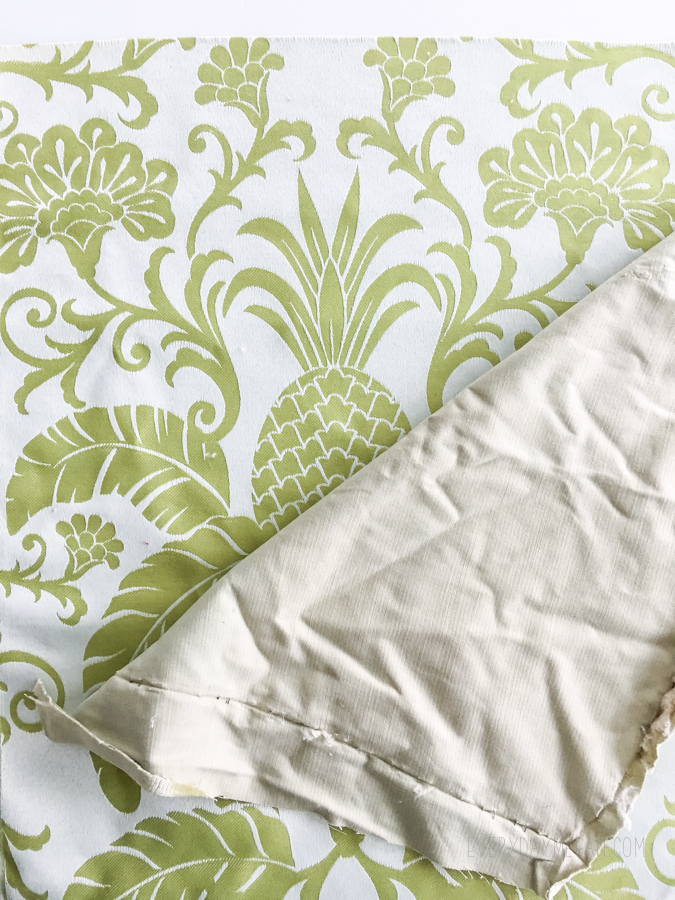
I tried to avoid having a pineapple centered on the cushion. I also inverted the fabric and cut from the green side rather than the white side.
(PS. I do not recommend the stapler pictured below for use with reupholstering fabric. This was the first chair bottom I did and it was not very friendly to use. I ended up buying one like previously referenced above)
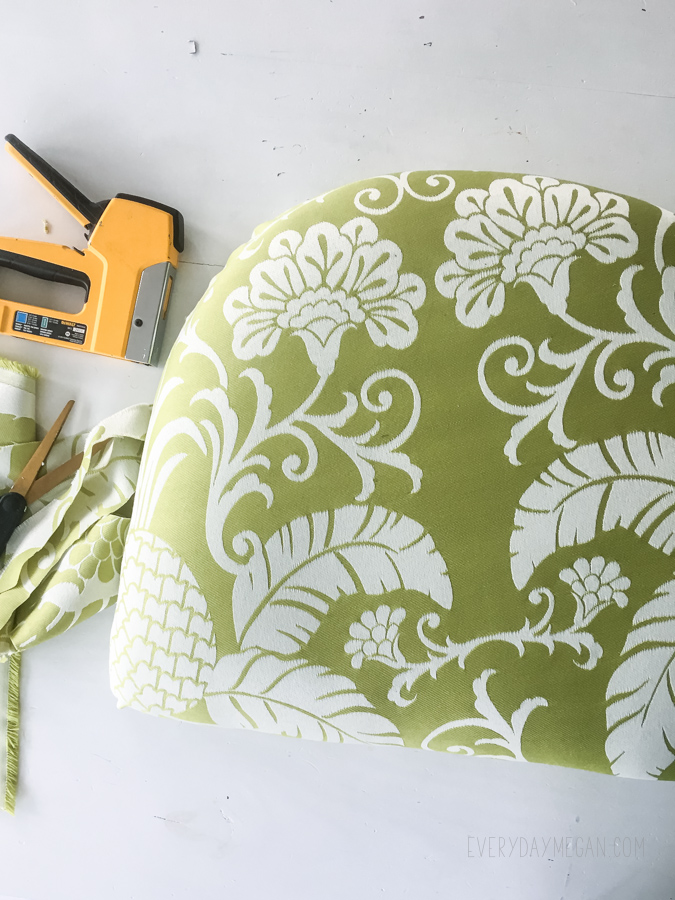
After the fabric was cut, I placed the cushion and started from one side and stapled a few and then went to the opposite side pulling the fabric taut. Very important to pull the fabric taut and evenly so you get a nice smooth appearance. If you pull unevenly, you will see little ripples where sections are pulled tighter than others.
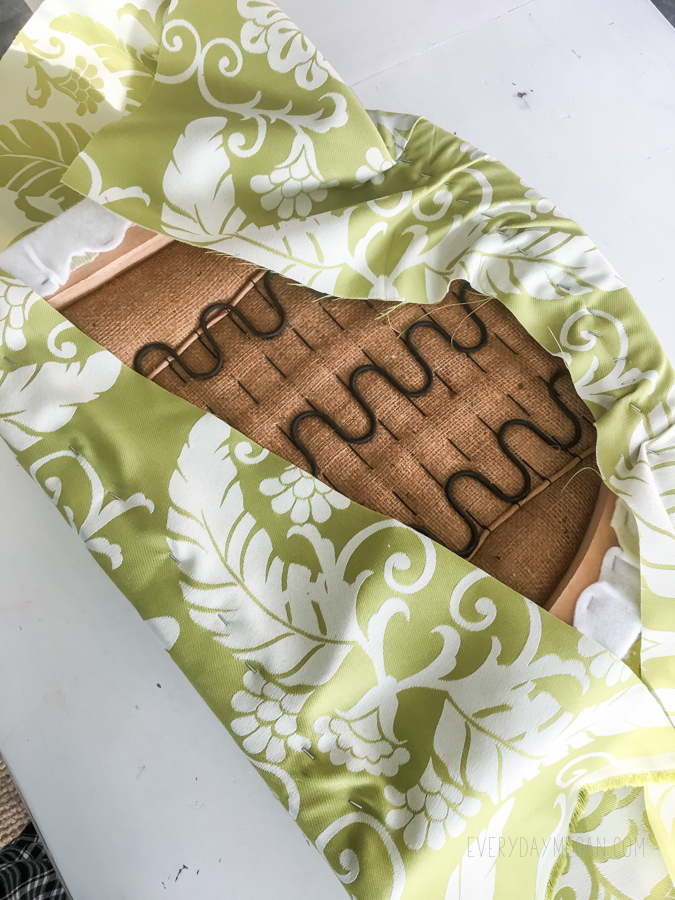
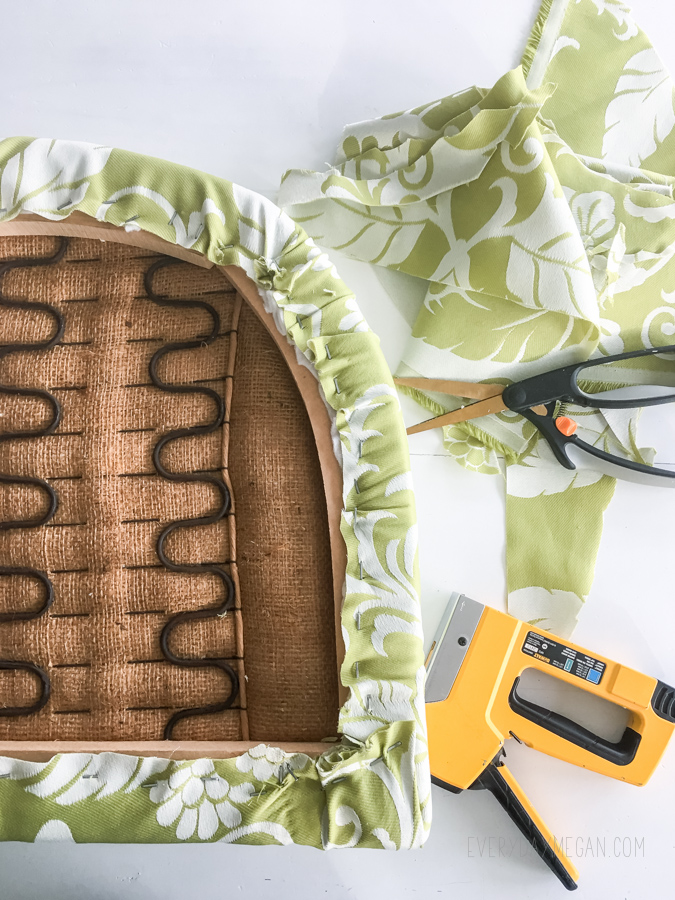
Curved surfaces and corners are always a little tricky. The best advice I can give is work in small sections and play around with pulling different directions to achieve a smooth appearance around the sides and top before committing to the staple. The bottom will always look like a hot mess. When you have the fabric secure, trim all the excess off.
Re-upholstering – Front and Back Panels
So here’s a photo of the padding that was in-between the fabric panels. There was some on the front and the back. I stuffed it all back in and started stapling the fabric along the bottom of the chair. (the padding is not attached, just stuffed in)
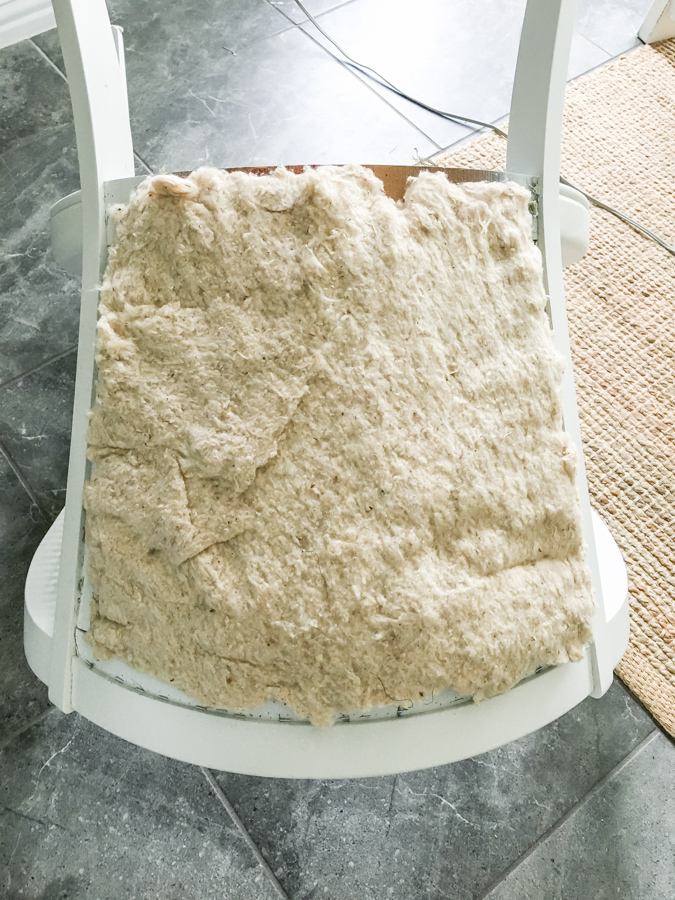
Once the bottom was stapled I could pull the fabric up and staple the top. Once again, work in opposite sections. (top-bottom) (side-side) On the back panel I pulled it pretty tight and folded under the unfinished edge.
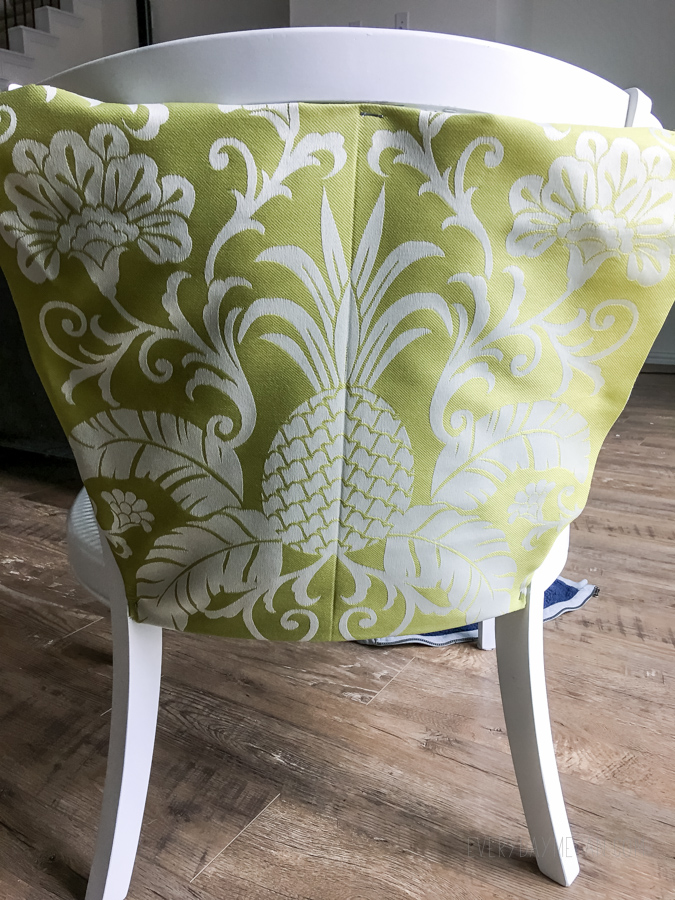
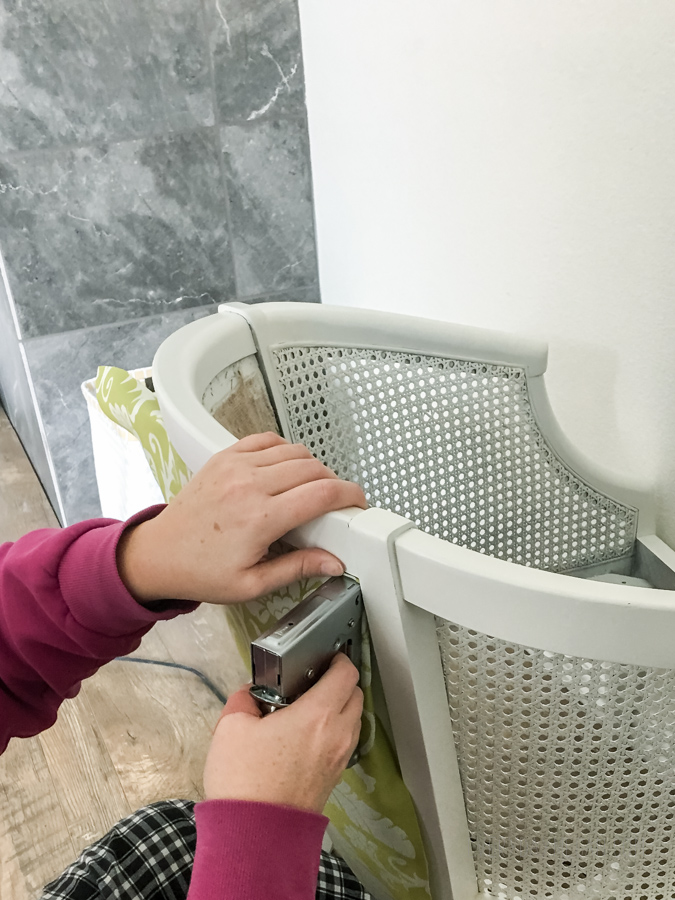
I experienced a little bit of difficulty doing this part by myself, so I had to get some help from a wall to finish it.
The front panel was basically done the same way. I laid out the fabric and got the pineapple situated and stapled starting at the bottom, then top and side to side tucking the fabric under.
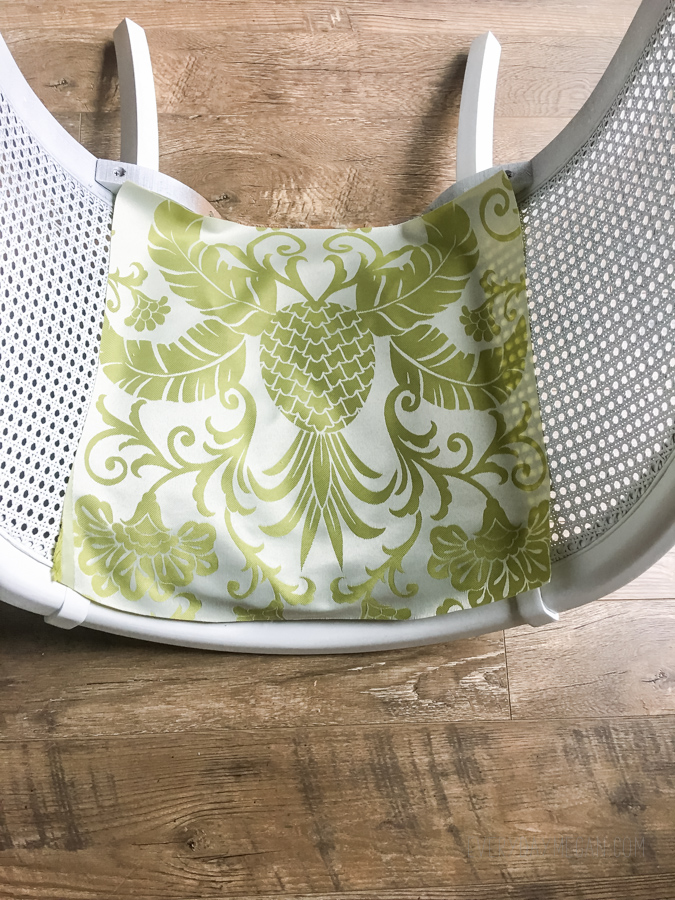
And then it looked like this!
I needed to cover the staples. The professional way would have been to make some double welt cord and finish it off the way it was before. But guess what, I didn’t want to do that, it seems like a pain in the drain. And in all actuality, deep down inside….I know I will probably change these chairs again in a couple of years anyway. So I found an alternative. I went up to Hobby Lobby and bought some trim that was wide enough to cover the staples.
I ended up using 3 spools. The most important thing was to have a continuous piece for each section.
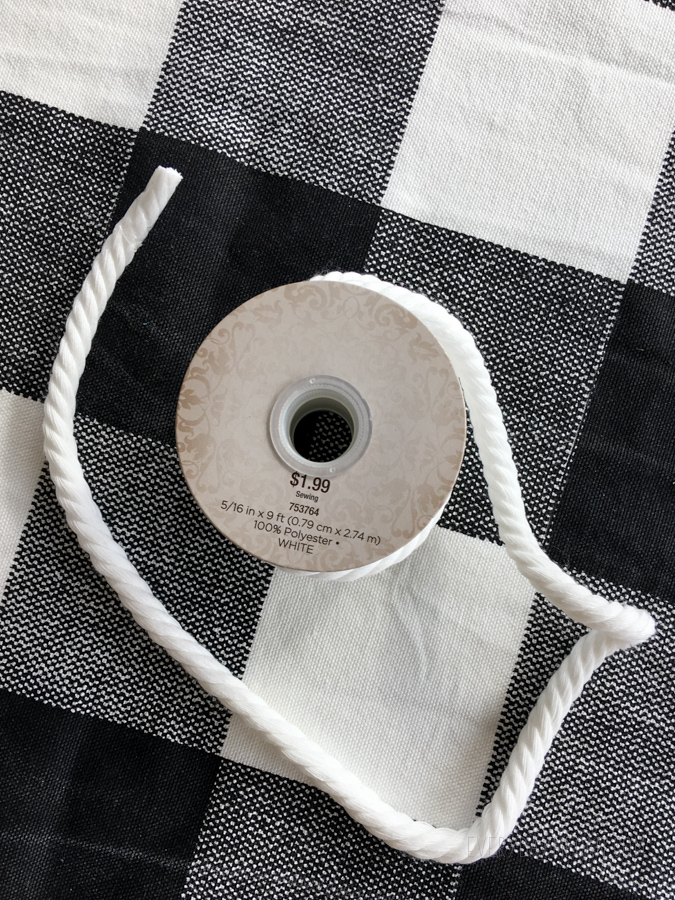
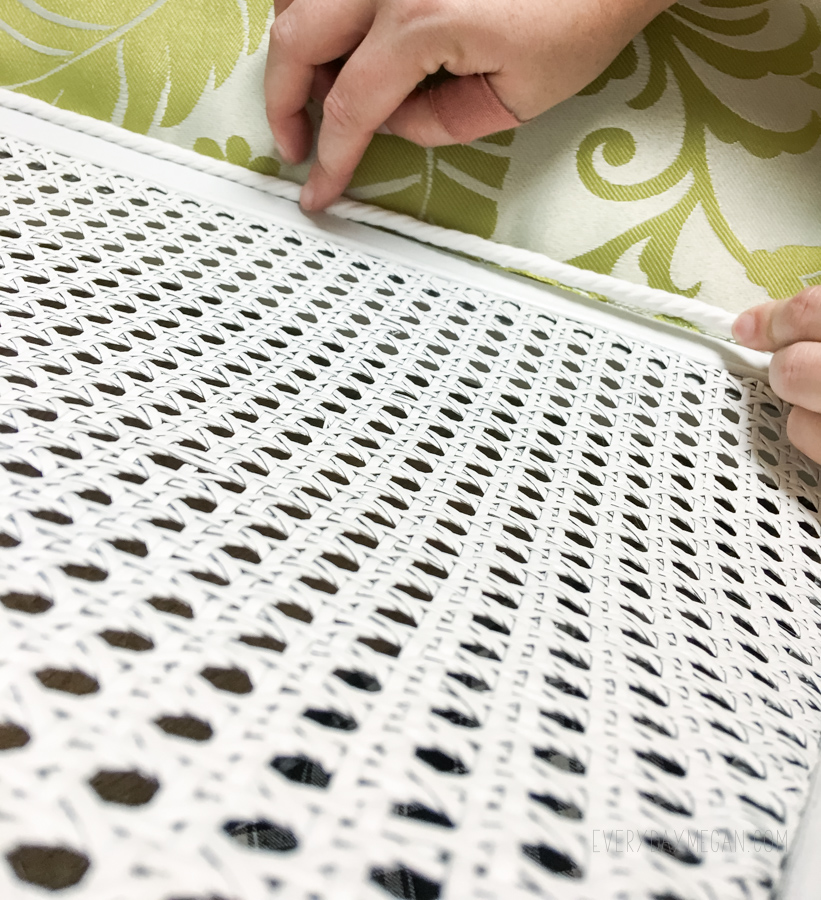
And then I just started hot glueing it down starting at the bottom, in one continuous piece, all the way around to the other side.
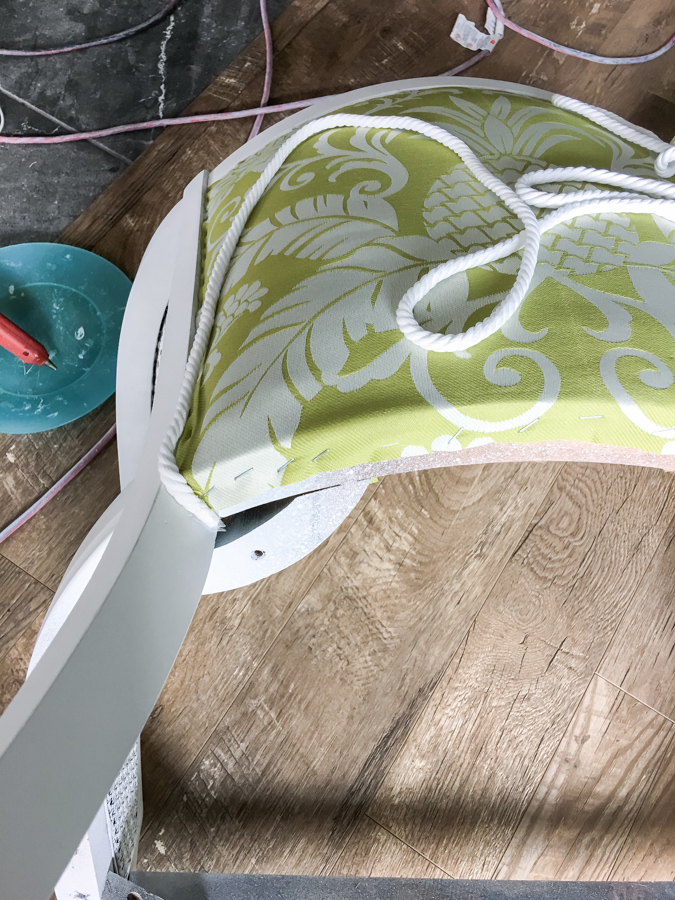
Easy does it with the hot glue!
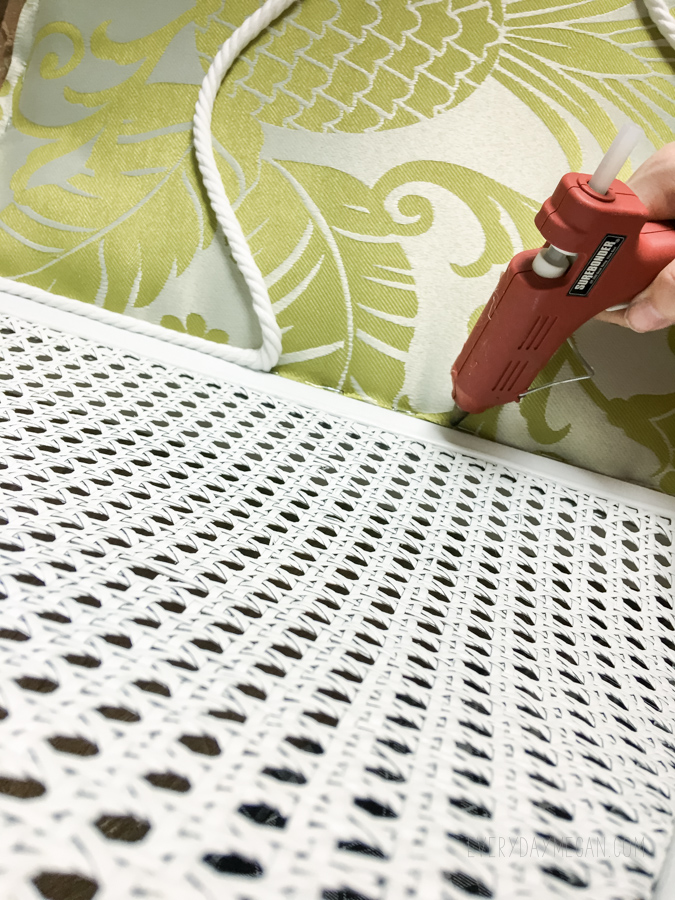
And I stretched the cord a little as I was laying it down.
Then I attached the bottom and Ta-Da!
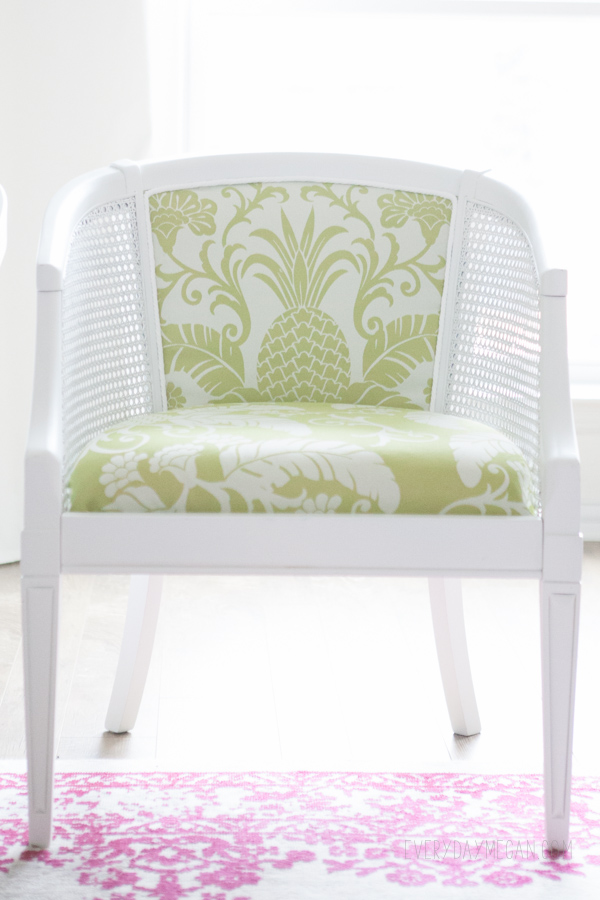
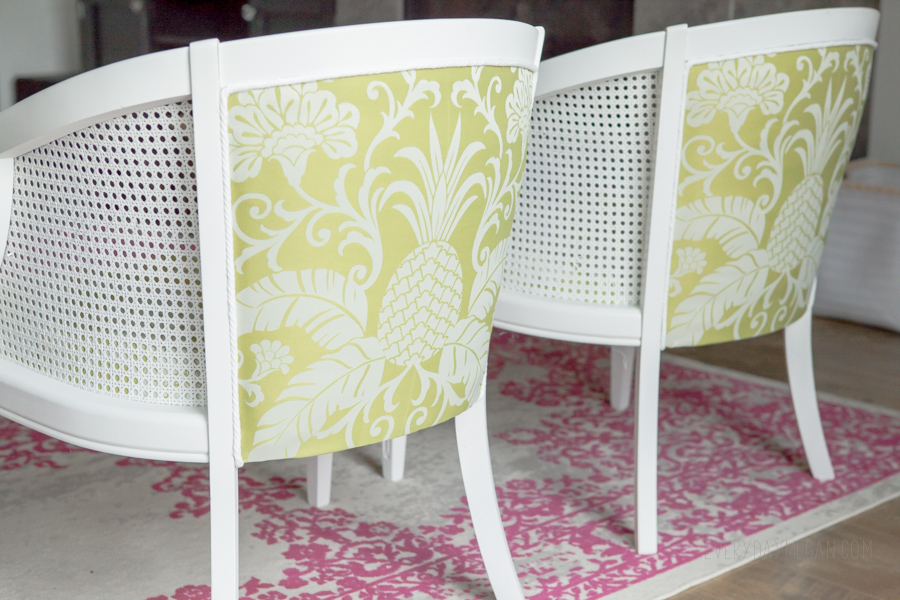
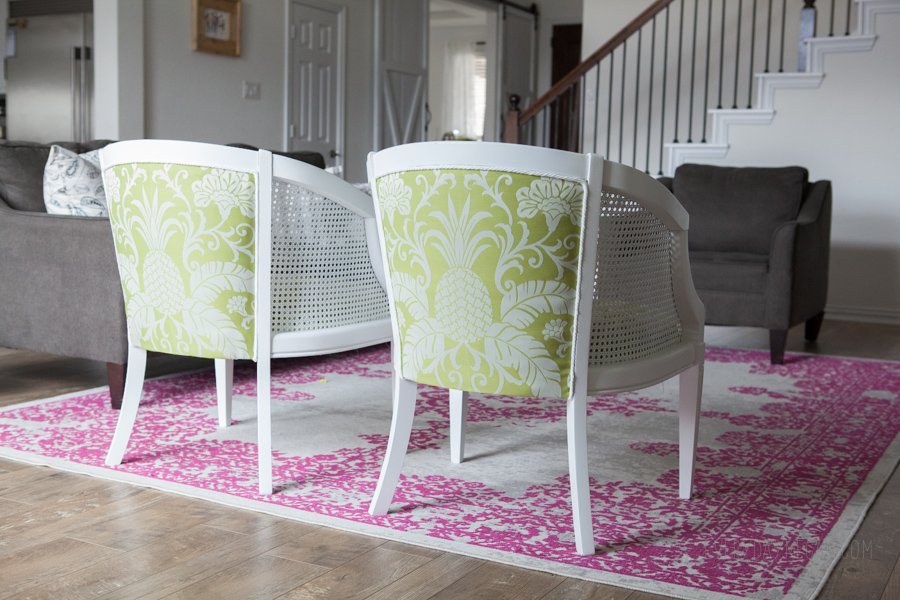
I love them! They opened the door to color in my living room! I’ve always wanted to add a little bit of pink and now I did! I moved the rug from my office to add that punch of pink to my living room and it goes so well with these newly refreshed chairs!
Love this project? Pin it so you don’t forget it!
