Hey everyone! Do you want to know what the easiest DIY party decor on the planet is?
Paper Garland.
Have you made it before?
It’s such a fun simple project, that I thought I’d post a quick tutorial on how to make them!
It is seriously the easiest thing I have made in my life and if you happen to have the supplies on hand (like I did) then it is a very last-minute thing that you can throw together to add a little punch to your party or holiday decor. I made some for a party a few weeks ago.
Here is how I put them together.
Supplies:
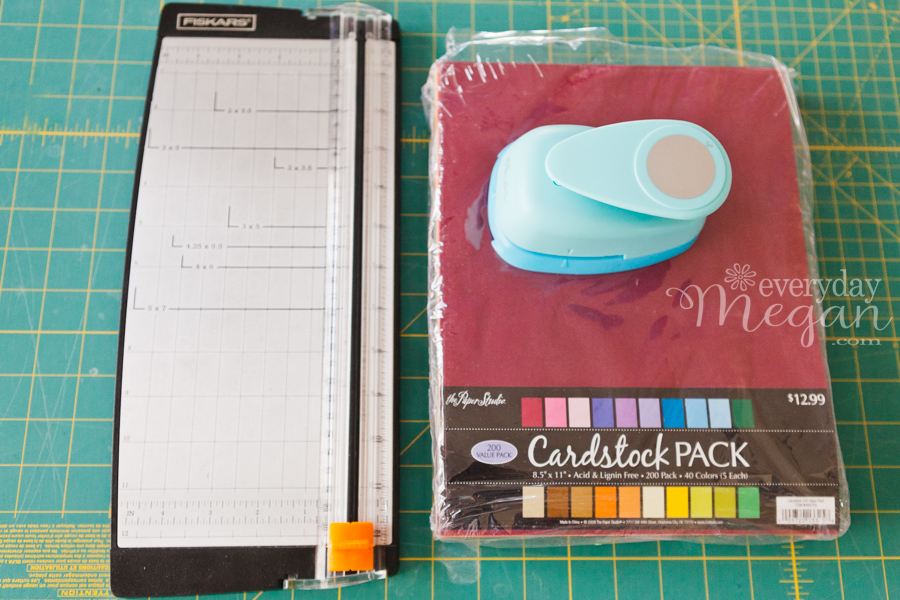
-Sewing machine
-Thread
-Circle Paper Punch (I used a 2″ punch, but you can use any shape or size)
-Card Stock
-Paper Cutter
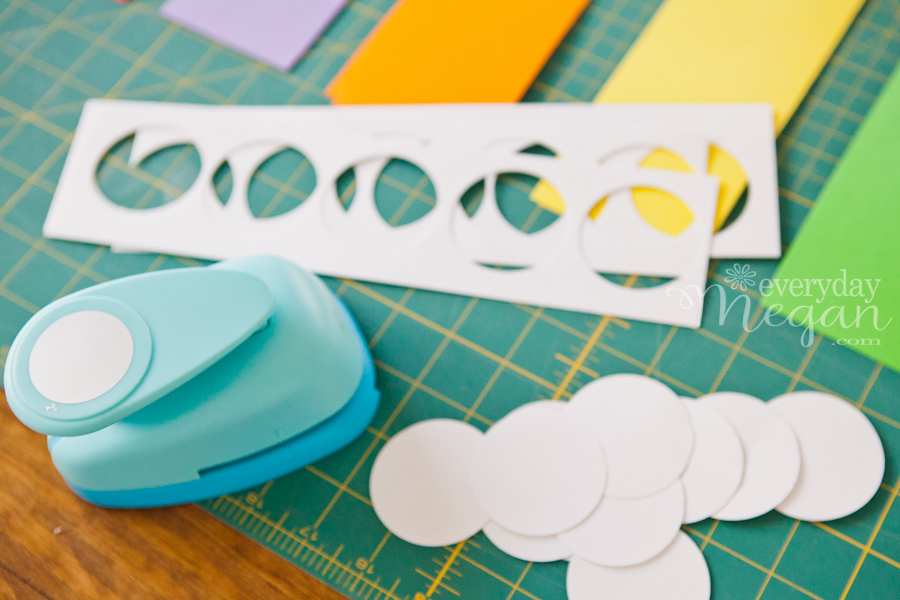
First I cut the card stock into strips. I did this because I found it allowed for less paper waste. I had a 2″ circle punch, so I cut the paper in 2.5″ to 2.75″ inch strips lengthwise.
Then I punched my circles. I was able to get five 2″ circles out of each strip.
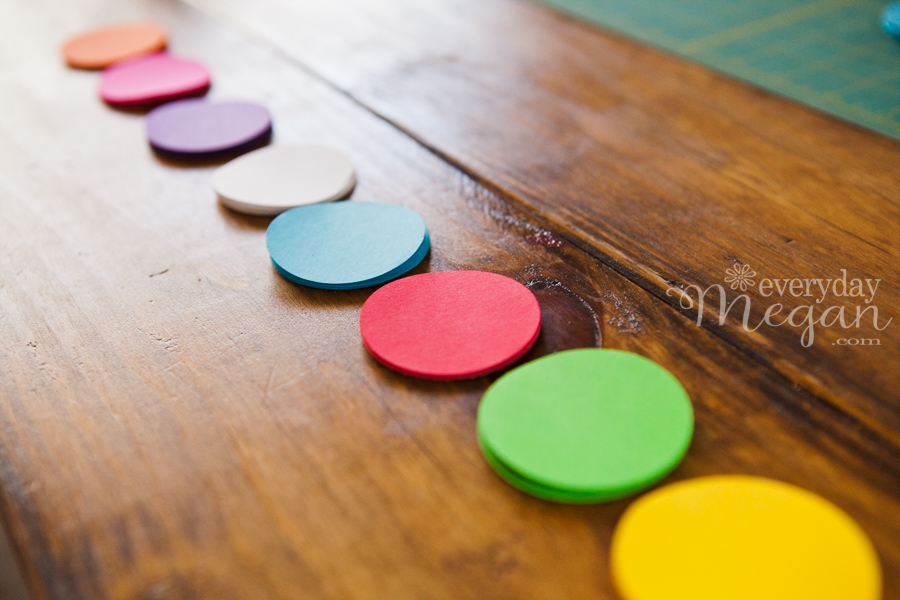
Once I had the circles cut, I lined them up in the order I was going to sew them together in. I also made sure to have the same amount of circles in each pile to keep my pattern the same.
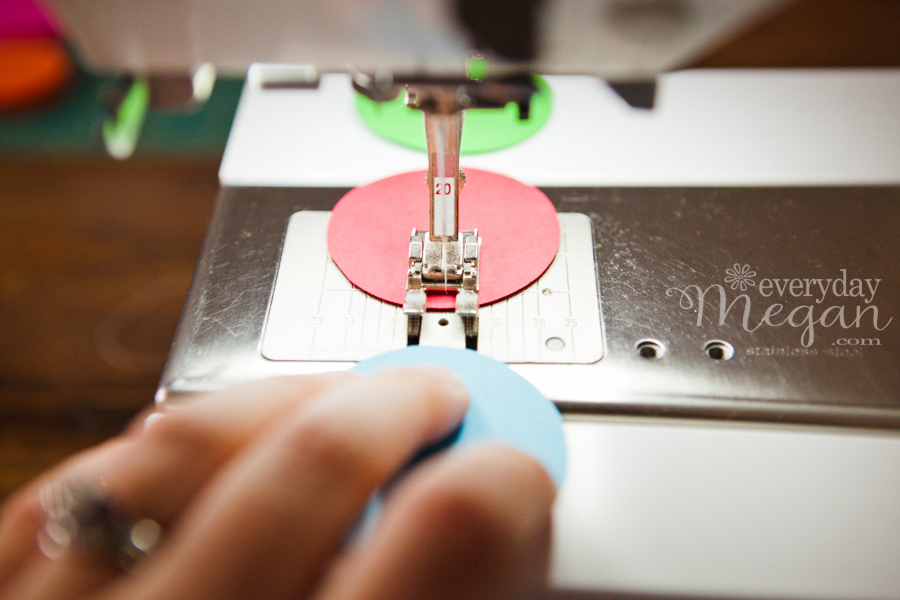
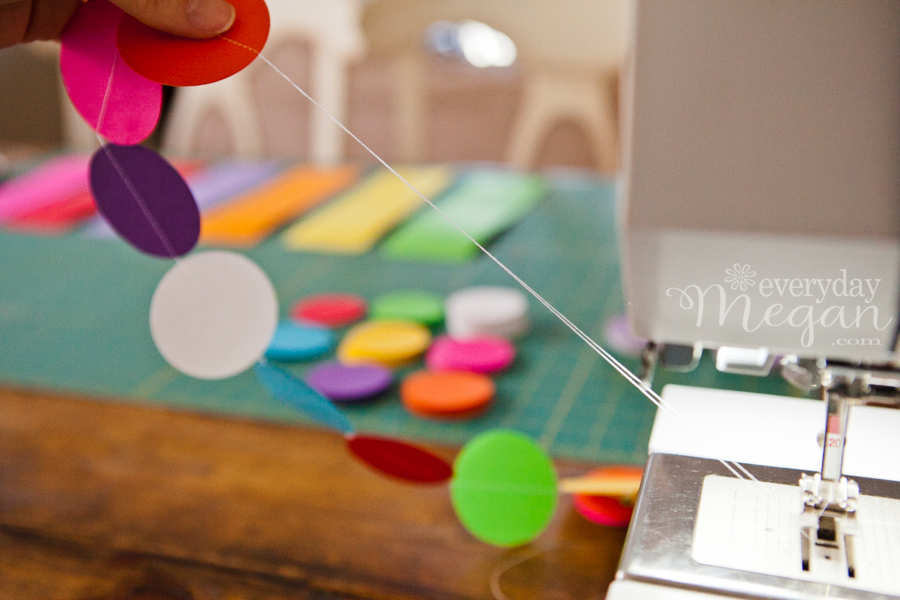
Next, I sewed them together. I pulled about 10″ of extra thread first so I could hang them (you can always cut it shorter if it’s too long).
Then I started sewing! I just eyed where the center was and spaced them about 1/4 – 1/2 inches apart.
When I got to the end, I pulled another 10″ or so of thread before cutting it.
The one thing I will warn you about if you make these. They tangle very easily.
So when I was done, I gently grabbed the pile that formed behind the sewing machine (it will be somewhat in an accordion) and let it drop and spread it out into a line on the floor.
Then I folded it neatly into an accordion and put them in a plastic baggie until I needed to hang them.
That’s it! Done. “Sew” simple, right?
I love how they turned out!
And you can’t beat that this was a completely FREE decoration because I already had supplies on hand.
