Are you looking for and easy no sew, no fuss way to hem a graduation gown?
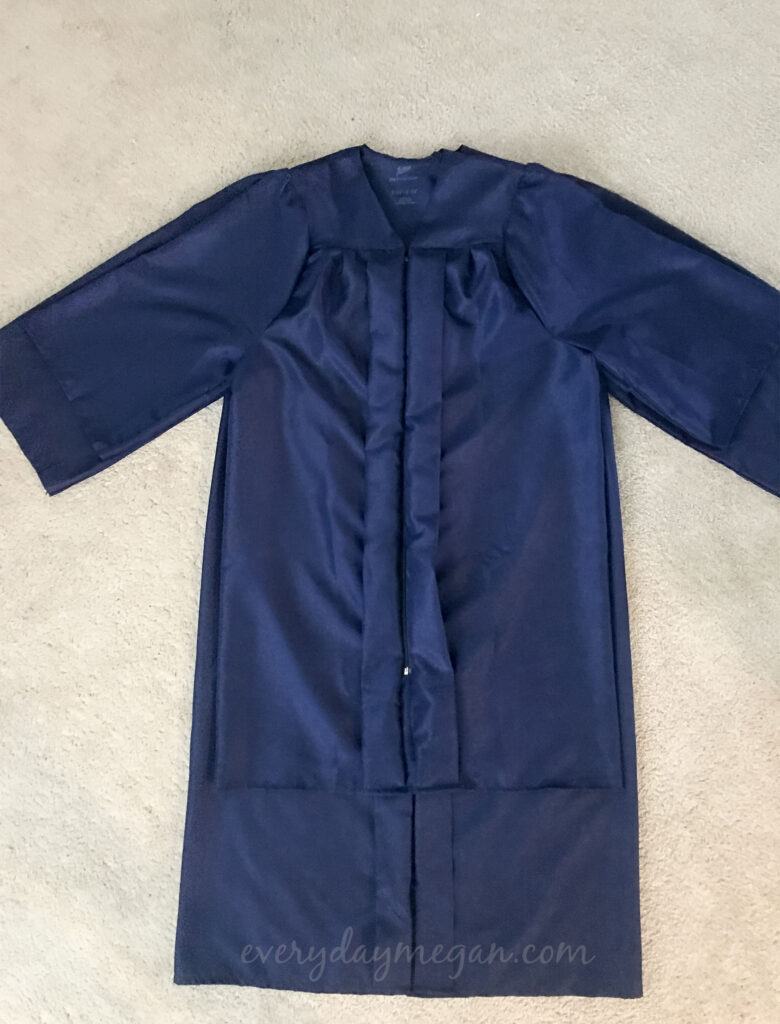
I recently altered a graduation gown for my daughter’s friend and I want to show you how simple it really is to hem a graduation gown without a sewing machine! Nobody will be able to tell and it’s so easy anybody can do it, I promise.

Whether it is to re-use a past graduation gown (which was the case for the gown I was shortening) or altering an incorrectly ordered gown, this method will work to shorten the bottom and sleeves. The beauty of a graduation gown is that they are made to fit loosely. There is not an exact measurement for how they need to fit, so you have some wiggle room!
This gown needed to be shortened quite a bit, about 10 inches shorter.
This post contains affiliate links for your convenience. If you purchase a product via these links, it doesn’t cost you more but I get a small percentage of the sale, to learn more about my disclosure policy click here.
HOW TO HEM A GRADUATION GOWN WITHOUT A SEWING MACHINE
Supplies needed:
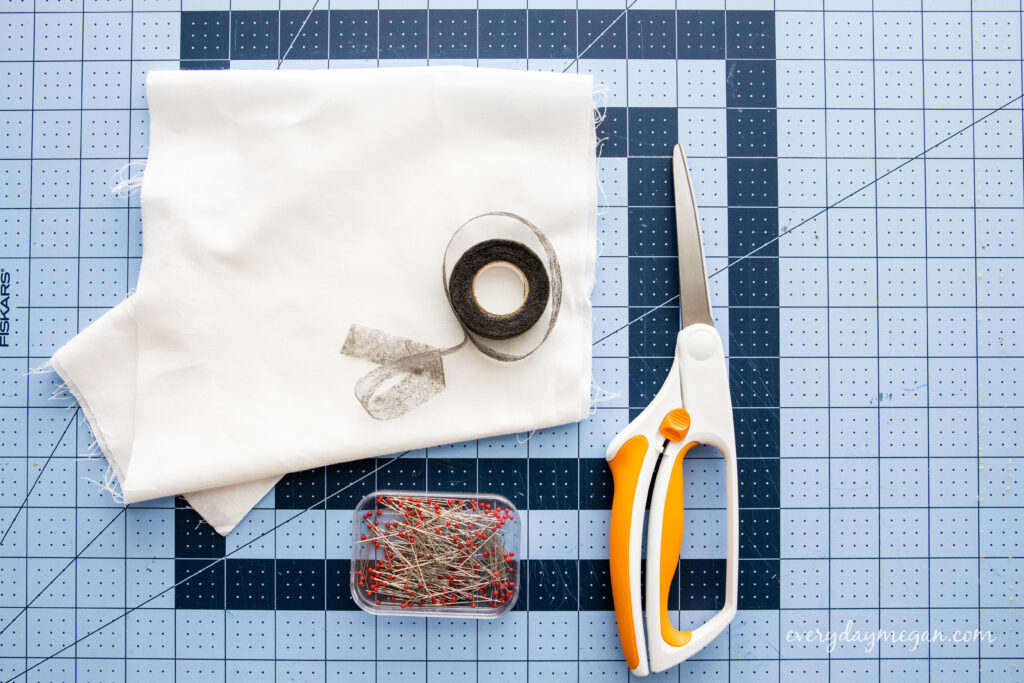
- Iron
- Ironing board
- Iron cloth (thin piece of fabric for pressing)
- Measuring tape or ruler
- Scissors to cut hem tape
- Sewing pins
- Fusible Bonding Hem Tape
DETERMINE THE LENGTH
The first thing that needs to be done is to determine where you want the final hem of the graduation gown hang.
With the gown on, use a measuring tape or ruler and measure from the ground up to determine where you want the finished hem to hang.
Jot down the measurement for how much fabric you will need to fold under so you don’t forget…just in case. 🙂
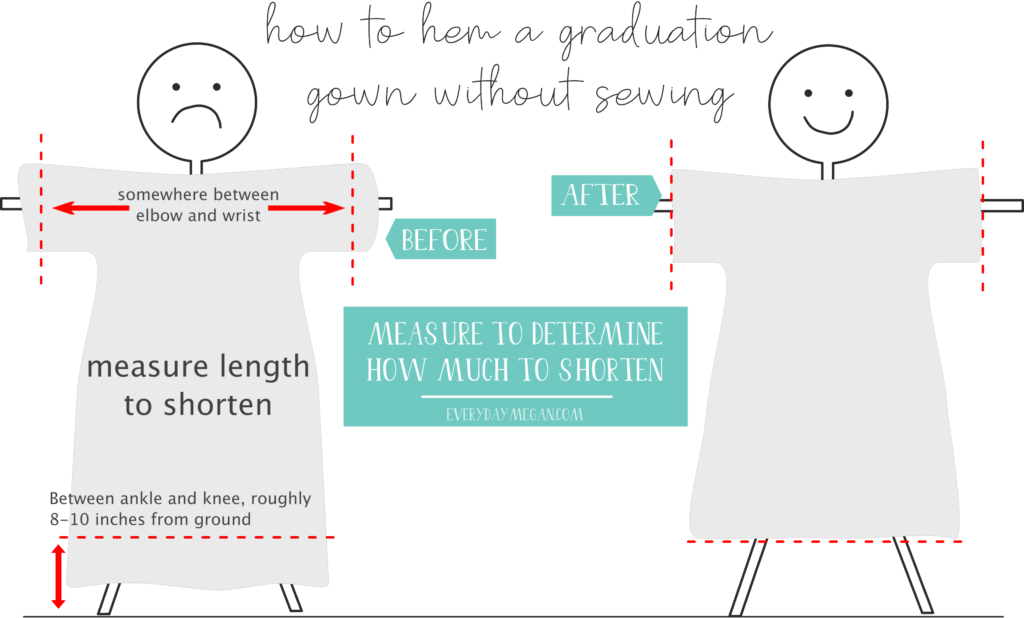
Generally speaking, the gown length should fall somewhere below the knees and above the ankles, which should be about 8 to 10 inches off the ground. Shoes will not affect the gown length, so no need to worry about the height of shoes that will be worn.
In addition to measuring for length, consider the length of the sleeves. The sleeves should measure below the elbow and above the wrist. If you are shortening the gown by an inch or two on the bottom, then you may not need to alter the sleeves.
For this gown, I needed to shorten it by 10 inches (a lot!) and I shortened the arms by 4 inches.
CREATE THE NEW HEM
Grab the iron, ironing board, sewing pins and iron cloth. I was afraid to iron directly on the gown so I used a thin piece of fabric (muslin scrap) in-between the gown and the iron. (Heat the iron to polyester setting and turn the steam on)
Zip the gown up and turn it inside out and drape the bottom half over the board.
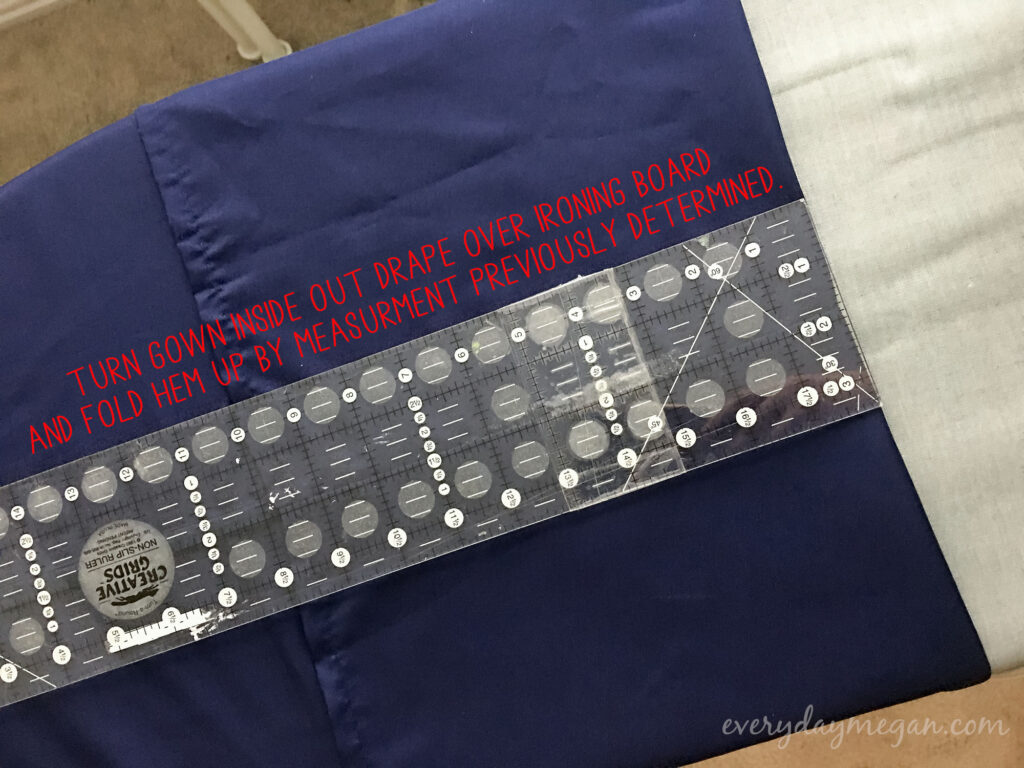
Fold the bottom hem up based on the measurement you need to shorten. (I needed to shorten by 10 inches) Pin topside and underside of the fabric together to hold in place.
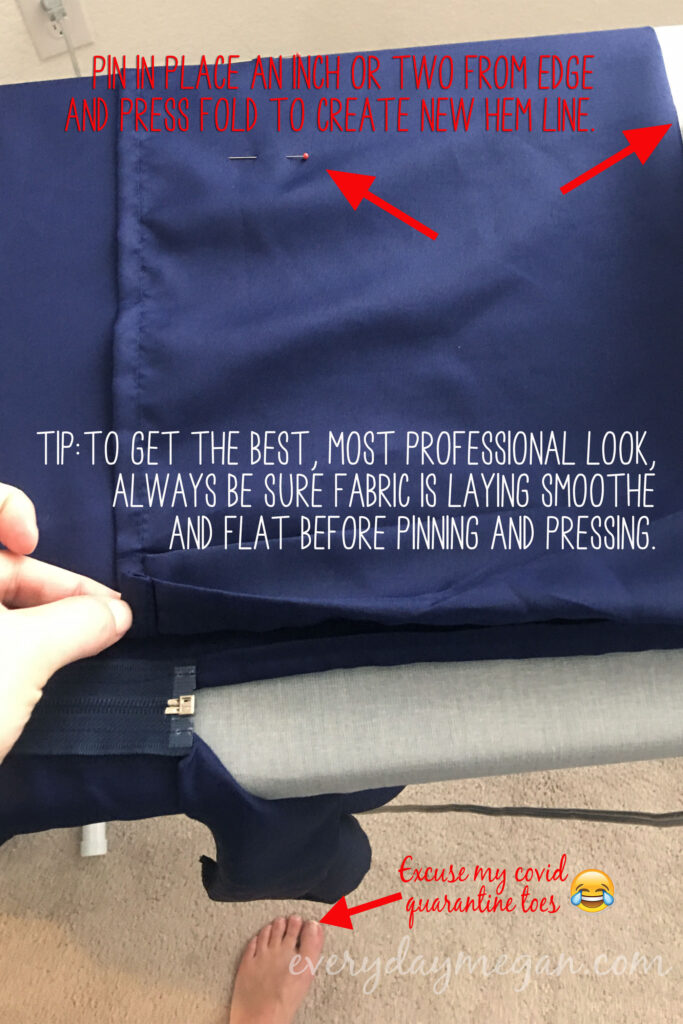
Use the pressing cloth over the top of the gown, press along the bottom fold to crease and create the new bottom hem.
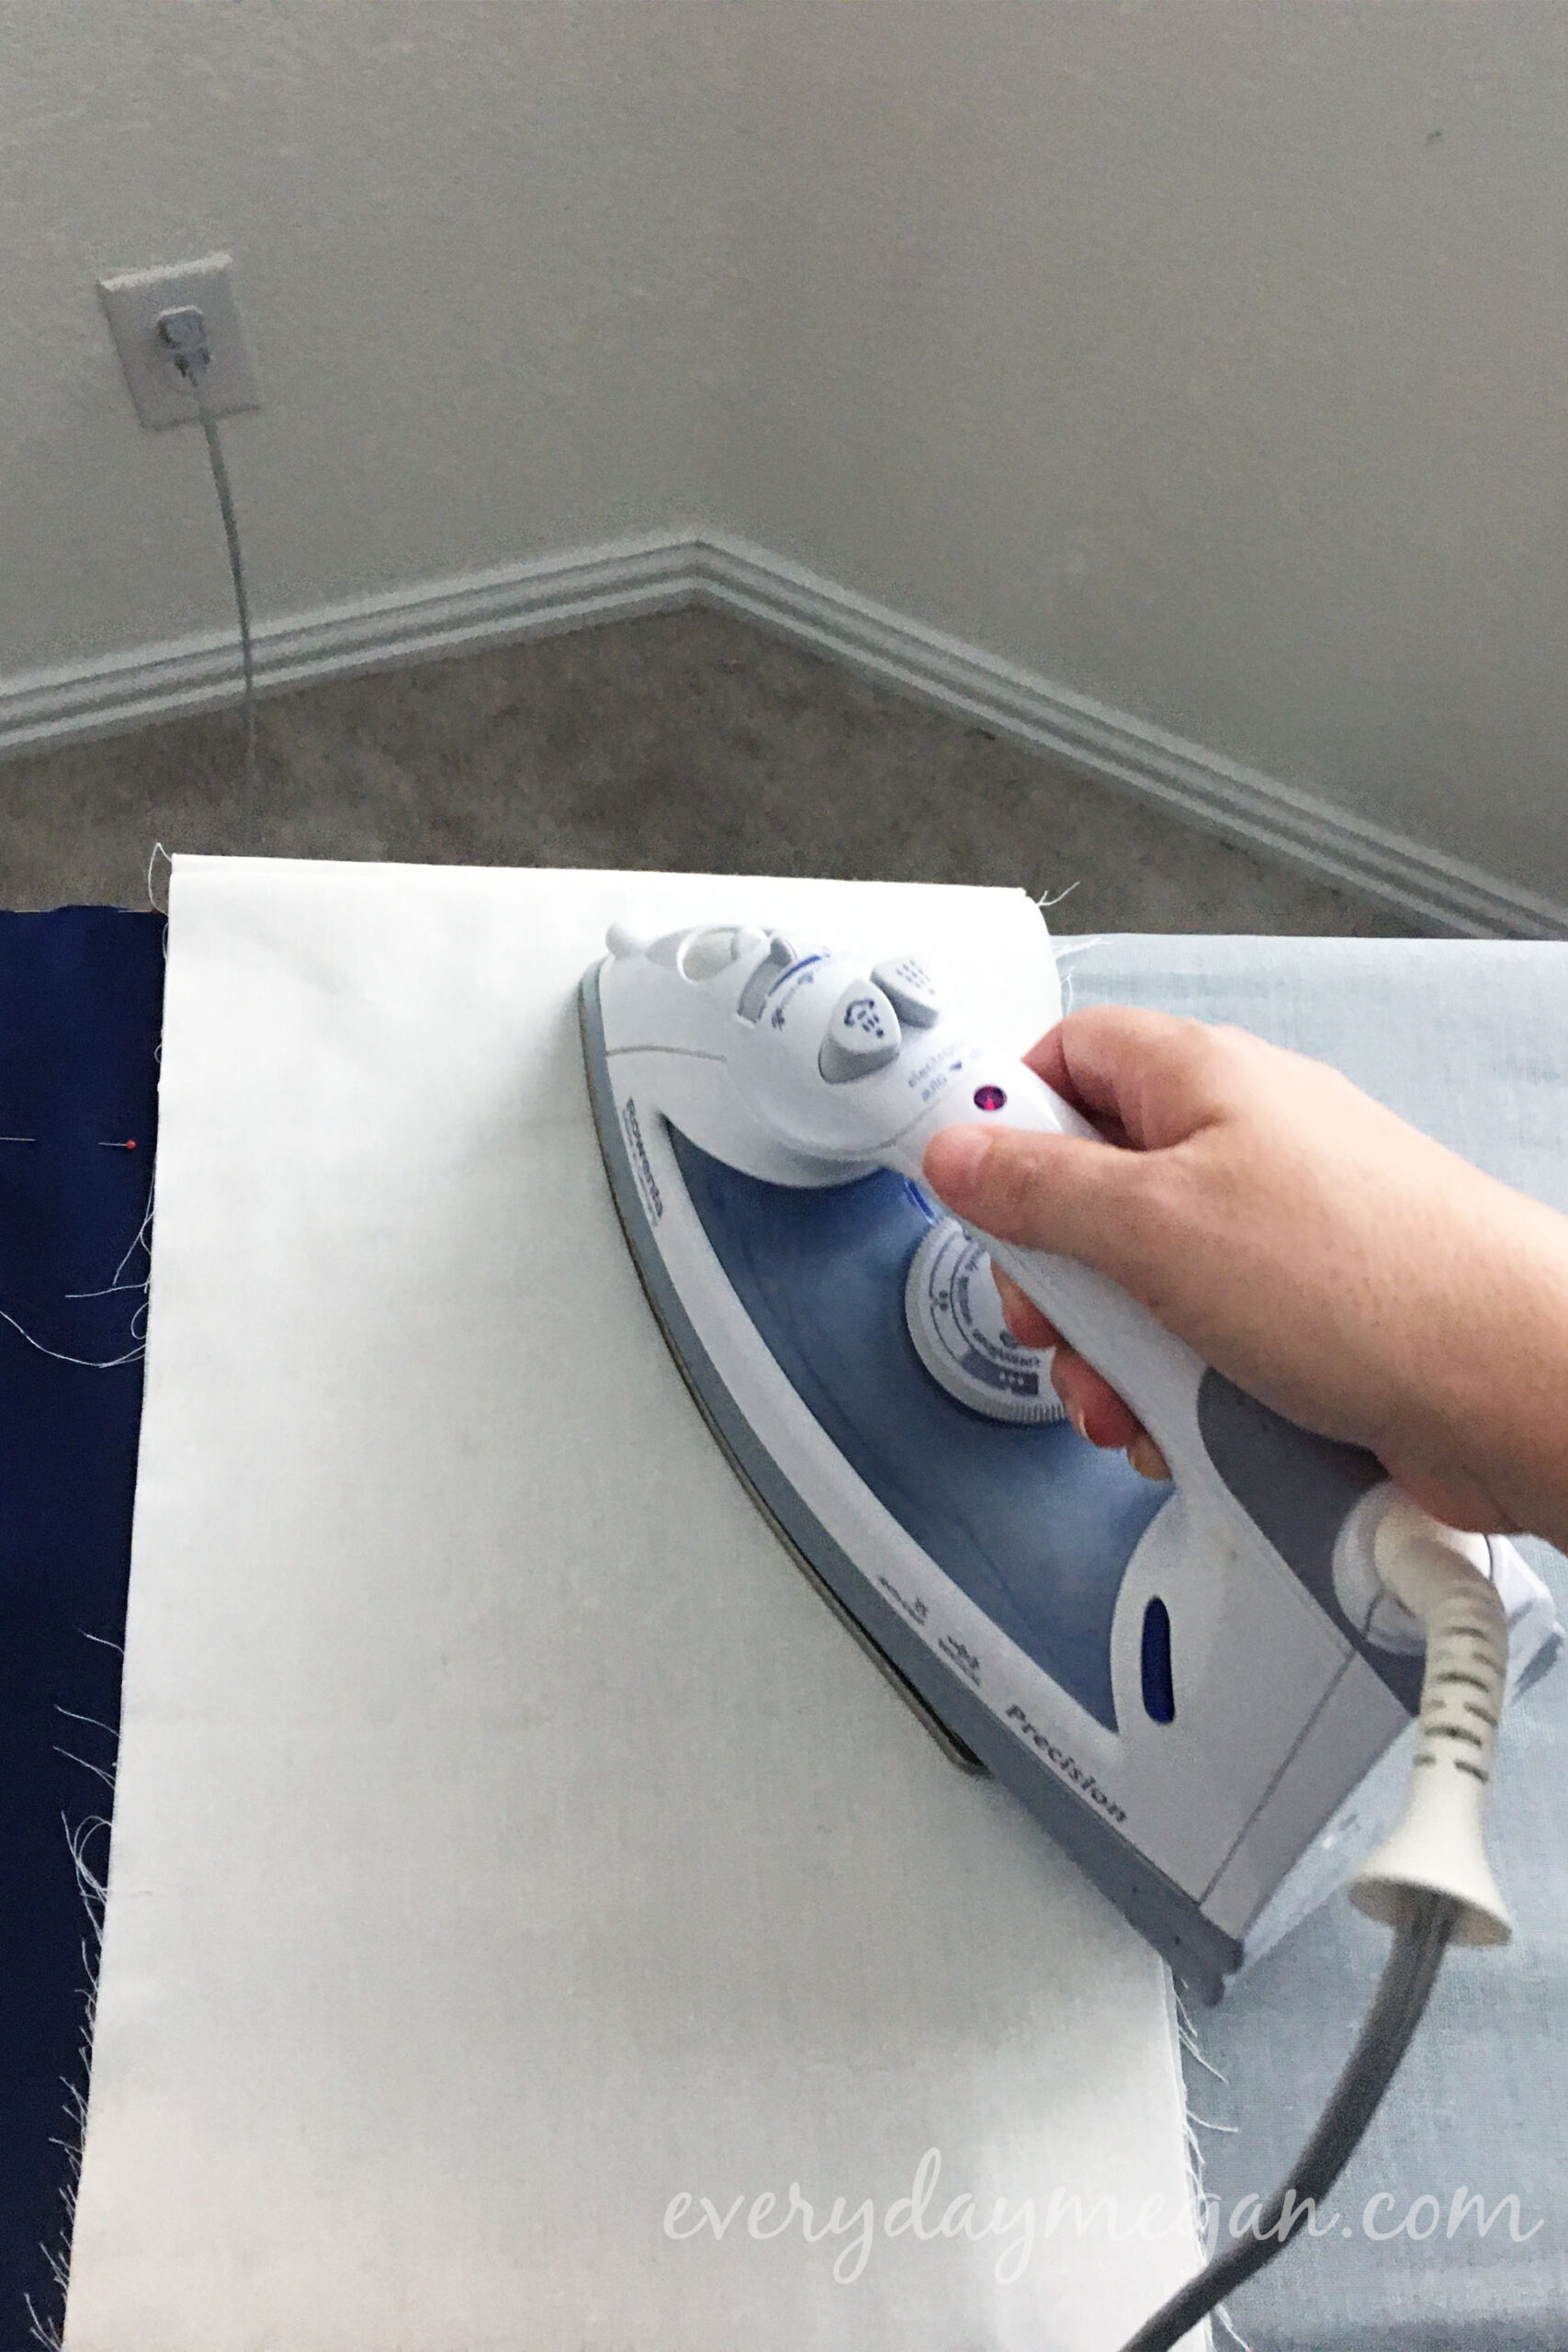
Continue pinning and pressing the crease. Place the pins every 4-6 inches.
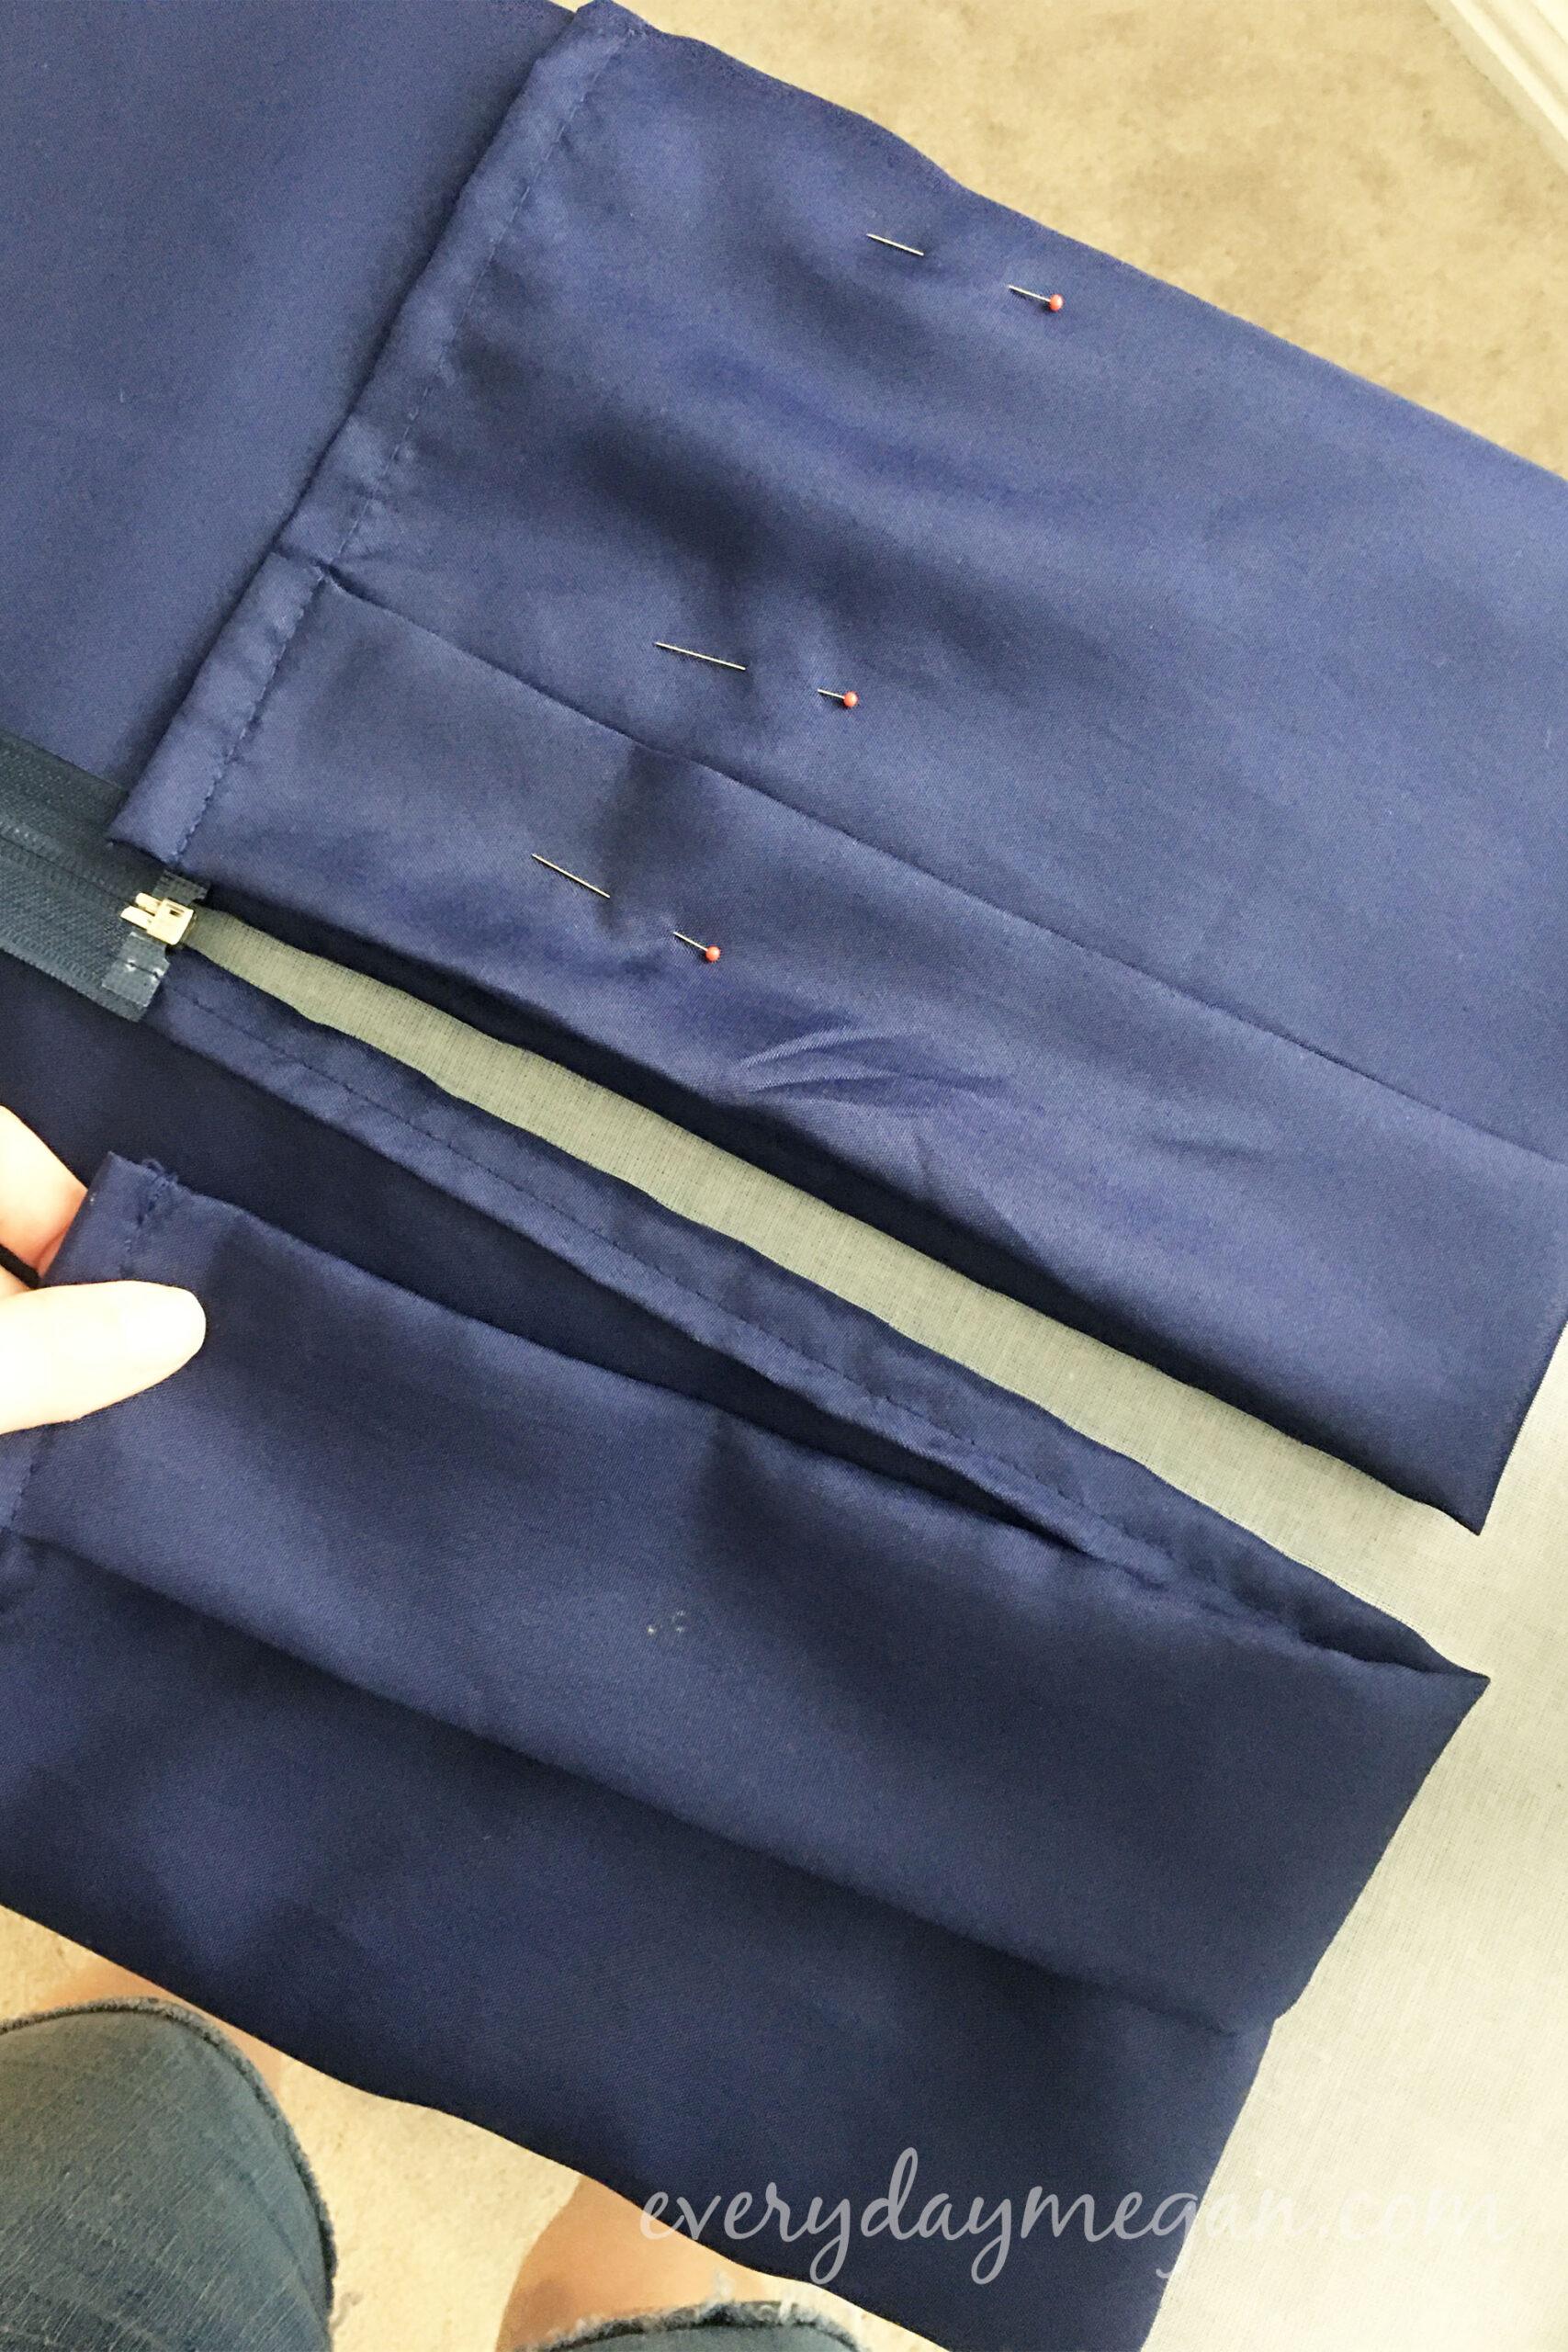
Be sure to pay attention that the fabric is flat and the seams line up as you fold to keep it all nice and straight.
APPLY THE HEM TAPE
Start from one edge and work around the gown. Leaving the pins in place, sandwich the hem tape in a flat single layer under the fold, along the edge.
Make sure the fabric is pulled taut and laying flat on both the underside and the topside of the fold before you press the hem tape.
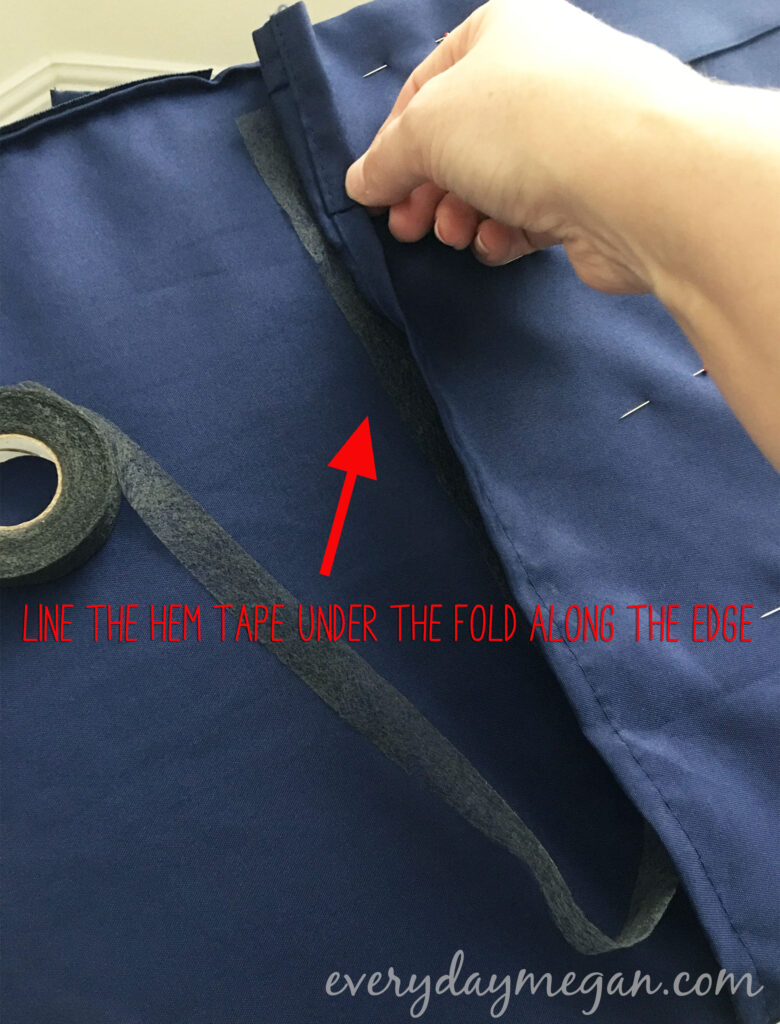
NOTE: The directions on the package say to use a damp wash cloth to press the with. Word of caution: for this type of fabric, the wash cloth should be *slightly* damp…like misted-with-a-water-bottle-damp and not submerged-in-water-and-wrung-out-damp. I dampened my wash cloth too much which saturated the gown and I panicked slightly at the thought of watermarks being left behind. Thank goodness it wasn’t too noticeable and then I ditched the wet wash cloth!
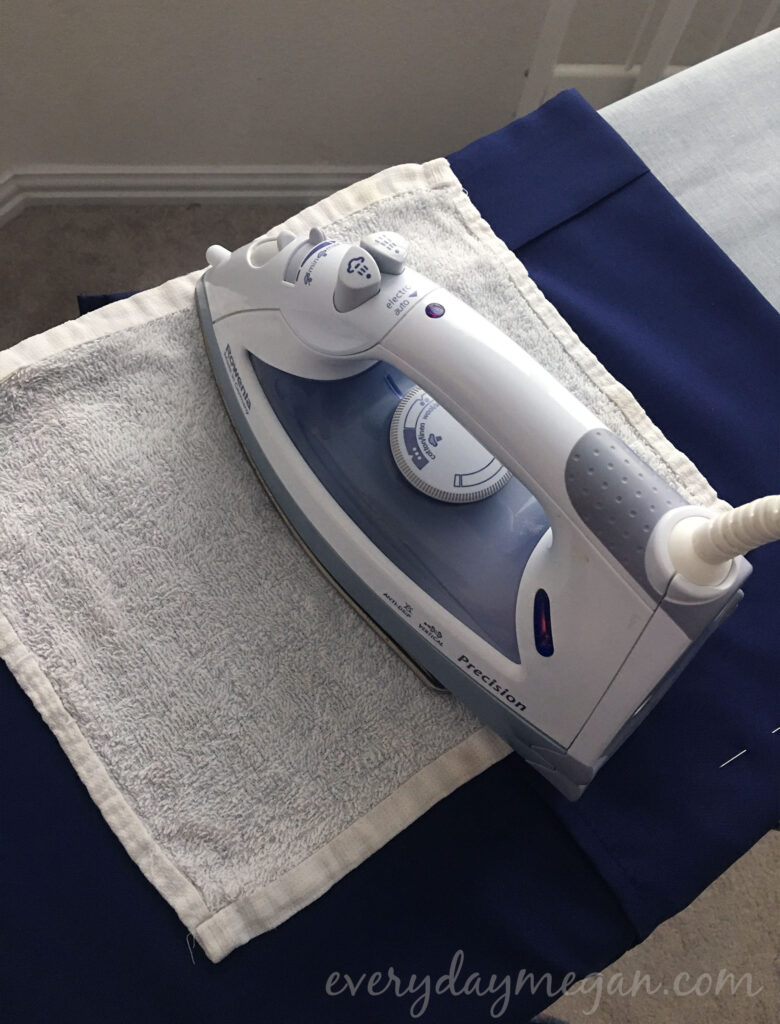
I ended up using the thin pressing cloth (dry) and set the iron steam on high and that was enough heat & moisture to activate the bond. Hold the iron down for about 8-10 seconds, checking that the tape has bonded the layers before moving to the next section.
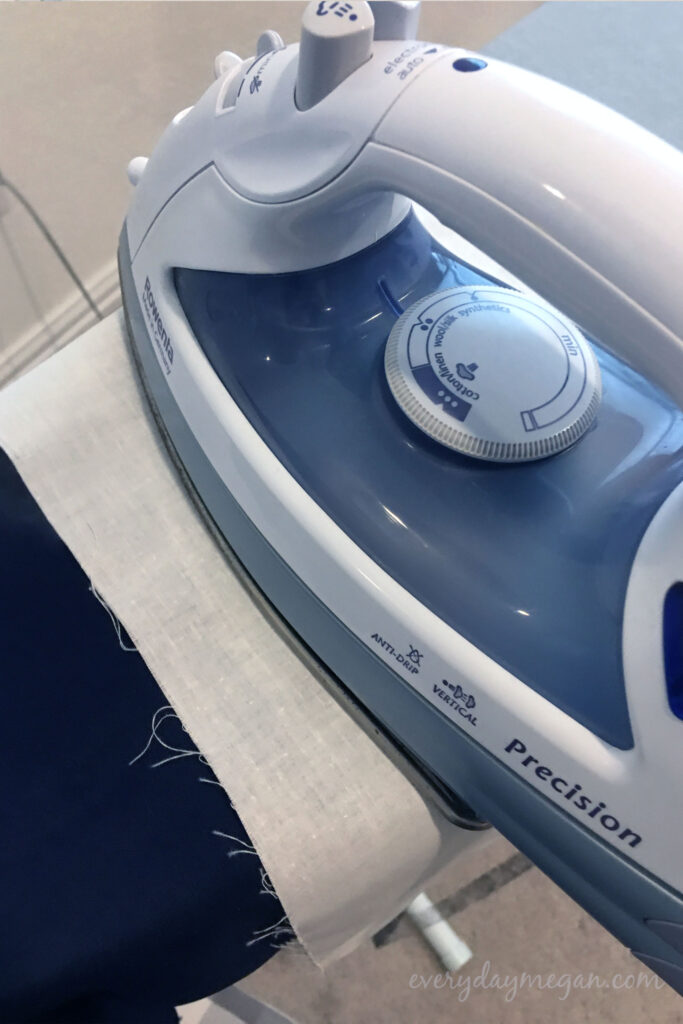
Continue pressing in about 6″ sections. Using the pressing cloth on top of the sandwiched hem tape
Work your way around the gown, when you get to the end cut the tape about a half inch in from the edge so it will be easier to close the gap at the end.
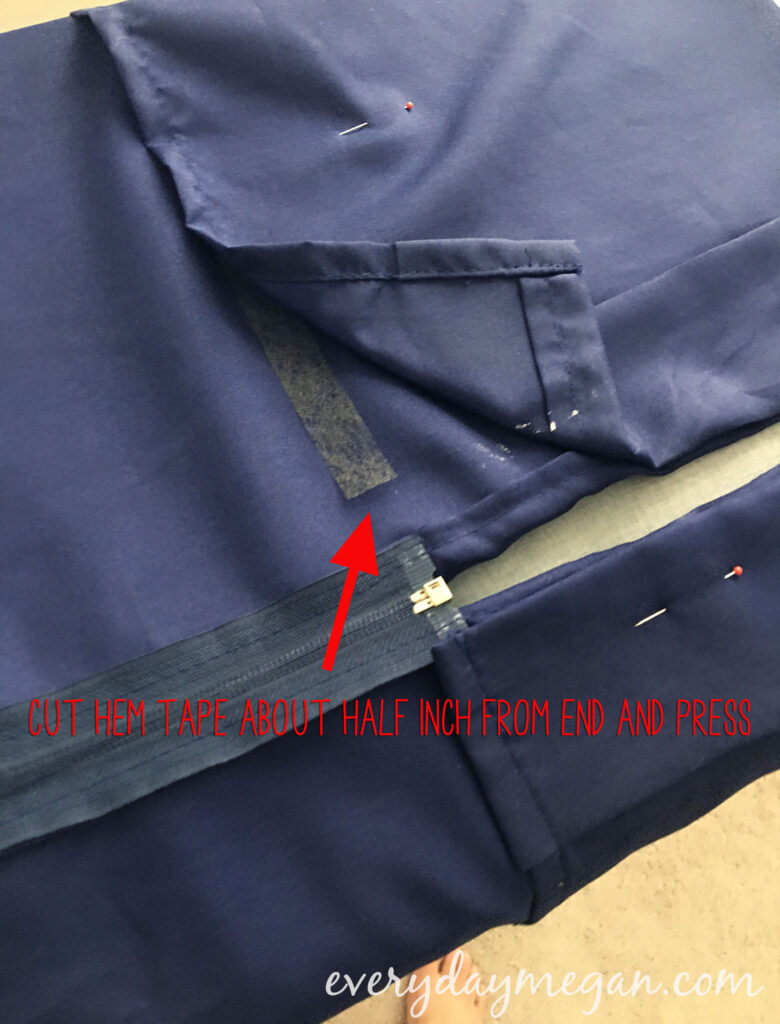
TO FINISH – CLOSE THE FOLD GAP
Depending on how much you needed to shorten the length, you will have gaps where the fold is. To give the gown a finished look, cut a piece of tape to fit inside the gap and press the fold together using the same method.
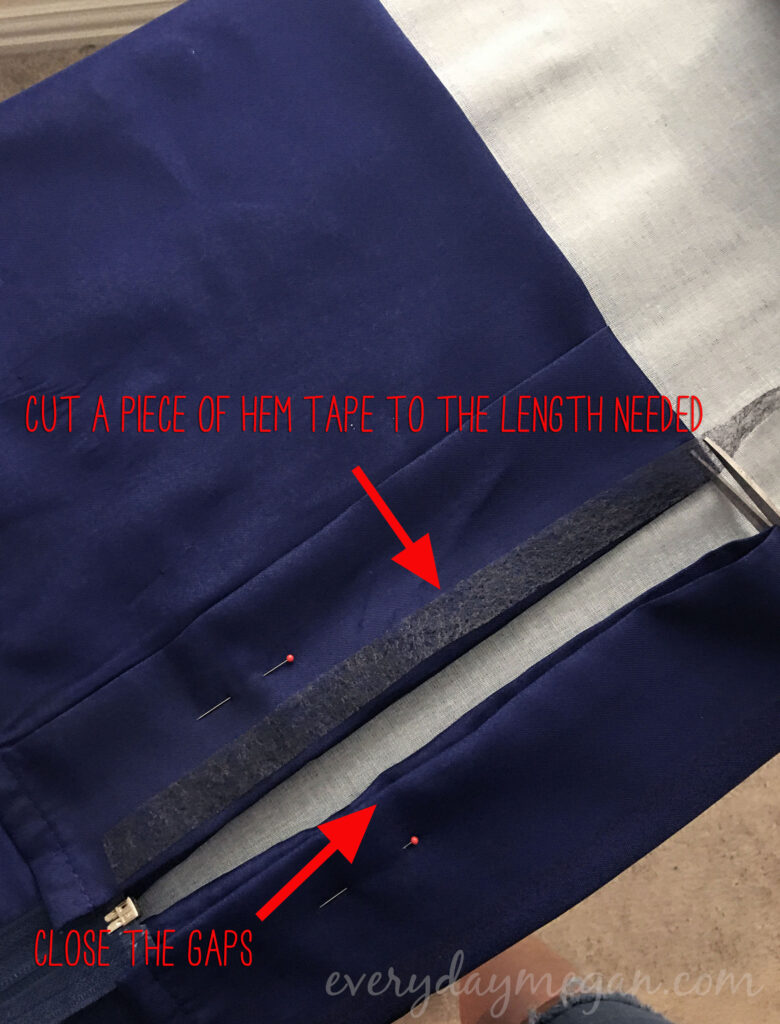
When the gown is all pressed together, remove the pins and you’re done with the bottom hem! Follow the same steps to shorten the sleeves if you need to.
So tell me what you think…can you spot which gown was altered below?

