This post contains affiliate links for your convenience. If you purchase a product via these links, it doesn’t cost you more but I get a small percentage of the sale, to learn more about my disclosure policy click here.
Create a hand painted, rustic and unique DIY wood slice Christmas ornament!
Make a set to hang on your tree, host a Christmas crafting party or you could make them and use it as a gift tag to add a thoughtful and handmade touch to a gift!
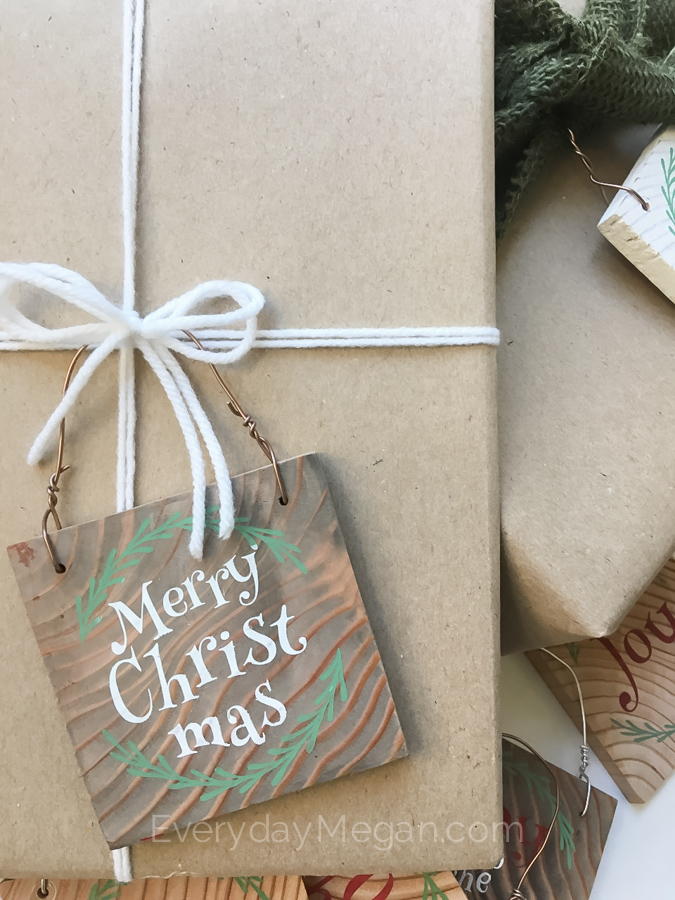
A couple of years ago I made some cute wood slice Christmas ornaments like these and then I had a bright idea to use them as a “gift tag” and attach them to gifts and plates of goodies given out to neighbors and friends. They turned out so cute and everybody loved them.
They are really quick and easy to make! If you choose, you can write a sweet Christmas message or scripture on the back with a sharpie marker.

These are also a great group project for kids activities!
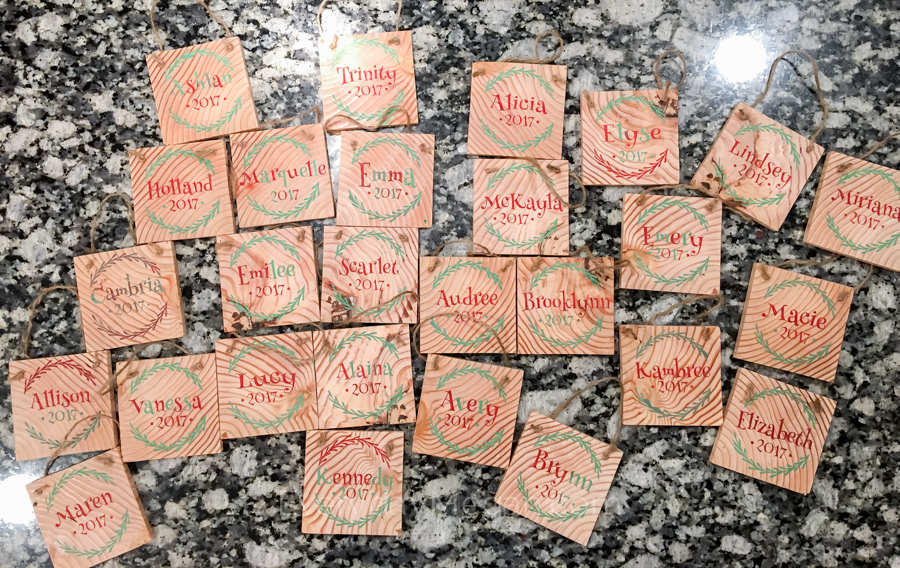
Very simple and quick. In fact, this year I had about 25 girls over to my house from the ages of 8-11 for a church activity to paint their own ornaments! They all did really well and they finished in about 10-15min (I prepped it all in advance for them, so they really just painted and pulled the stencil off) For them I personalized each one with their name and the year.
They turned out so cute and the girls loved i
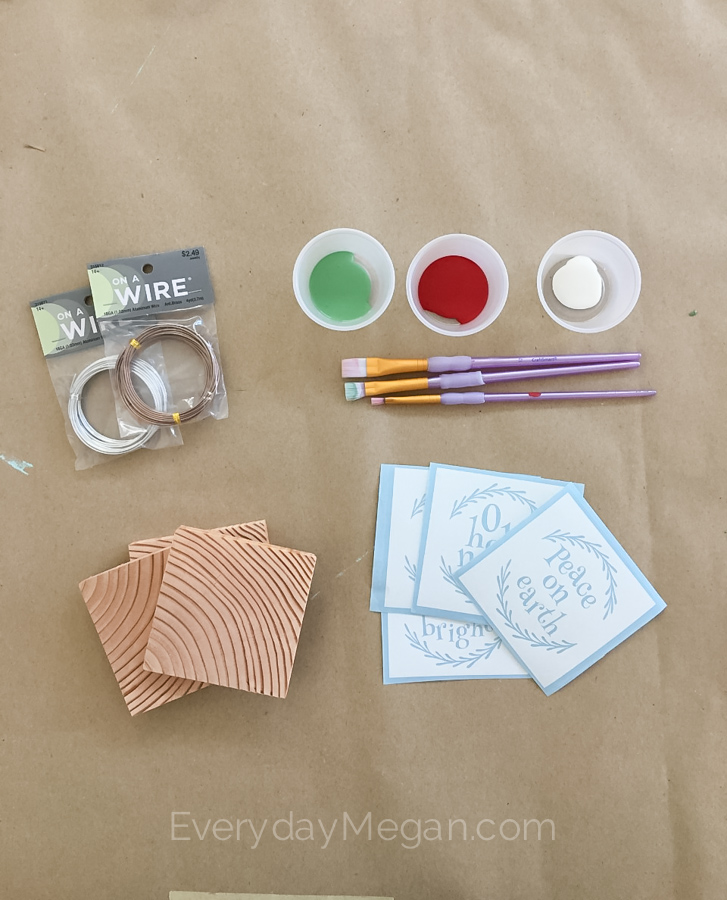
SUPPLIES YOU WILL NEED:
- Cutting machine to make the stencil – I use this one
- 1/4 – 1/2 inch slices of 4×4 wood or something like this
- Merry Christmas Stencil SVG cut file
- Acrylic Paint
- Paint Brush
- A drill to drill holes in corners for wire/jute twine
- Wire or Jute Twine to hang it with. ( I used 18 Gauge Aluminum Craft Wire Matte Brown and this Aluminum Craft Wire 18 Gauge Silver
- Wire cutters (I use my jewelry making tools like this)
How to make a DIY wood slice Christmas ornament
- First, you’ll need to cut your slices of wood out of a 4×4 post. (This is what I did because I had a scrap piece in the garage). If you don’t have a 4×4 piece of wood, honestly, it may be easier to buy some wood slices already cut and drilled like this.
- Download the stencil file. Make sure you adjust to the measurements of the piece of wood you’ll be painting.
- As for prepping the wood – you can leave the pieces of wood natural or paint them. You are the artist, my dear, but one of my favorites was the white distressed ornament in the picture at the bottom 🙂
For the darker brown stained looking ornament shown below, I used a dark brown paint mixed with water and color washed it.
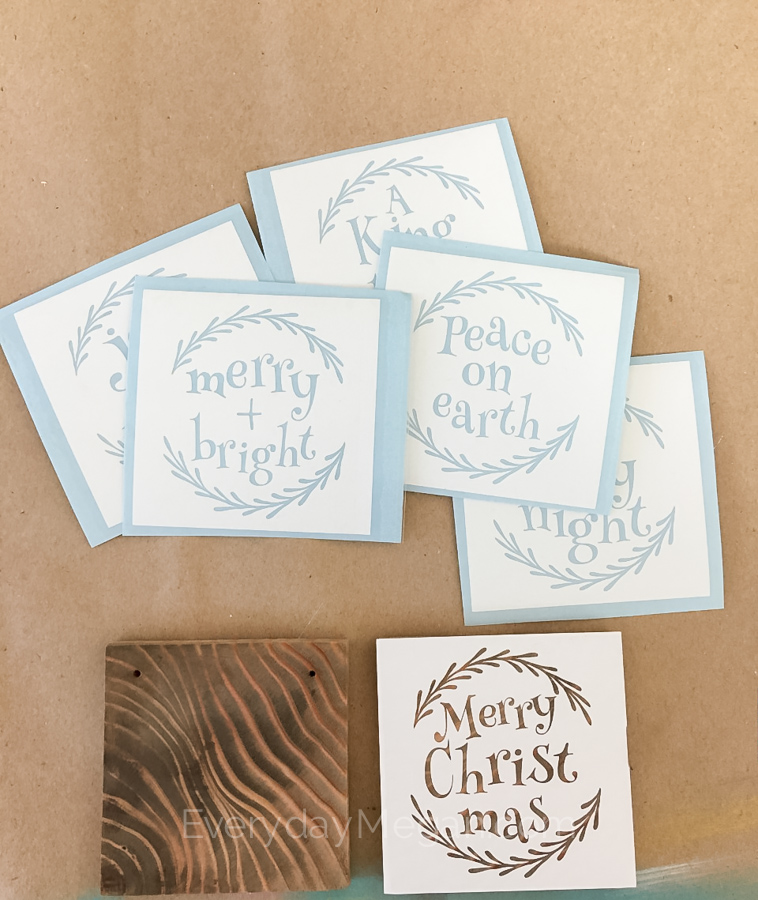
- Stick the vinyl stencil down and paint using thin coats. Try to avoid using to much paint at once or you can get some bleeding under the stencil.
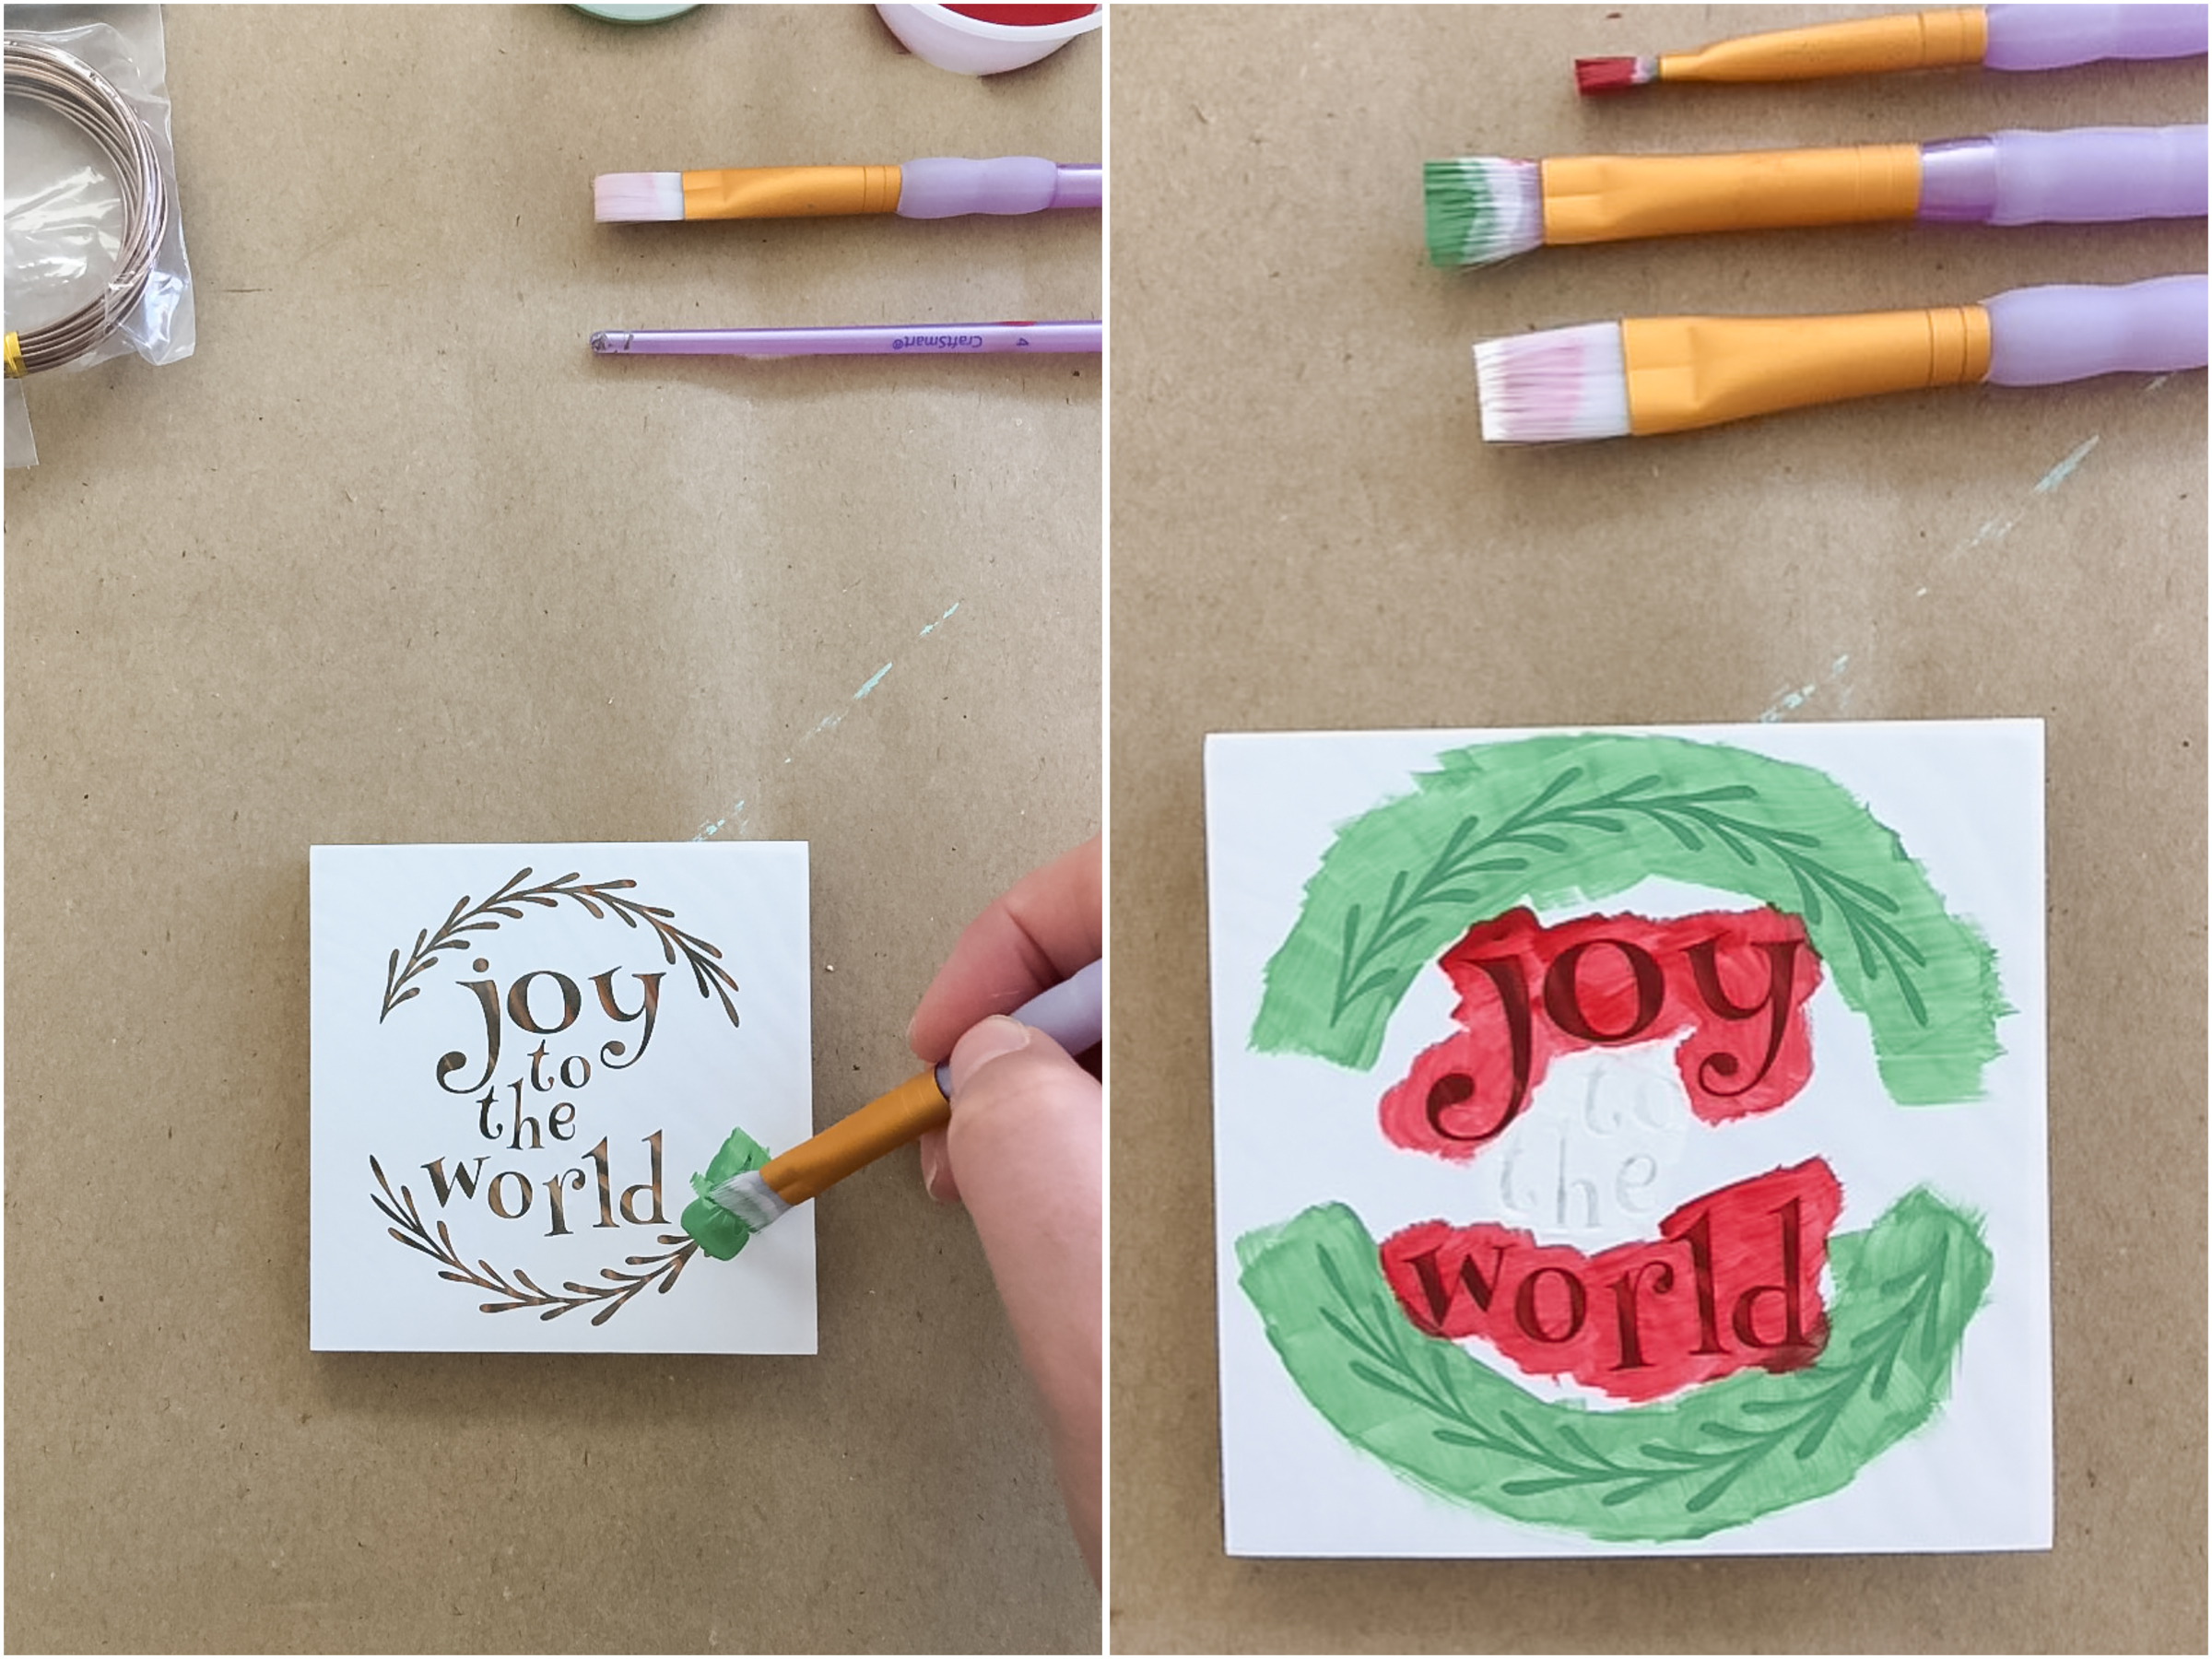
- Remove the stencil. Then drill the holes in the top corners and loop your wire through. I used about 10 inches of wire for each ornament.
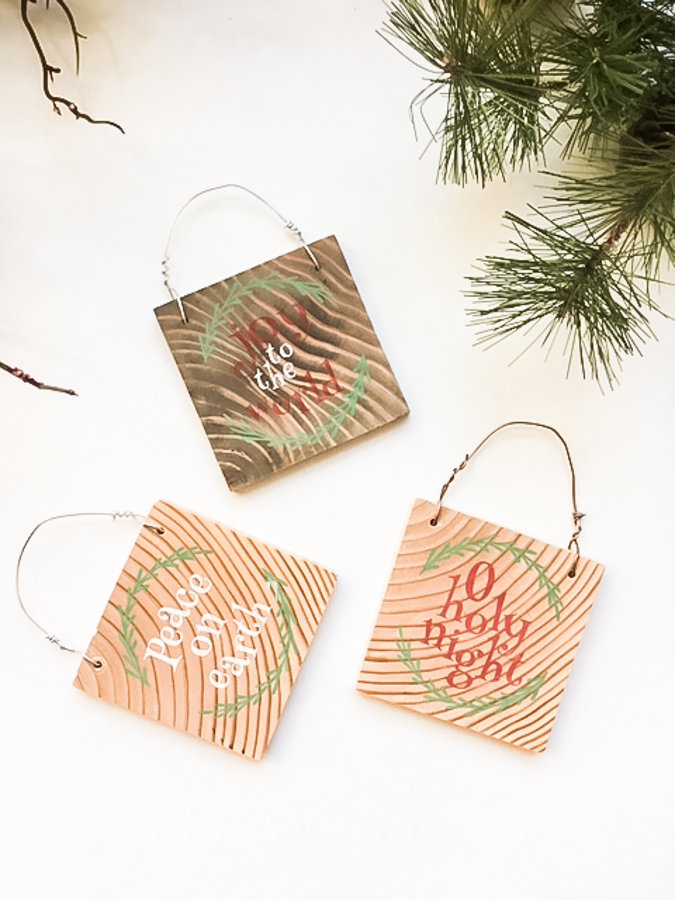
Simple as that!
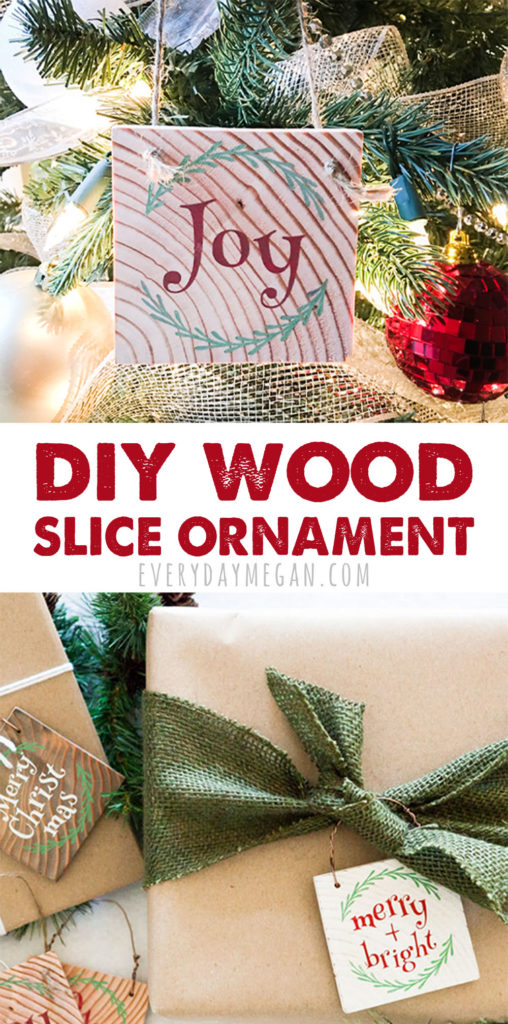
PIN THIS IDEA SO YOU DON’T FORGET IT!
Happy Creating and Merry Christmas Friends!
