Howdy friends!
Fall is in the air! The temps are falling *slightly* and I’m now realizing why fall is a favorite season for so many people. With the Fall season in Alaska only being about 2 weeks…I have been relishing in all this beautiful, sunny Texas weather! I love it.
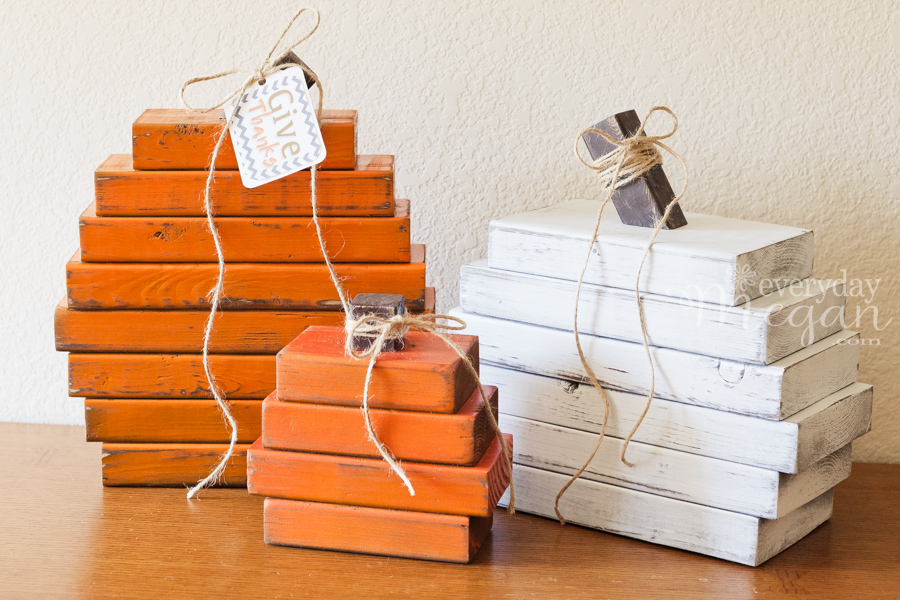
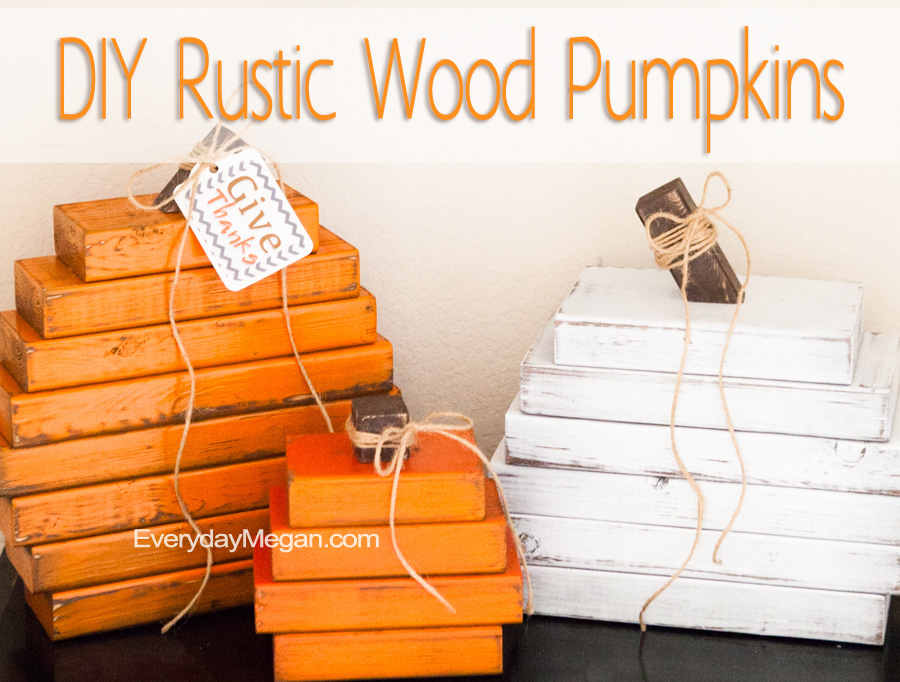
Now that I get to experience a full 3 months of the Fall season…I have been loving Fall decorating! I’ve been out in the garage with the door up, basking in the mildly warm air. I made these simple DIY rustic wood pumpkins to spruce up my front porch and I thought I’d share how I made them with you all!
I’m really liking how they turned out and now I can’t decide if I want them on my porch or in my home. They are pretty simple to make and go together fairly quick. I’m a quick gratification kind-of girl and I’d love to be able to tell you that I snapped my fingers and they were done, but I can’t. So, I’ll tell ya it took about three-ish hours of my time over the course of a day in between laundry, dishes, lunches, and my taxi-cab services. The best part about these pumpkins is they are the perfect project to use up scrap wood! I made 3 pumpkins completely out of scraps from my garage, BUT, if you don’t have scraps laying around…got to Home Depot or Lowes and look in their scrap bin. You can score 2×4’s or 2×6’s for, literally, cents. Check it out! I never-ever leave Home Depot without checking the wood scrap bin, and I’m there a lot, which is one reason that I have so many scraps….I just can’t turn my back on a good deal, it’s a sickness, I know. Anyway.
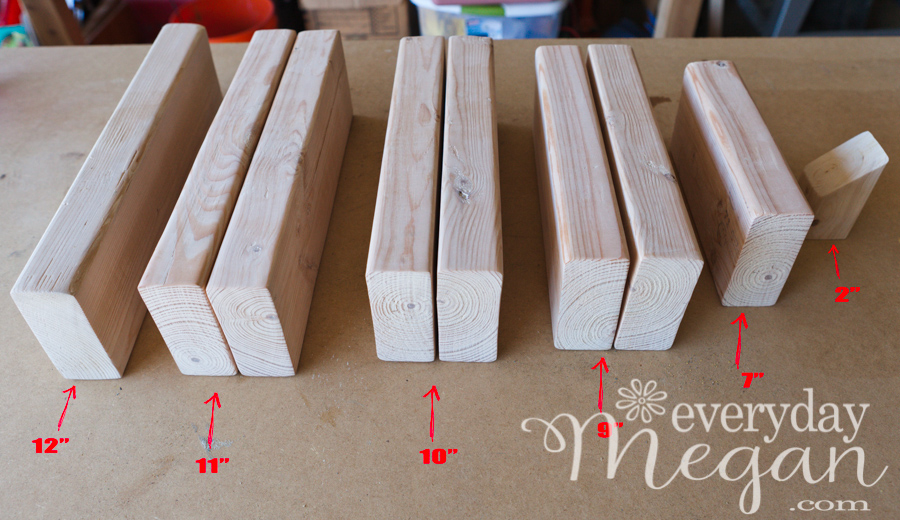
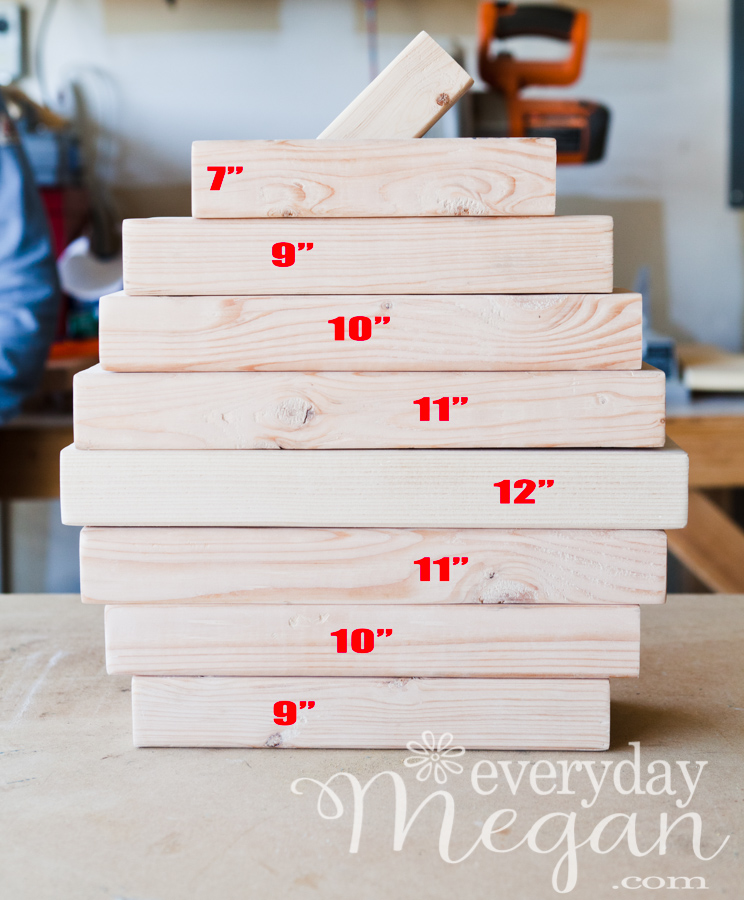
*Like I said, I made 3 pumpkins but for the sake of this tutorial I’m only giving measurements for the tall 2×4 pumpkin. Every step up or down is a 1″ difference except for the top piece. Also, you will see photos using 2×6’s because I made the middle-sized pumpkin using 2×6’s to give a more dimensional look.
This is what you will need:
– Either scraps of 2×4 or about one 2x4x8
– 1 scrap of 2×2 about 2″-3″ long or improvise if you don’t have a 2×2 ( I cut mine at a 45* and 30* angle)
– Wood glue
– Clamps
– Sander and/or Sandpaper
– paint (see below for what I used)
Here’s how I did it:
First, I measured and cut the wood.
Then I sanded it with a 120 grit.
Then I stacked them up to make sure I was putting them together in the right order.
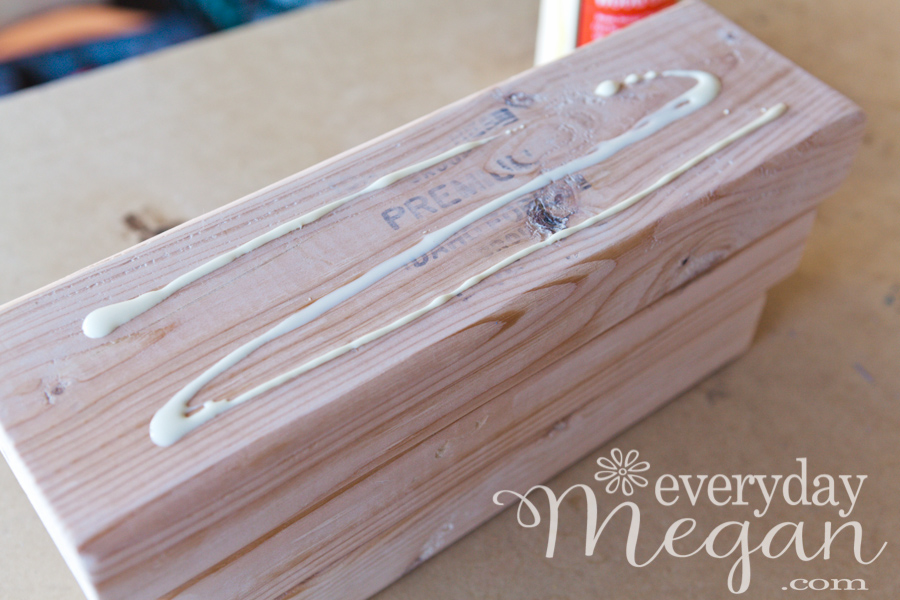
Next, I glued them with wood glue.
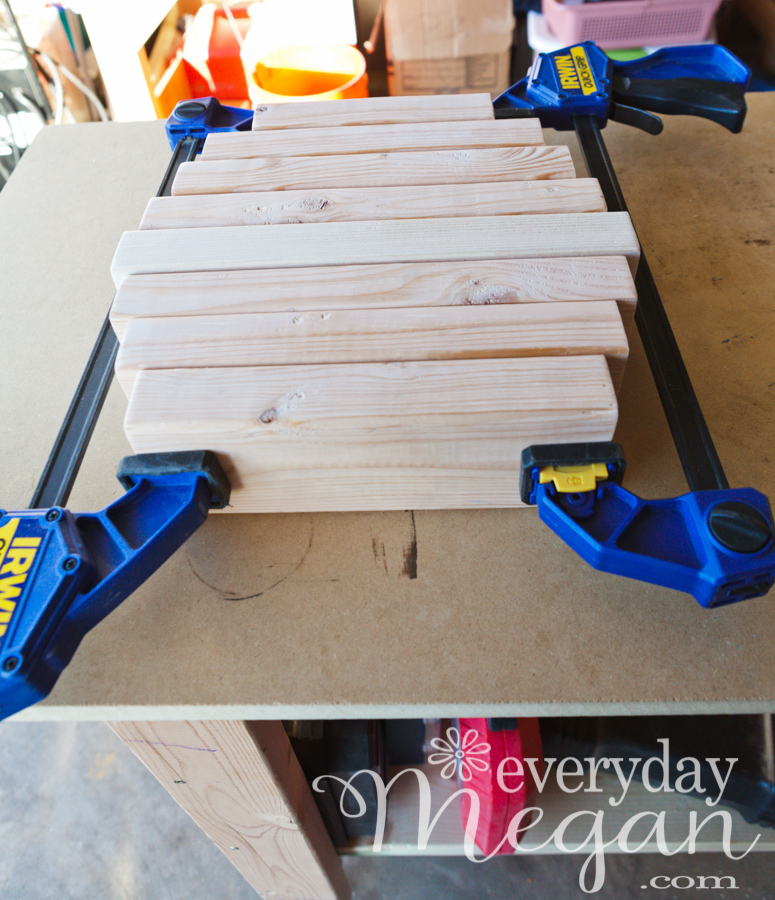
Then I clamped them. And let them dry…very important to let them dry completely.
Originally, I was going to secure them with glue and nails or screws. But once I glued them and they dried, they were pretty solid.
Up next is paint.
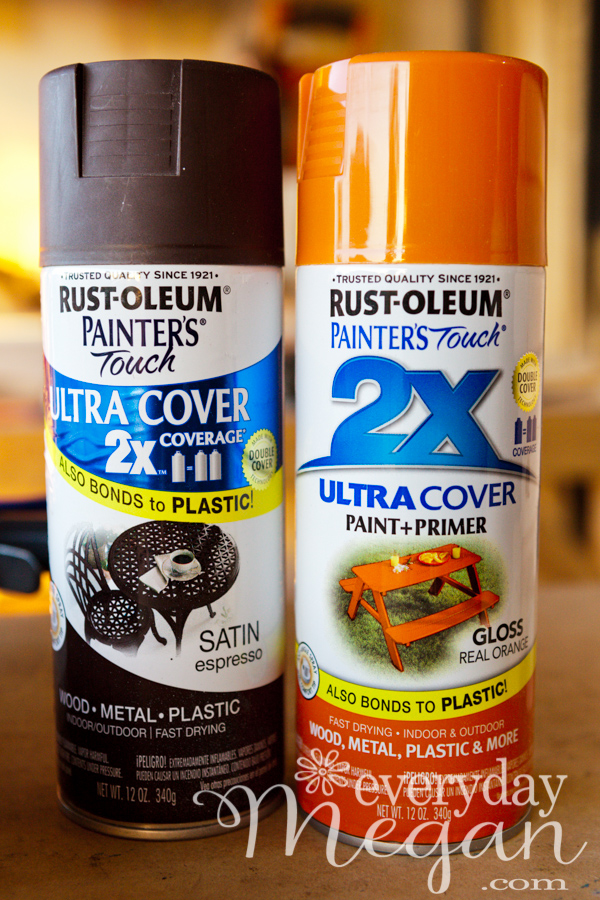
I used Rustoleum’s Painters Touch in Espresso for the base and the stem. Then I painted a light layer of Rustoleum’s Painters Touch in Real Orange over the brown.
*for the small pumpkin I sprayed a very, very light layer of Rustoleum’s Painters Touch in Fire Orange to give a little dimension in color.
I painted the entire pumpkin with brown first and let it dry.
Then I flipped it over and painted the undersides brown and let it dry.
Then I got a little eager and didn’t take any pictures of painting the pumpkins orange or white! But I’ll let you know, you don’t need to be perfect in covering the brown with the orange. The orange is very bright, so less is more. Now, I know it’s hard to do, but you must let this layer dry completely before distressing.
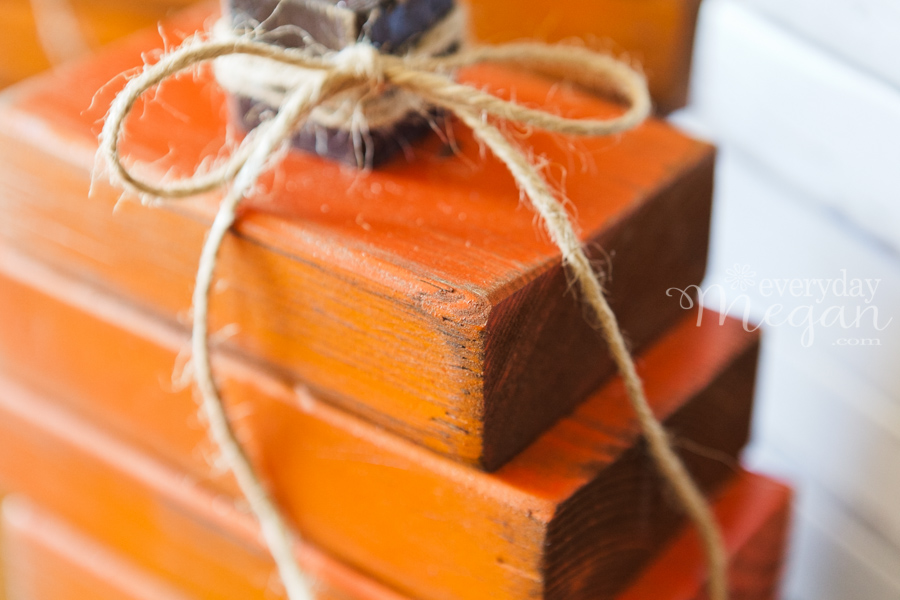
Once the paint was completely dry, I lightly hand sanded to distress the whole pumpkin, more-so on edges and in crevices, with a 60 grit sand paper. 60 grit is pretty rough, so just go easy until you have your desired look!
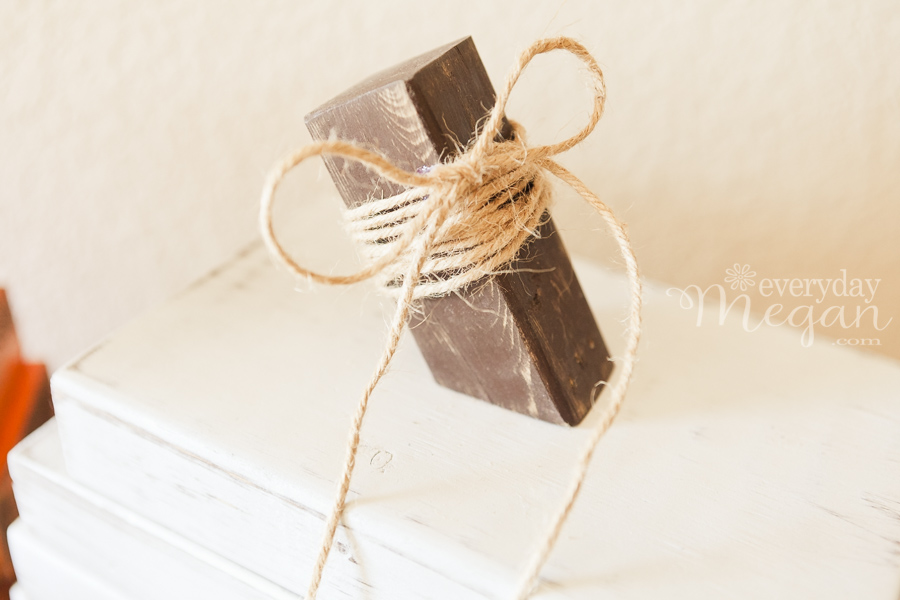
Now, for the stems. Distress your stems a little bit and this is where I used more than just glue…I used glue and the nail gun to attach the stems. I don’t have a picture for that either, because I’m just not talented enough to hold a 5lb camera while simultaneously using a pressurized nail gun, but I nailed them in at an angle.
I’m pretty pleased with them.
This is where you use your creativity, or you can just copy. 😉
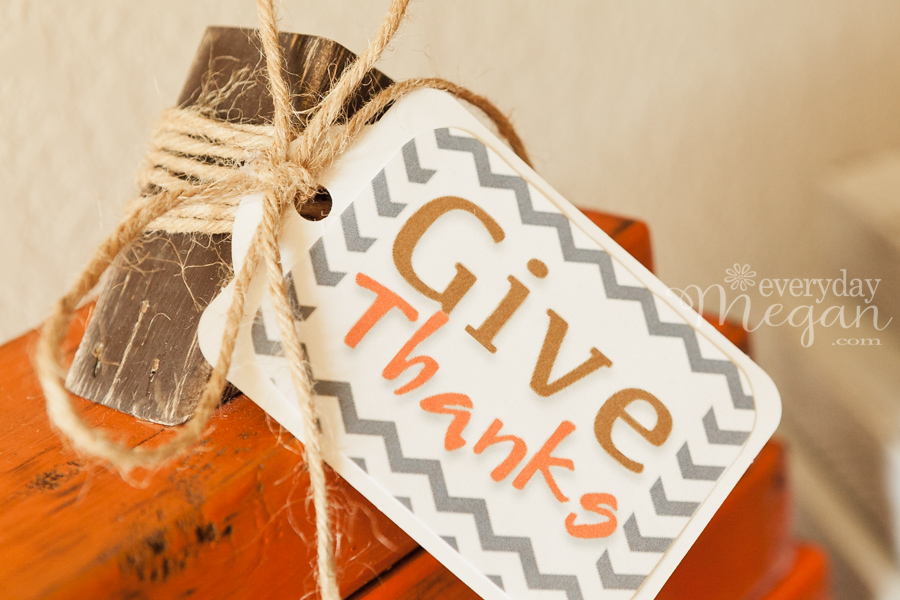
Finish them off…I used Jute twine and wrapped it around and around and then secured a bow with just a dab of hot glue. I like the loose twine look, not the completely glued down look.
Then I had the idea to add a tag. It’s these little details that set it off!
I’m a detail girl…love the little details!
If you love think these are cute, I’d appreciate it if you’d share them with your friends and pin, pin away!
Follow me on Instagram or like my page on Facebook to see what’s next!
Happy Friday!
-Megan
