This post may contain affiliate links for your convenience. If you purchase a product via these links, it doesn’t cost you more but I get a percentage of the sale, to learn more about my disclosure policy click here.
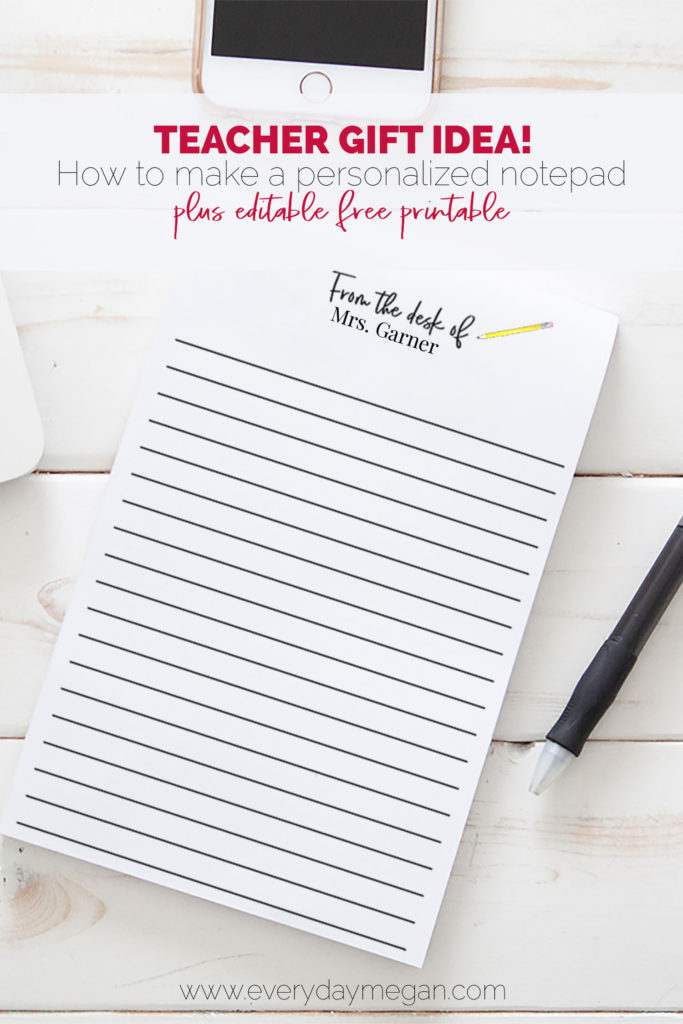
Are you looking for a simple handmade gift idea with a personal touch? I’ve got the perfect handmade gift idea for any occasion.
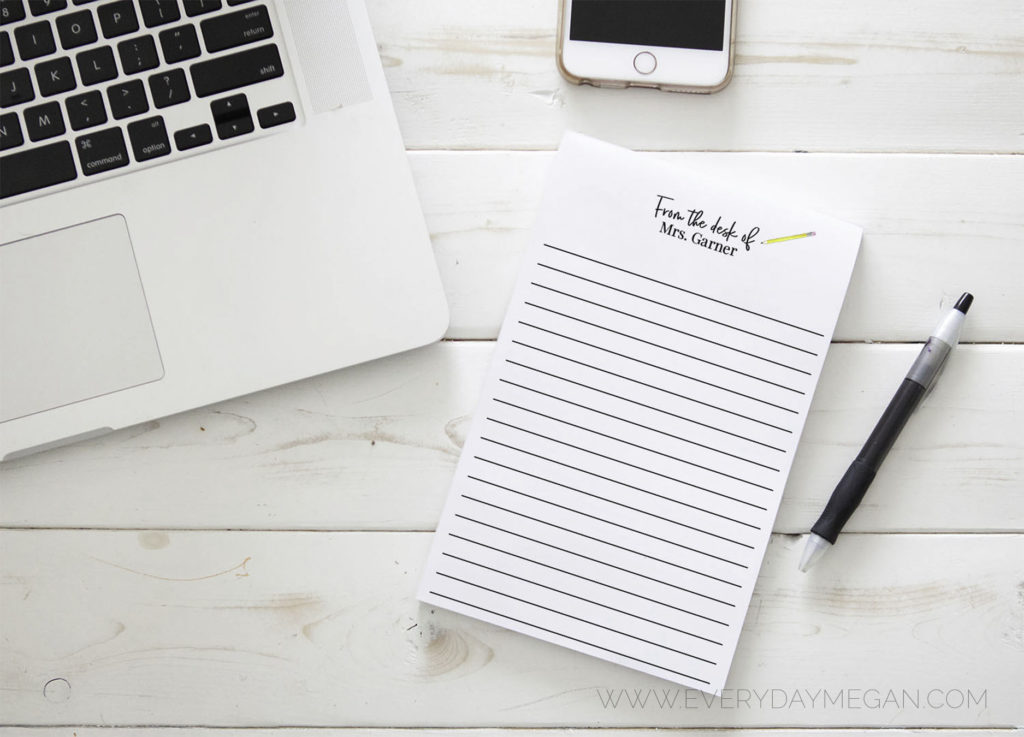
In this post, I’ll show you exactly how I made this DIY personalized notepad (and share a few editable templates so you can make one too!).
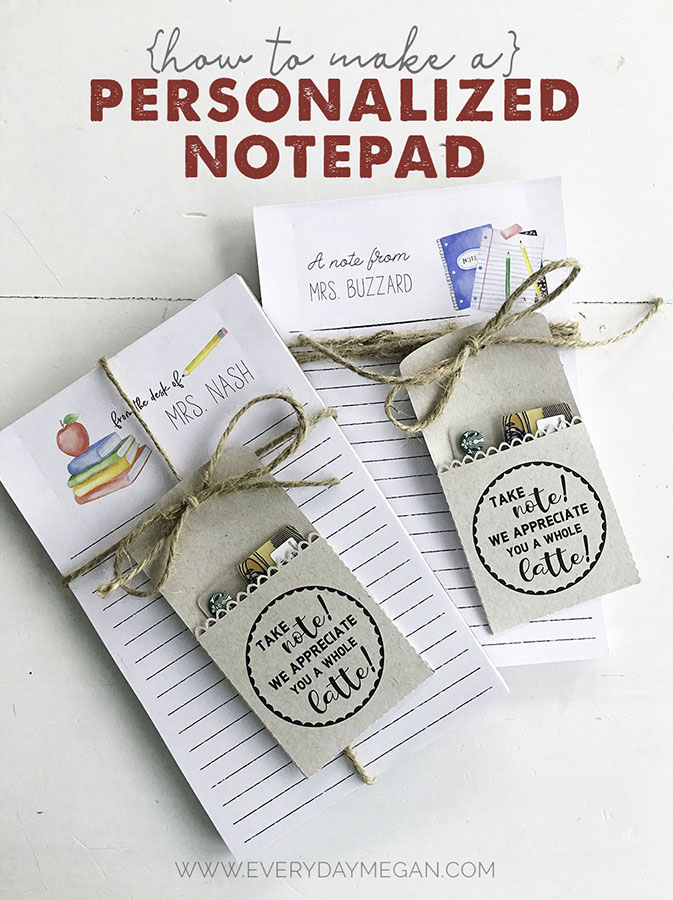
This year for teacher appreciation gifts I made these notepads with a little pocket tag and put a Starbucks gift card in it. And just like every other cute little project, I now want to make a notepad for everyone I know and I want to share with you so you can make them for everyone you know too! 😉
Or make them for yourself. Add a magnet to the back and hang it on your fridge or you could even design a smaller version to have little notepads all over the place for when you need to jot something down so you don’t forget (I have to do this all the time! ;))
Who doesn’t love cute stationery with their name on it?
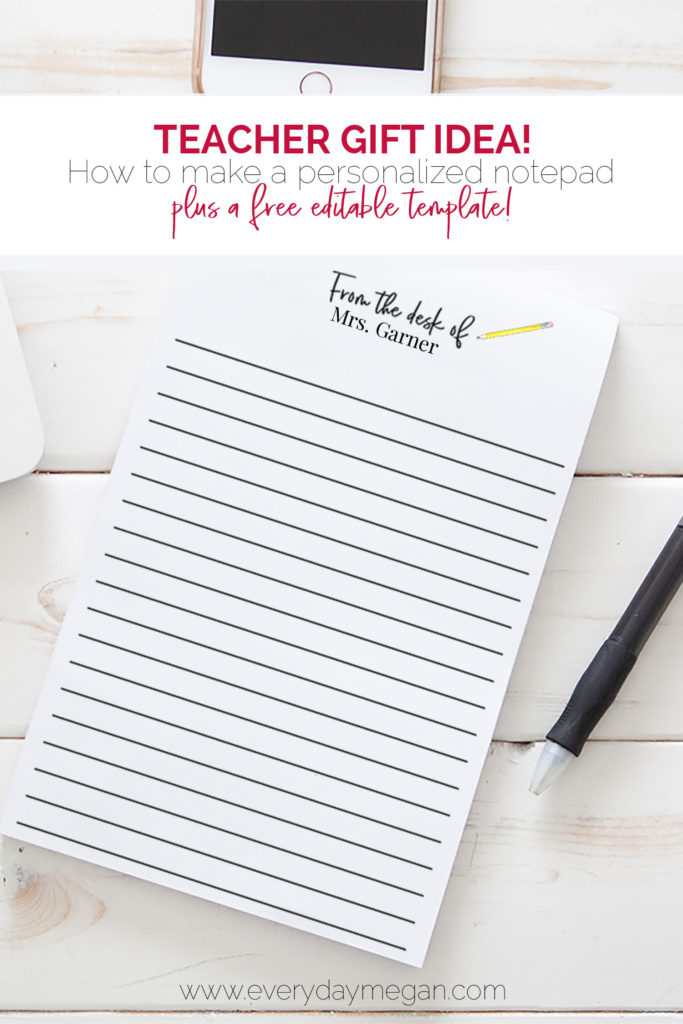
I promise it’s way easier than you think to make a notepad and you probably have most everything you’ll need to do it.
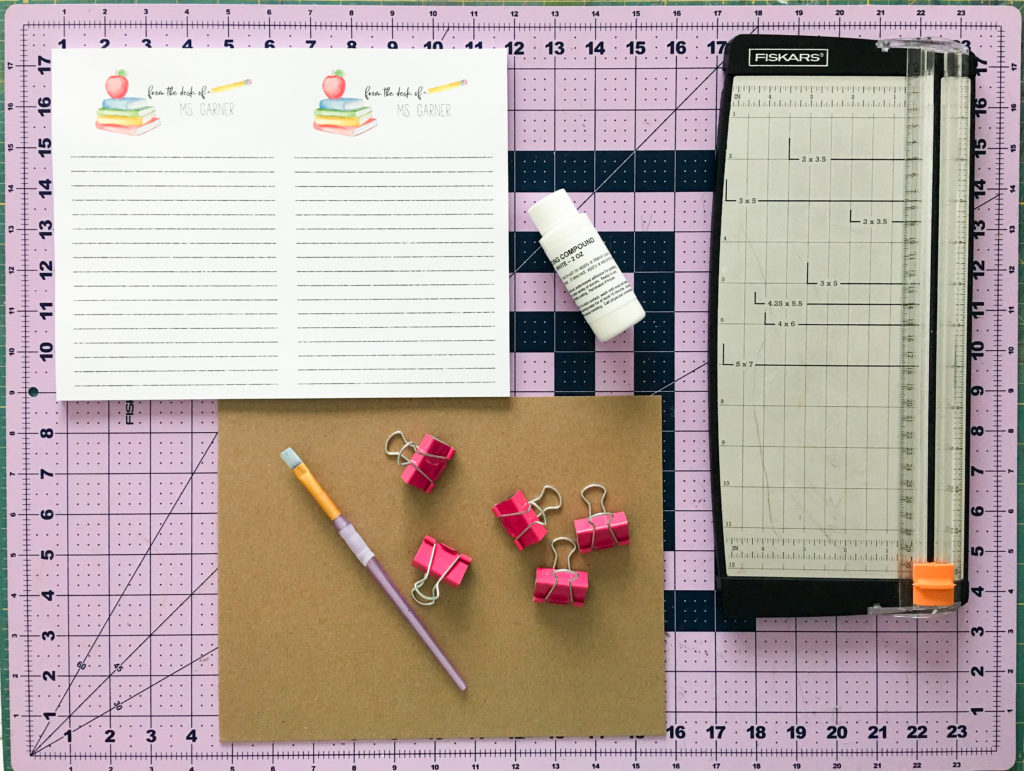
Below is the list of all the materials that you’ll need to complete this project.
This post may contain affiliate links for your convenience. If you purchase a product via these links, it doesn’t cost you more but I get a percentage of the sale, to learn more about my disclosure policy click here.
- Adobe Reader (Free software for personalizing the PDF) or other design software
- printer
- paper (this is the paper I used)
- paper trimmer or x-acto knife
- padding compound
- chipboard for the backing
- small paint brush
- binder clips
Now let’s get to the fun stuff and make a notepad!
Create the printable template:
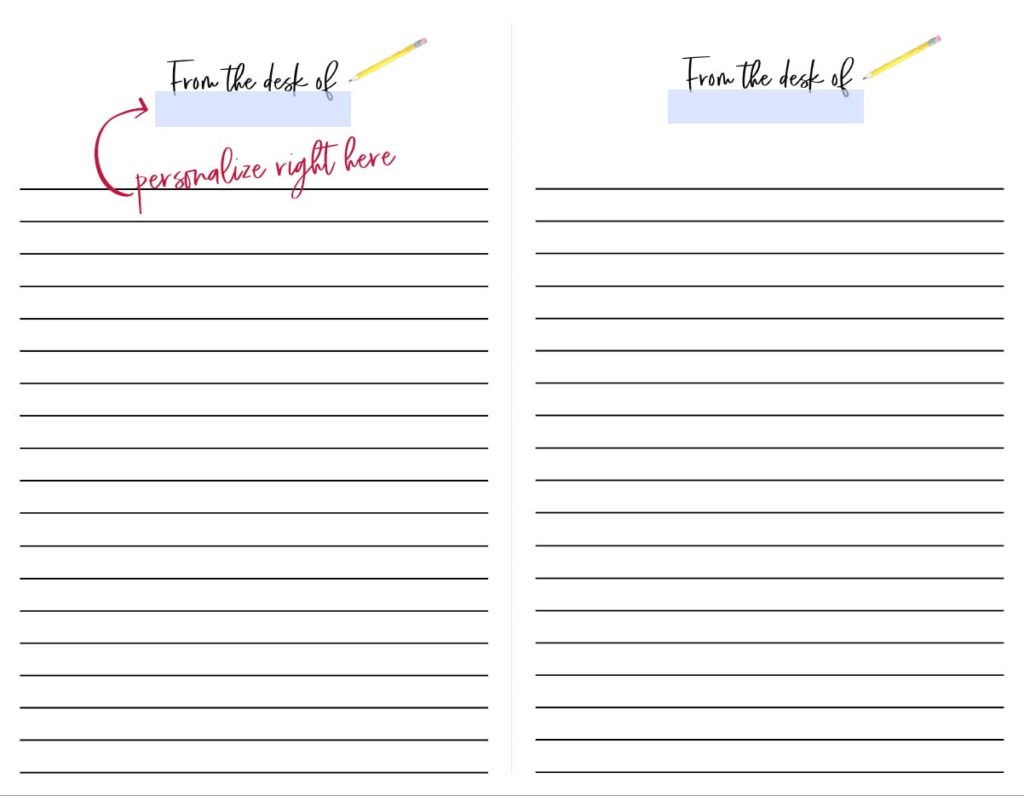
Download the template and save to your computer. The font used is Arvo, which you can download here for free. If you don’t have it loaded on your computer then it will automatically default to one of the fonts on your computer – which is ok to use too – You MUST download Arvo first before opening the PDF to add the name.
To personalize the template, you will need Adobe Reader which you probably have on your computer but if you don’t you can download it for free here.
Navigate to the saved file and double click to open in Adobe. Click on the highlighted blue box and type in the name. Hit the tab button and it should carry over the name to the next box.
Once you have downloaded and personalized the file follow the steps below to make a notepad!
Step 1: Print
I used this 32lb smooth white paper to print on. You can use copy paper and it will be just fine, but I prefer to use the heavier weight paper. It feels a little more fancy and custom. 🙂
I printed 25 copies of paper for each notepad – so 50 sheets when the pad is completed.
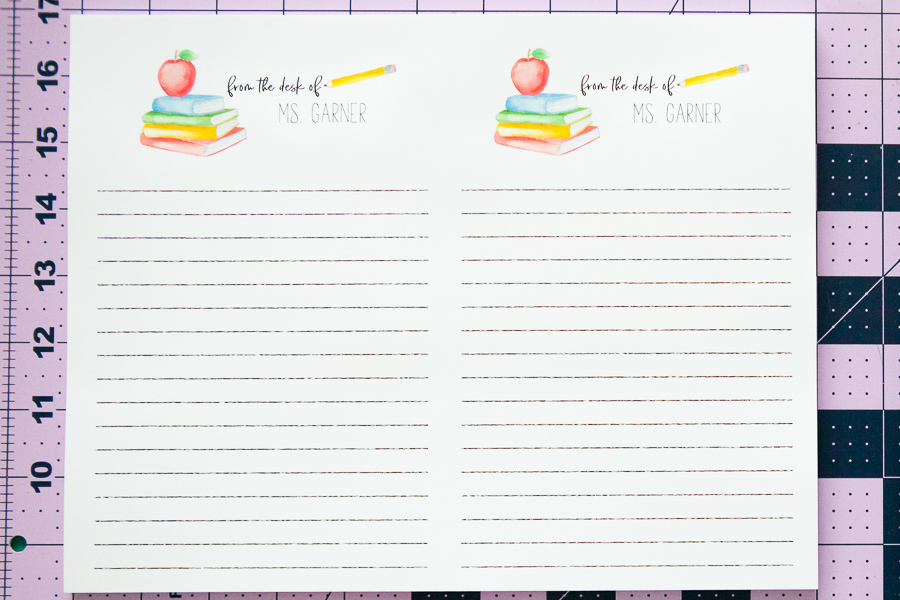
Step 2: Cut the paper
I used a rotary cutter and mat but you could use a x-acto knife and scrap piece of cardboard (so you don’t destroy the surface below). Or a paper trimmer of some sort.
Cut down the middle at 5.5 inches. (There is a faint gray cutting guide on the editable template, if you are using the one I made.)
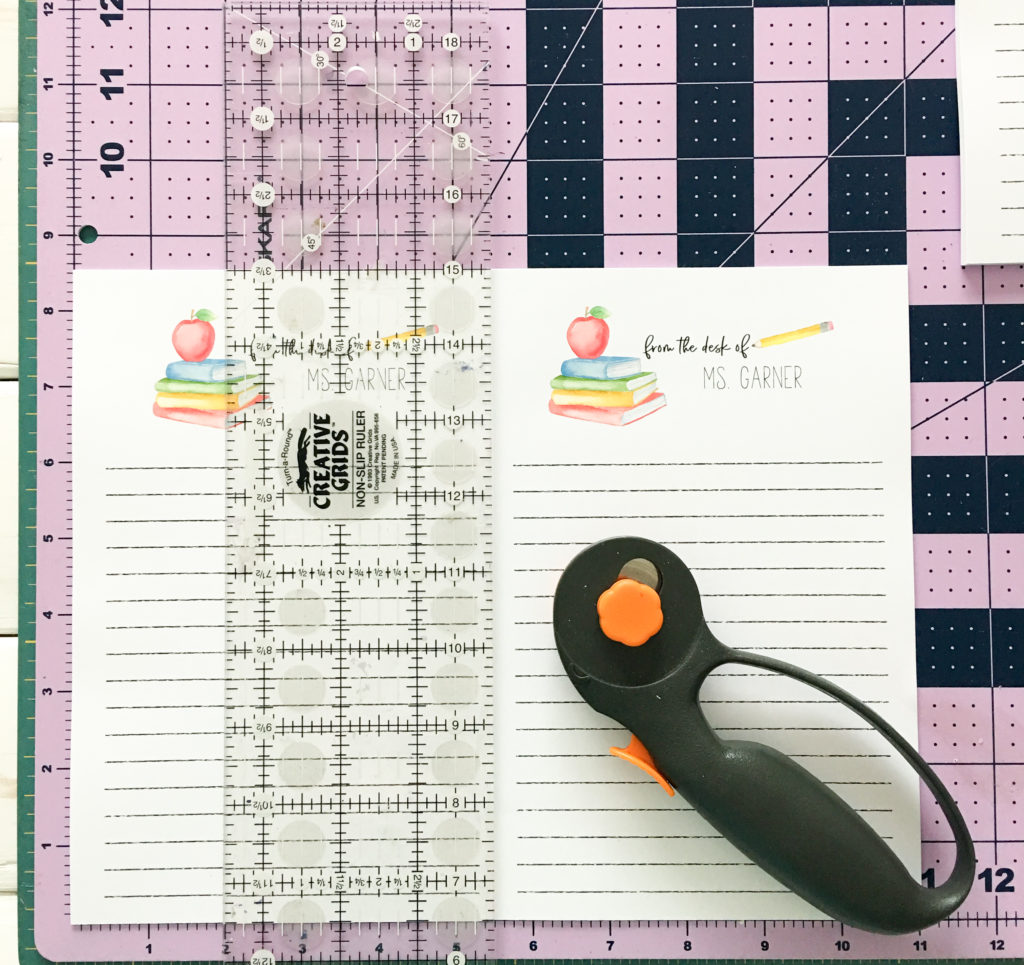
A note about cutting
You may be thinking you’ll just use scissors to cut the papers in half – and don’t get me wrong, you can and that would totally work. But I strongly recommend using a paper trimmer, x-acto knife or rotary cutter if you have one. Be careful not to cut too many papers at once, the papers will slip and you’ll have uneven halves. (I started with a paper trimmer but could only cut one page at a time, so that’s why I finished using the rotary cutter and a ruler.) The rotary cutter worked well for cutting 3-5 pages at a time without any slipping and I got a nice crisp cut but I think a sharp x-acto knife would do the trick as well. You can clamp the papers together with smaller binder clips on all sides to avoid paper slipping too. I didn’t think about that until after I cut…..I pressed firmly on the ruler over top of the paper while cutting and didn’t have a problem with slipping.
Step 3: Cut the chip board for backing
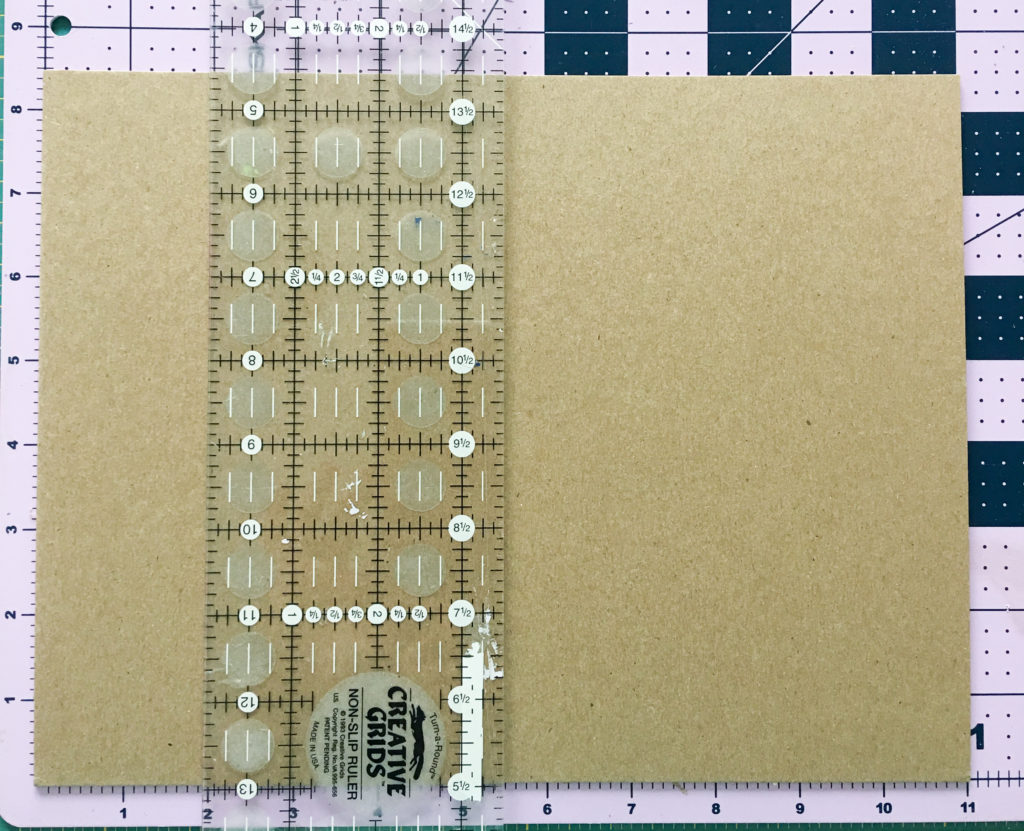
Same thing here. Cut it in half at 5.5 inches.
This chipboard was pretty thick so it took a couple of passes to cut through.
Cut a few scraps of the chipboard to use on the front side of the notepad under the binder clips.
Step 4: Put it together
Grab a couple of binder clips and put the papers in a neat stack all lined up at the top of the notepad. Put a piece of the cut chipboard on the back and use a scrap piece of chipboard in the front under the clip when you bind them together. This will help keep the notepad nice and tight while protecting it from getting an indention by the clip.
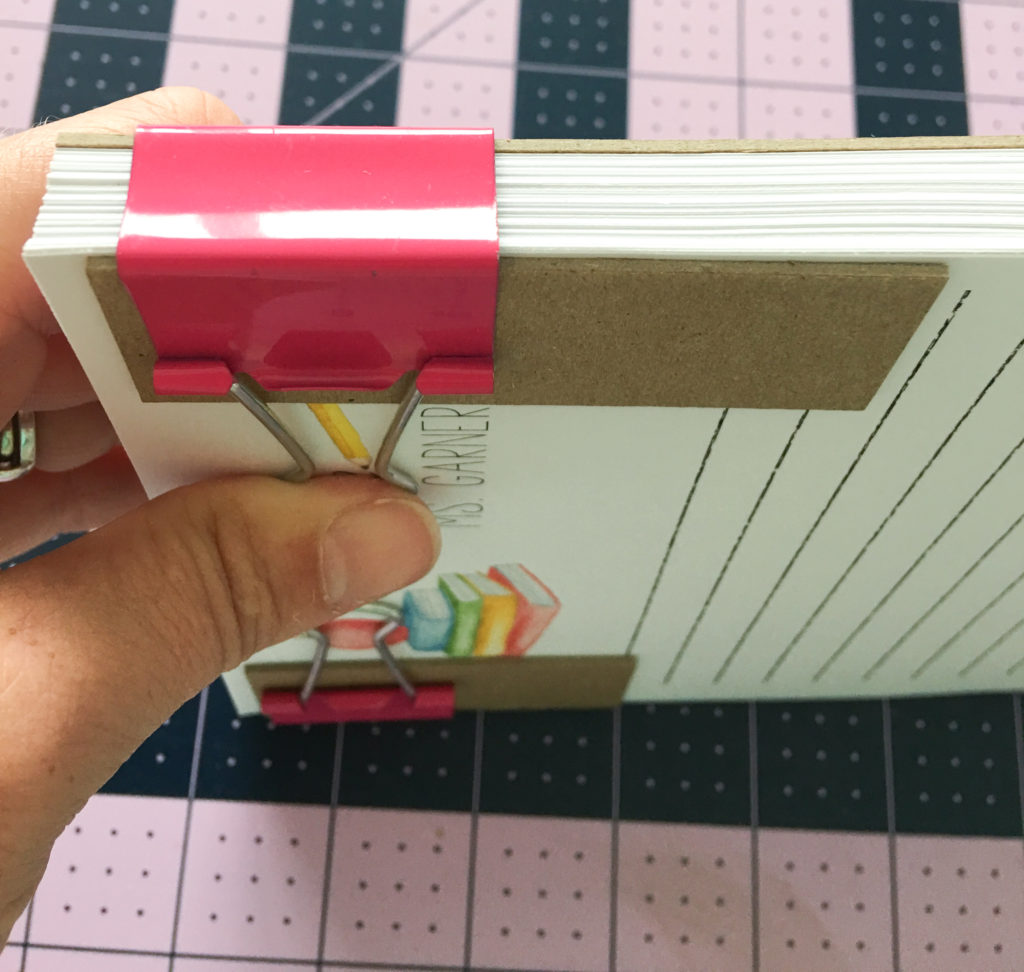
Step 5: Glue it
Use a paint brush to spread a generous amount of padding compound across the top of the stack (including the chipboard). It’s got the consistency of glue and is white but dries clear.
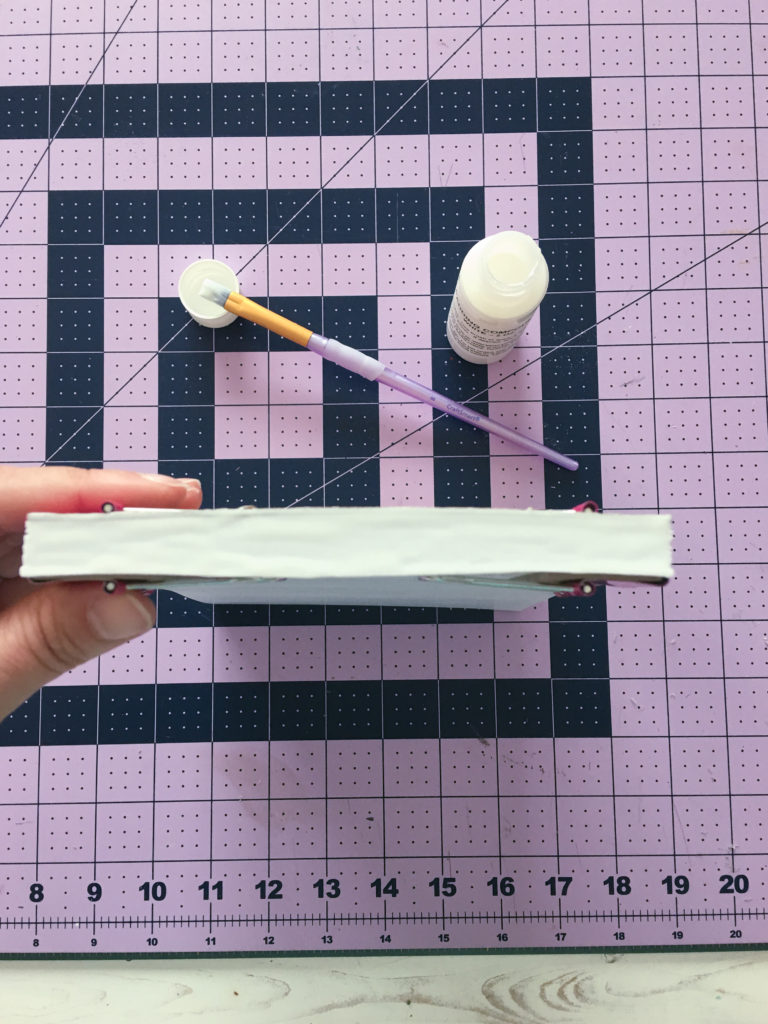
I’ve seen several tutorials where people make their own glue but honestly, I didn’t have time to experiment with it so I just went straight to ordering some padding compound and it worked perfect.
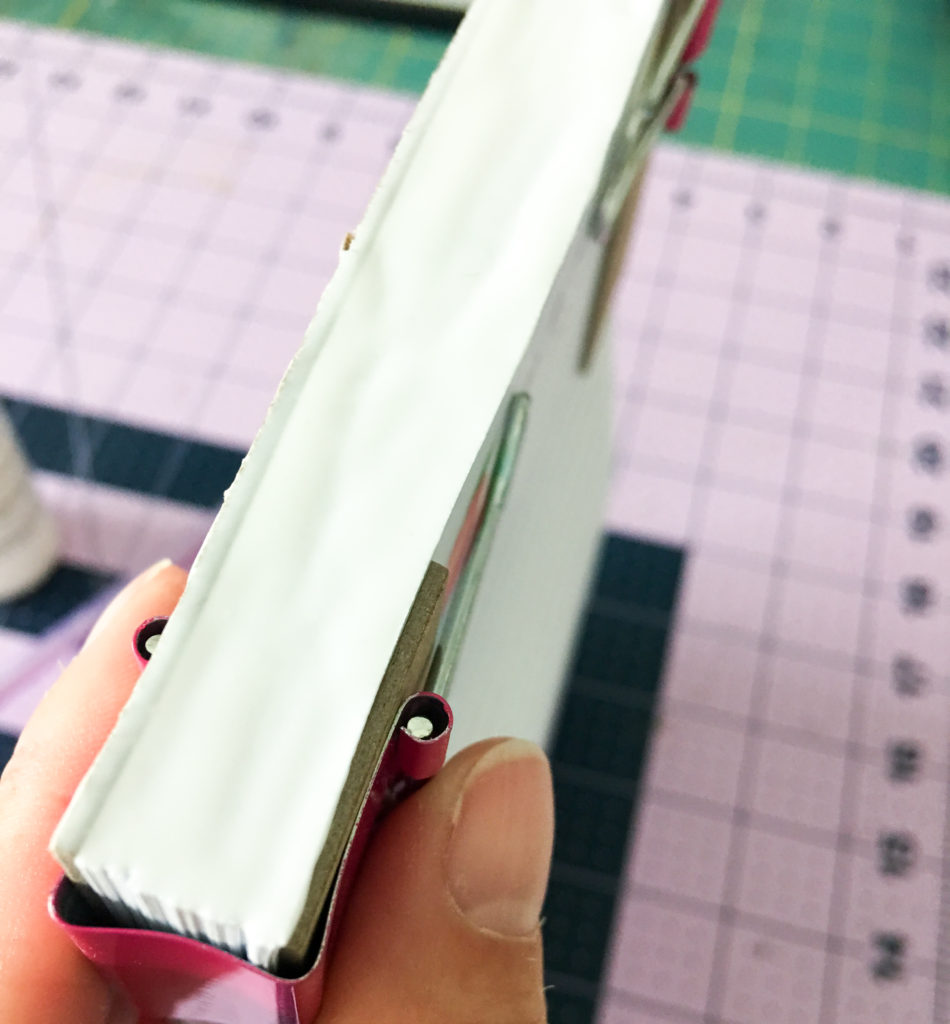
Now let it dry standing up just to be sure the compound dries evenly and doesn’t drip off the sides. I let it sit for about an hour or two to dry.
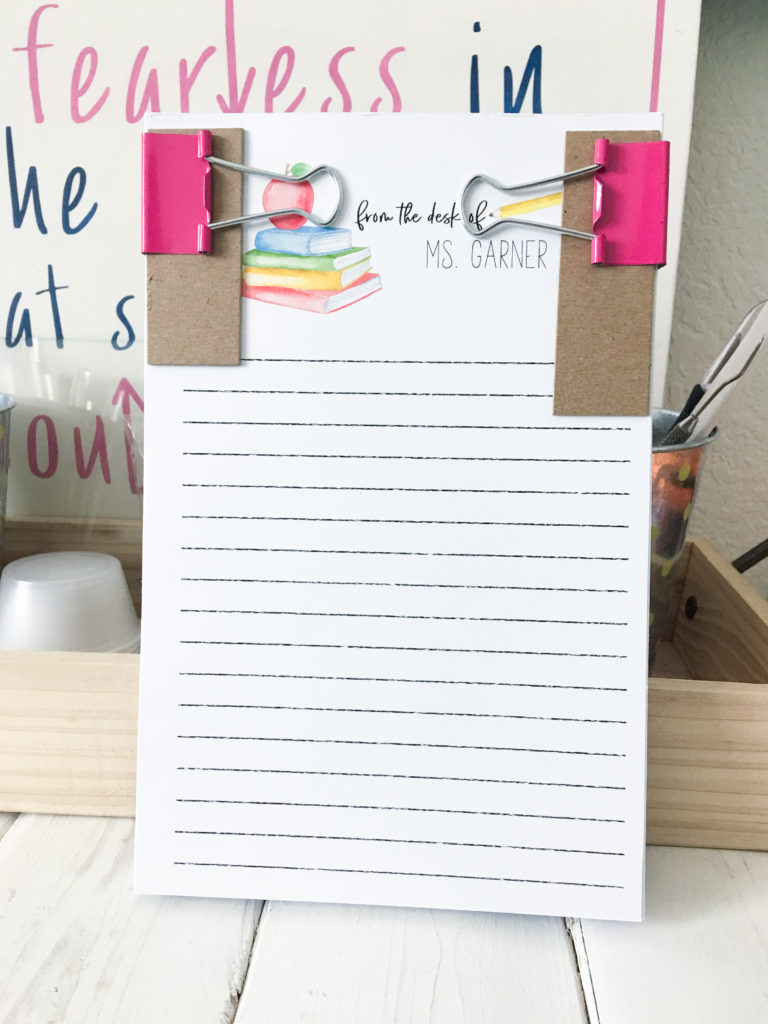
And you are done. Yay!
LOVE THIS IDEA?
PIN IT SO YOU DON’T FORGET IT!

I was wondering how can i get the template with the notebooks on top of the notepad. I do not see that one. Thank you