Hey y’all! Have you jumped on the DIY burlap everything train yet?
Well, I have another burlap project to share with you. A burlap and lace table runner tutorial!
A while back, I came across a picture on Pinterest of a burlap and lace table runner that caught my eye. There was something about that combination of rustic-y, dainty and fancy that appealed to me. Ever since, I’ve been trying to collect information on how to make one but there’s just not a lot out there. There is a ton of info on burlap and every other possible thing you can make with it, but not a burlap and lace table runner! So I had to figure this one out for myself.
Let me start by saying first…I washed my burlap. You don’t have to, but the stuff if so fuzzy and stinky and it makes me itch like crazy! My goal was to cut down on some of that stink and itching. I put it in the washer with a little bit of soap. Then I draped it across the table and let it air dry. It makes the burlap wrinkly, but you can iron it and I figure, eventually, all the little stubborn wrinkles will come out.
Stuff you’ll need:
*Burlap – I used 3 1/2 yards
*Lace – 2x the length + 2x the width – I had 8 yards
*Scissors
*Fray Check
*Stitch Witchery
*An iron
*A damp cloth
This is how I did it:
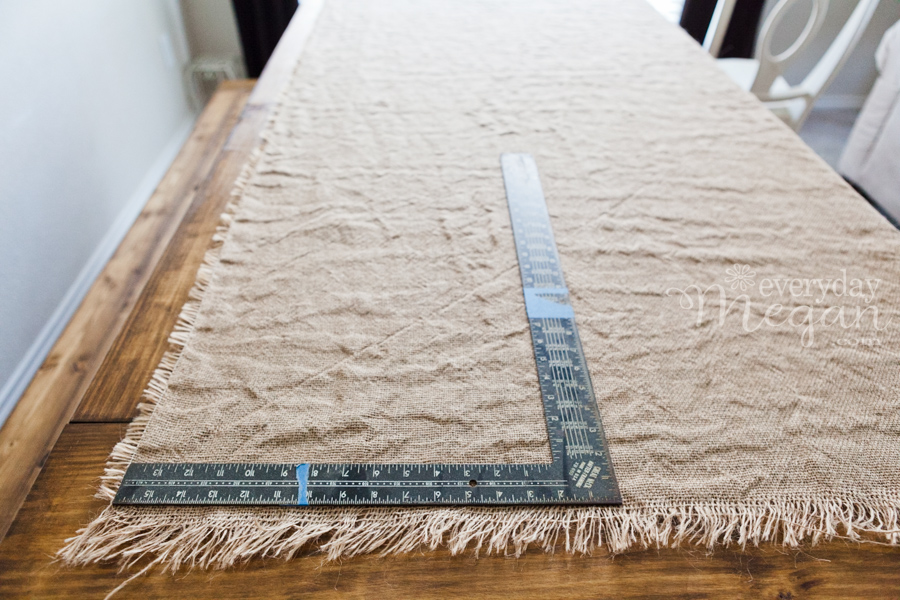
1) Determine the width of the table runner. I decided on 16″.
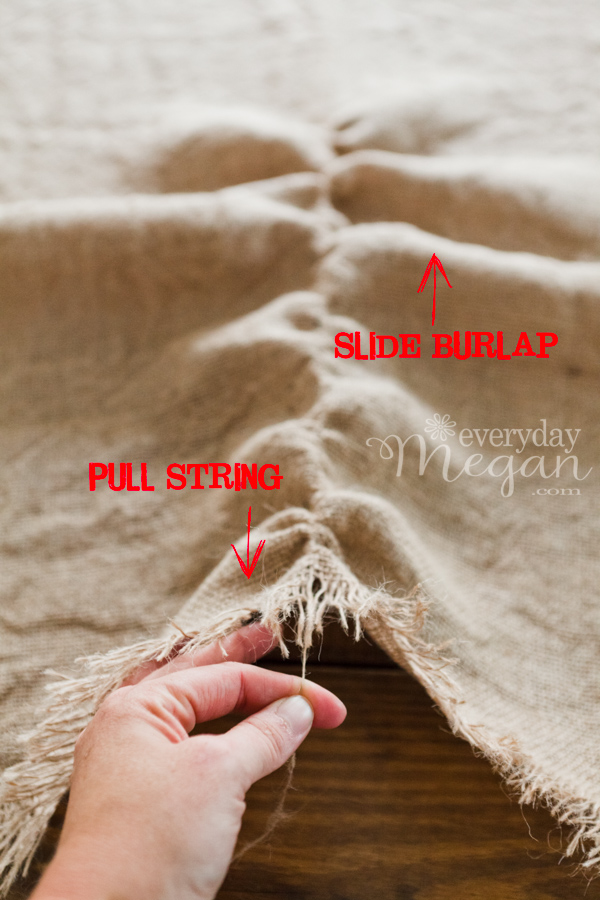
2) Pick a string that is near the width that you determined and *gently* start pulling it out of the weave. To do this, you want to hold the string with one hand while slowly sliding the burlap in the opposite direction working your way down. Be ginger with it, if the string breaks, you have to go fishing for it and that’s not fun…but it is possible.
Eventually, the string will come out and create a “path” for you to cut on.
3) Grab your scissors and cut down the path you just made when you pulled the string out.This is going to create a straight line. This is the only way you will get a straight line with burlap.
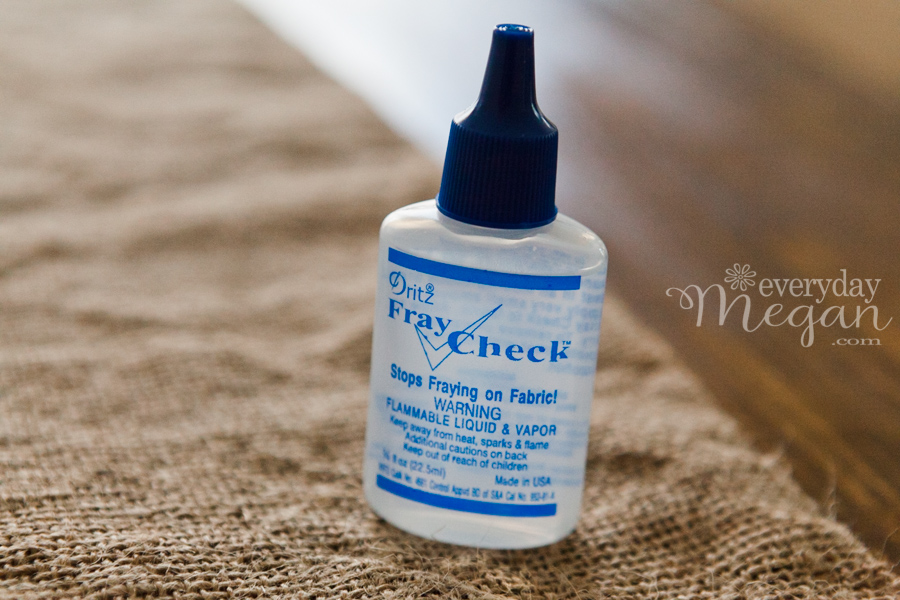
4) Next, you want to use some Fray Check and apply it down the side you just cut. It’ll bind up those loose ends. This stuff is incredible when working with burlap, by the way. If you have ever worked with burlap, then you know that it unravels and frays horribly. So I applied the Fray Check immediately after I trimmed each side.
5) Now, repeat the whole process on the short sides. (I left the selvage side in tact and just trimmed the frayed part off.)
6) Now you’ll need the Stitch Witchery, lace, a damp cloth and your iron.
My first thought was to use hot glue to adhere the lace to the
burlap, but after thinking about it, I didn’t want to deal with the mess of the glue coming through the lace while burning my finger prints off in the process.
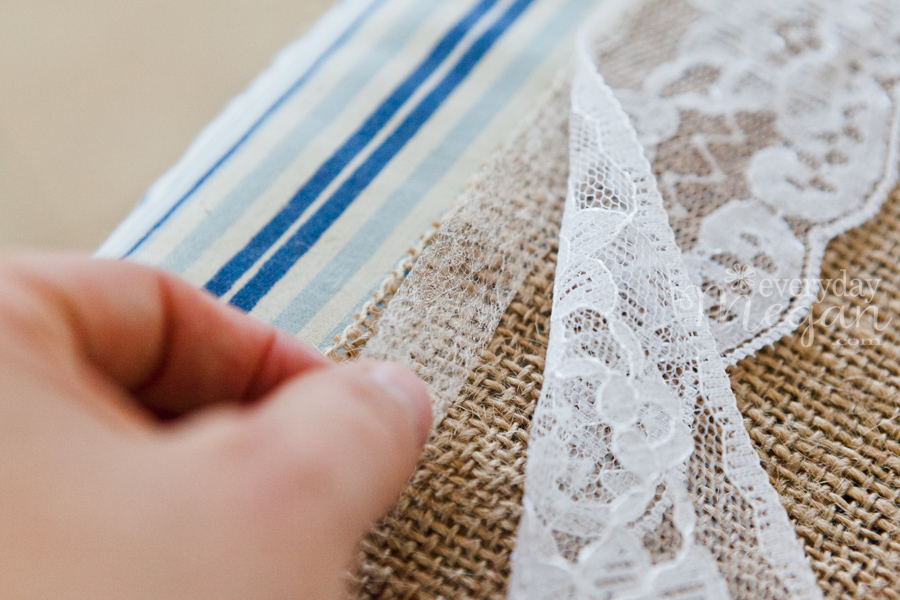
I worked in about 5″-6″ sections at a time. Lay the Stitch Witchery along the edge of the burlap and line the lace up over top.
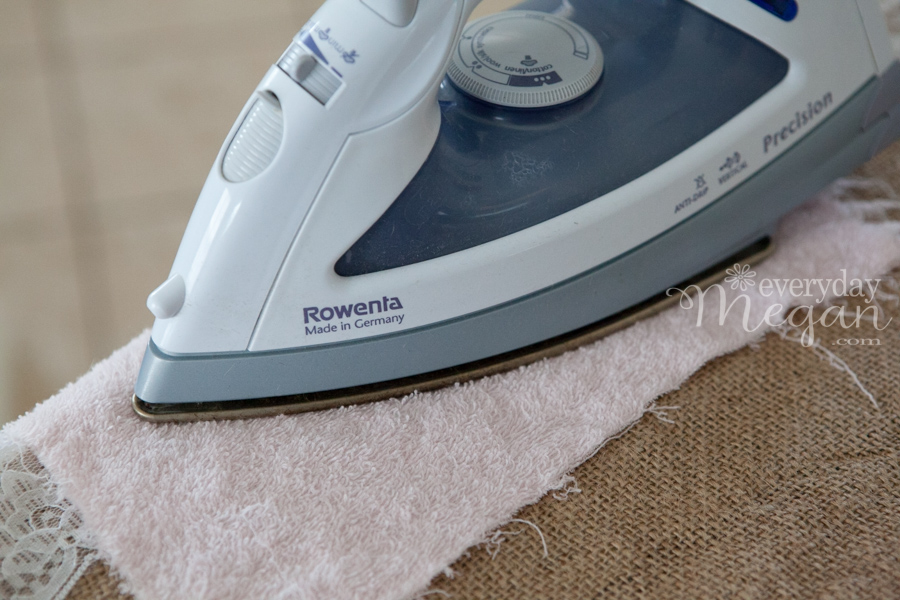
Then lay your damp cloth over top of the lace, carefully so you don’t disrupt your layers, and place the iron on top of the cloth. Apply light pressure for about 10 seconds or so. Don’t move the iron around, hold it still.
The cloth will most likely start to dry up, I found it worked best when it was pretty damp, so you can either keep a spray bottle close by or run to the sink a few times to get the rag wet again.
This was the tedious part for me…only because my table runner is long and I’m impatient! Really easy, though.
7) Repeat on the other side.
If you like the look of the runner with just the lace running down both sides…then your done!
I liked the look of it with the lace down both sides….but, I wanted to take it a little further and see how it would look with lace on the short sides, too.
So, I repeated the process down the short sides. This time I used a double line of Stitch Witchery to adhere the lace at the bottom and top to avoid any sagging.
I ended up with the ends being a little uneven. I used the lace as my straight edge and then trimmed the burlap after I had the lace adhered.
The last and final step I took…I sewed around the outside edge.
Not an absolute necessary step, the Stitch Witchery held it together well. But I really liked how my table runner turned out and wanted to be sure that little hands couldn’t destroy and un-do everything that I did….because they are masters at that! I try to stay one step ahead.
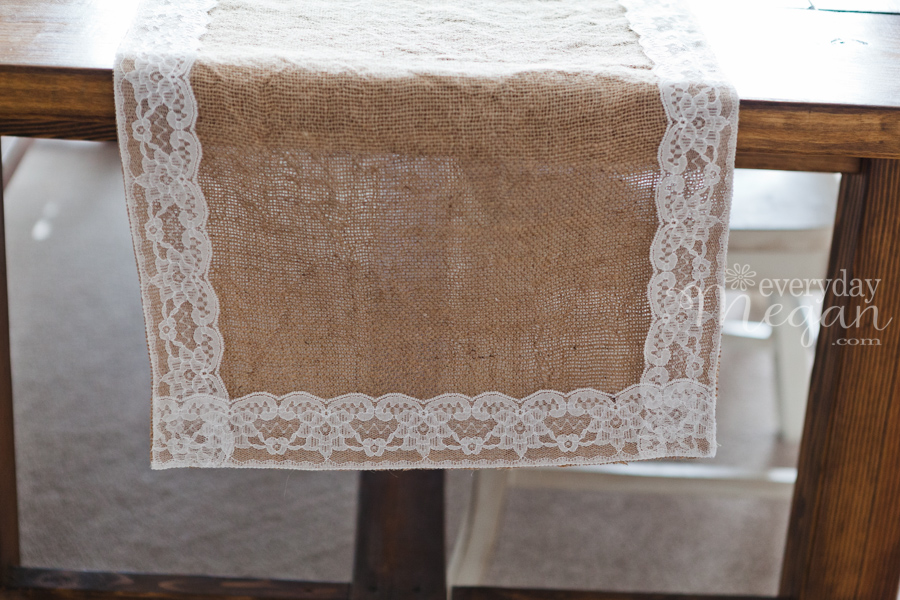
This is how it turned out.
Not too shabby!
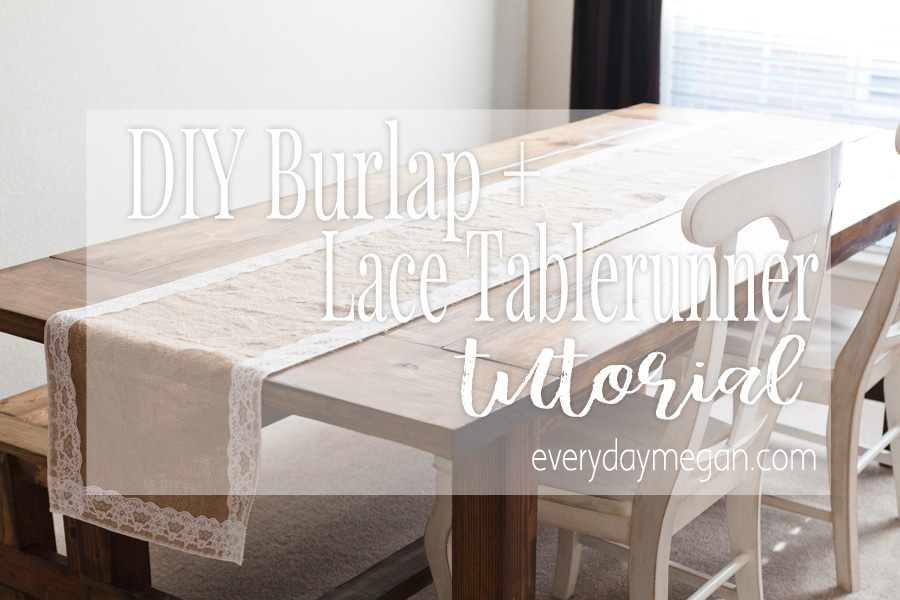
Now I’ve got to work on my table-scape. Have you made any burlap projects lately?
Cheers!
Megan
