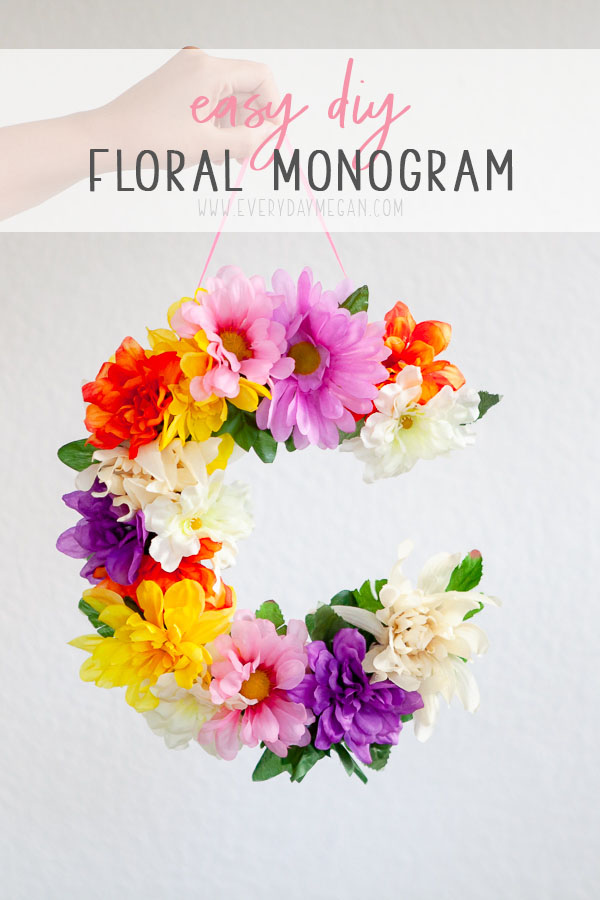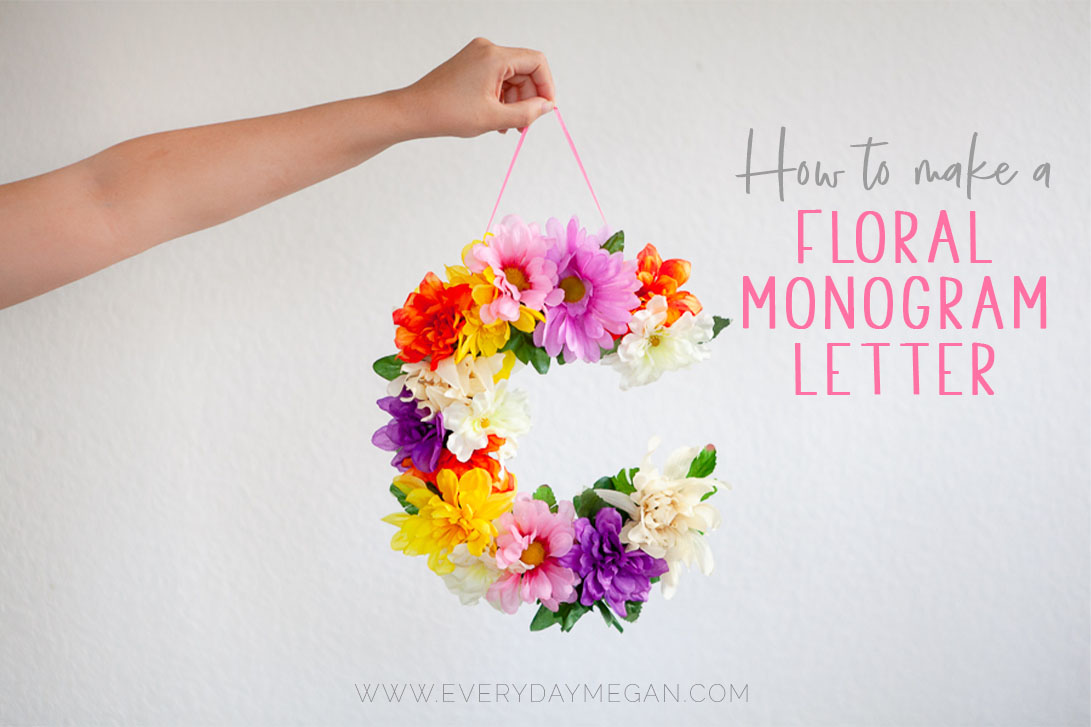
Are you looking for an inexpensive way to create a floral monogram letter?
Or maybe you are looking for some inspiration on decorating for a little girls birthday party, baby shower or even a wedding or bridal shower?
This is one of the easiest, inexpensive and quickest craft projects I’ve ever done. Fo-real.
This project was inspired because my daughter’s high school Volleyball team has been doing a big sister/little sister gift exchange once a week for the season. They are challenged to keep gifts under $5 and this week they exchanged a first name monogram letter to decorate their locker. I wanted to find flowers in school colors but navy and chartreuse green are a little difficult to find (for cheap, anyway) so we just went with colorful!
A floral monogram letter would be so cute for decor in a nursery or child’s room OR it would be super cute decoration at a baby shower. You could spell the whole name with flower letters – how cute would that be?!!
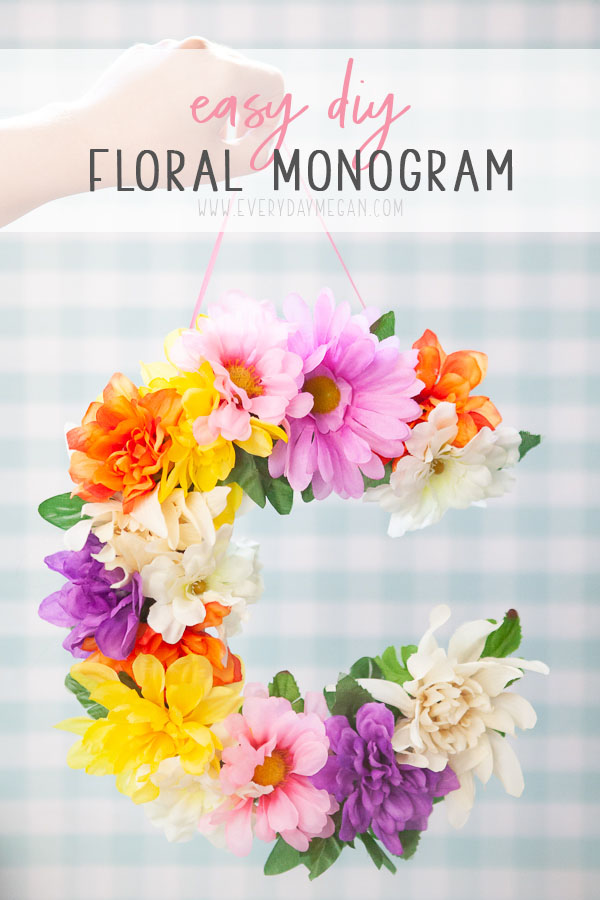
This is a 12″ flower covered letter that I made for about $5 bucks guys! FIVE bucks. Cheap and cute, just how I like it. 🙂 The flowers and foam core board were purchased at the dollar store.
This post contains affiliate links for your convenience. If you purchase a product via these links, it doesn’t cost you more but I get a small percentage of the sale, to learn more about my disclosure policy click here.
Supplies you’ll need:
- Letter Template
- Scissors
- Xacto knife
- Foam core board
- Glue gun + glue sticks
- Ribbon
1: Make a template
I used my silhouette and this 105lb cover stock (because it’s what I had on hand) to create my template but you could use any word processing program to print a letter and cut it out for your template. I used a 12 inch letter.
Or hey, if you are feeling all crazy, you could free hand your letter, too. 😉
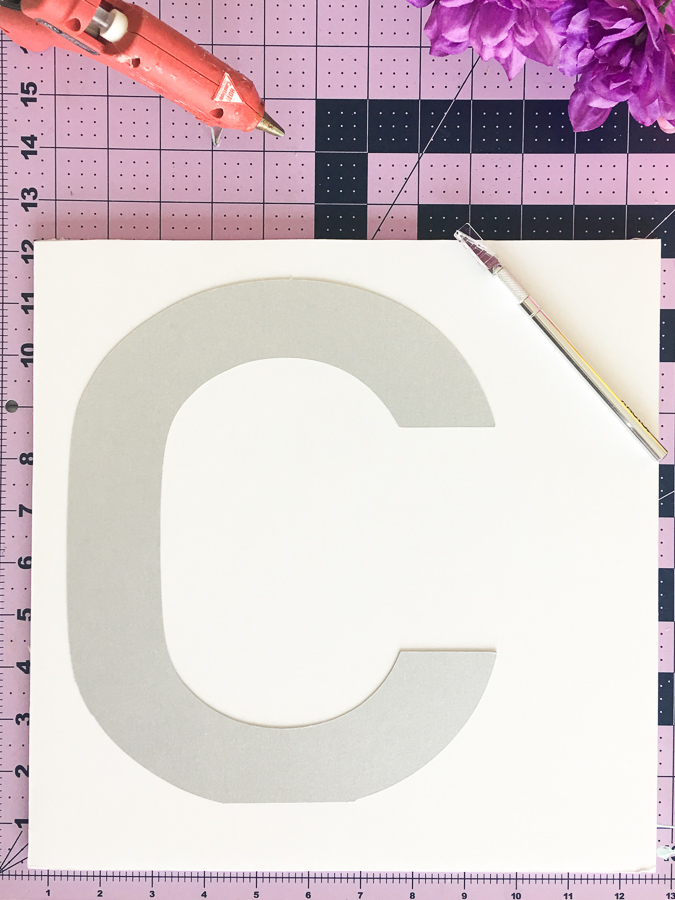
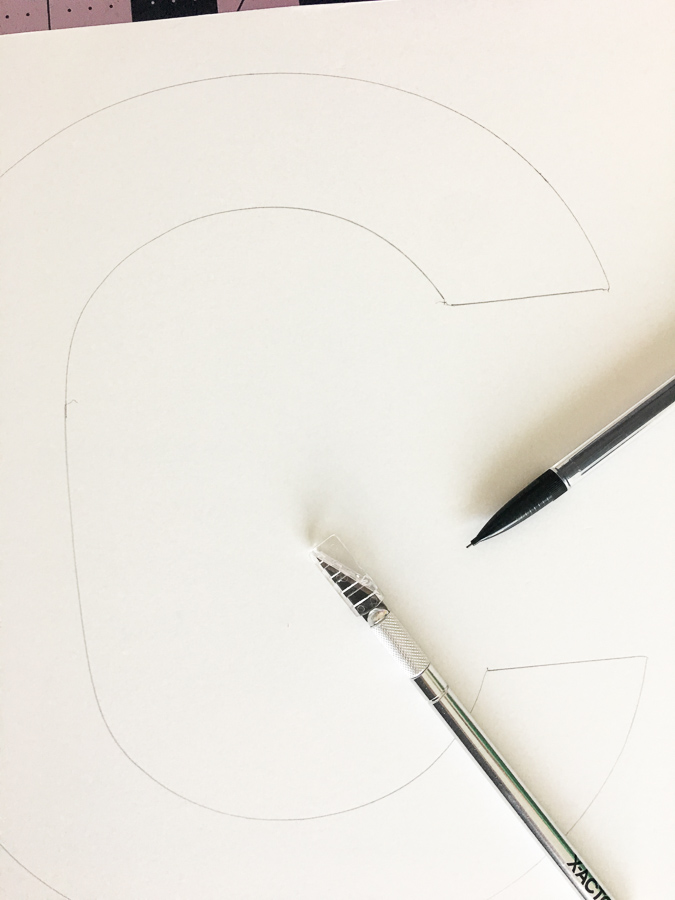
2: Trace the letter on the foam core board and use the xacto knife to cut it out.
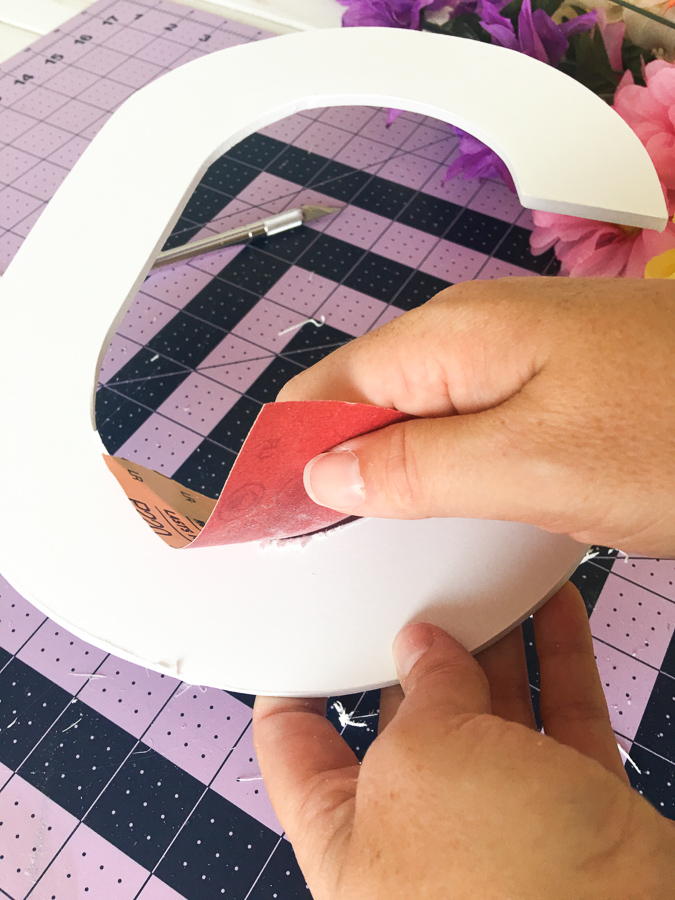
3: Clean up the edges
Once you have the letter cut out, you may have some rough edges. You can use sand paper to gently run along the edges and it cleans it up real nice. I used a 400 grit.
If you don’t have sand paper, you could use scissors to trim the rough edges.
Or you could just leave them if it doesn’t bother you.
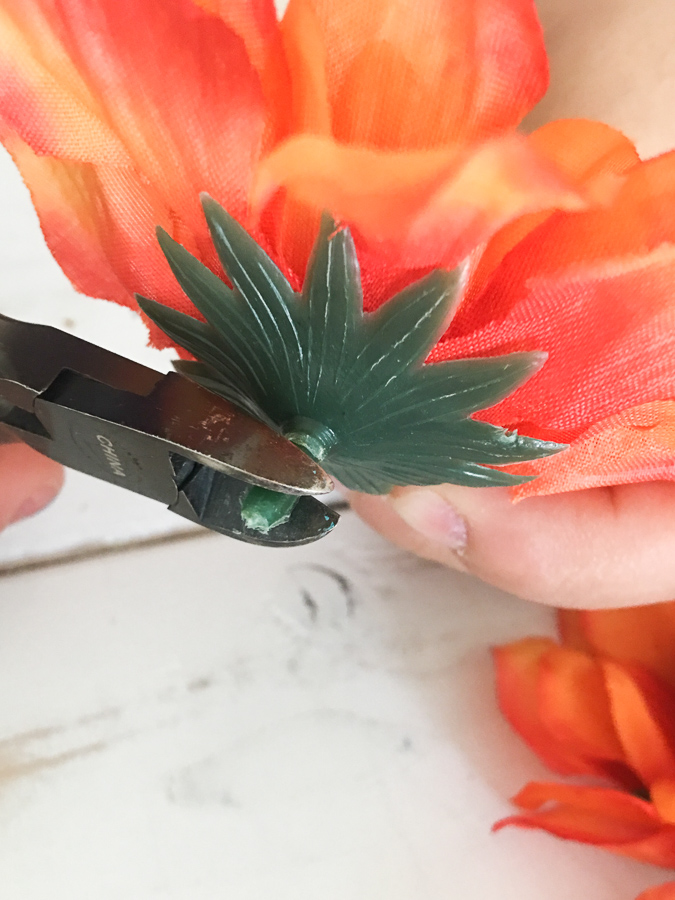
4: Pull the flowers off of the stems.
We cut the tip of the stem connector off so it was a flatter surface and easier to adhere with the hot glue. (I used my craft wire cutters, but it’s just plastic so you can use scissors.)
Reserve some of the leaves to glue down too.
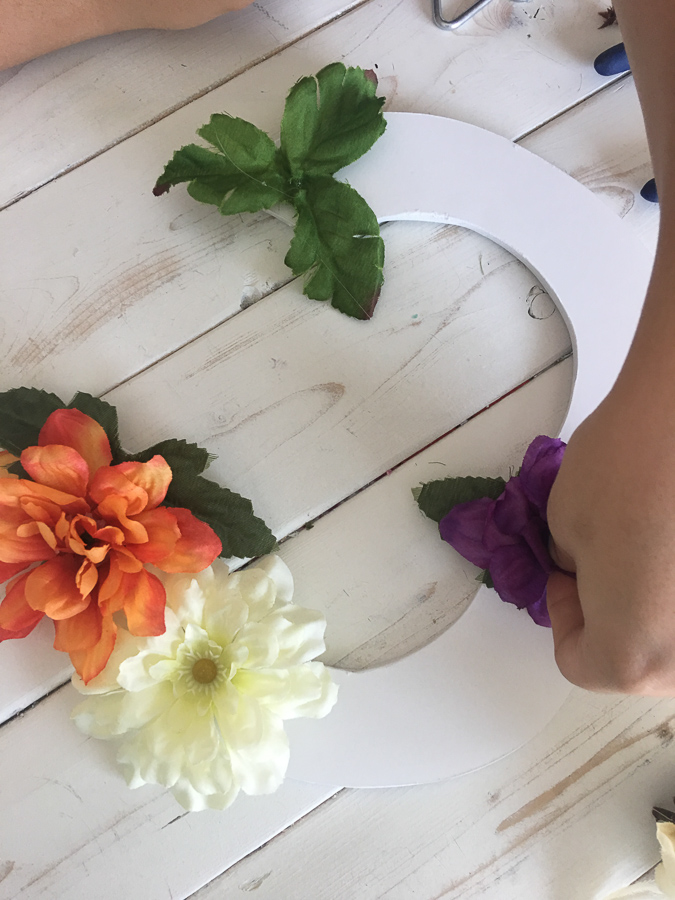
5: Start glueing!
Lay the flowers out first so you can get an idea of how you want to attach them.
When you’re happy with your layout, start glueing.
We attached a first layer of a few leaves and flowers and then filled in the spaces to give a fullness. We packed them in pretty tight.
I’d recommend attaching the flowers in a offset pattern and not lining them up perfectly.
Cut a piece of ribbon and hot glue it to the back side for hanging.
The letter is super light weight so you could probably get away with using tape on the backside to stick it to the wall if you don’t want to mess with the ribbon.
And you are done!
See – told you, simple!
Love this project? Pin it so you don’t forget it!
