*This page may contain affiliate links. All this means is that when you buy a product linked from this page I will receive a small commission at no extra expense to you. Thank you!
I’m so excited to share with you how to build a DIY vent hood and add a custom designer look to your kitchen!
It’s honestly way easier and way cheaper than you might think!
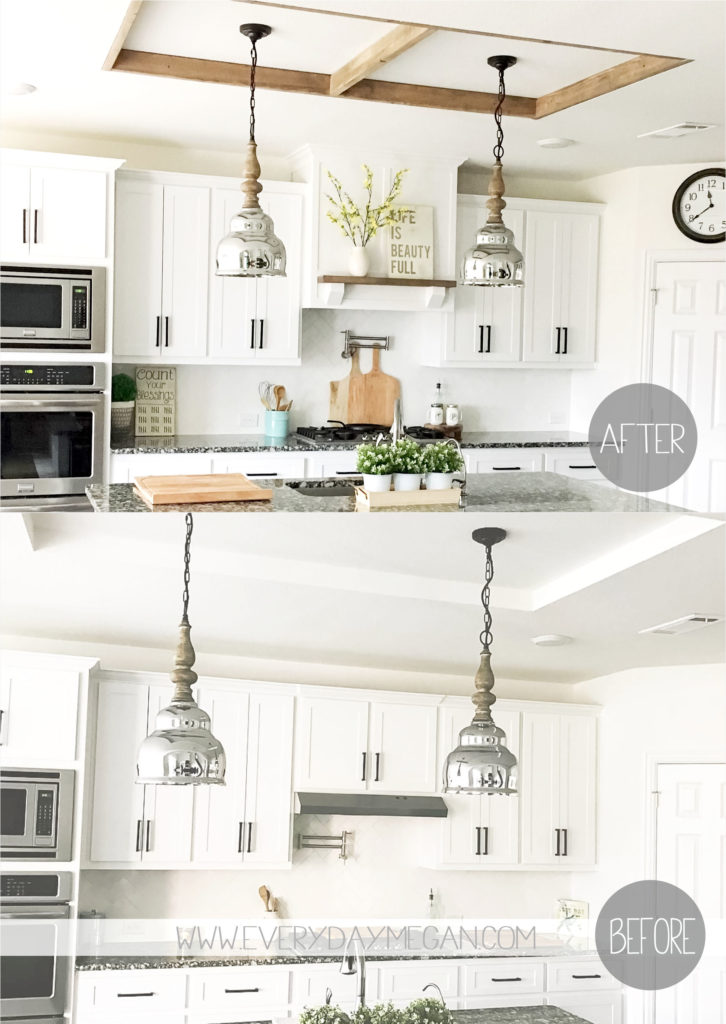
A custom DIY vent hood is by far the best bang-for-your-buck project we’ve done thus far!
It was fairly simple and inexpensive to do. AND it makes the kitchen feel so much more custom!
In this post I’ll run you through the steps we took to build it, however, I hate to say that I don’t have pictures of every step because my hubby kept jumping ahead of me (while I was busy running kids around) and didn’t think to take photos. So I’ll walk you through the best I can with my photos.
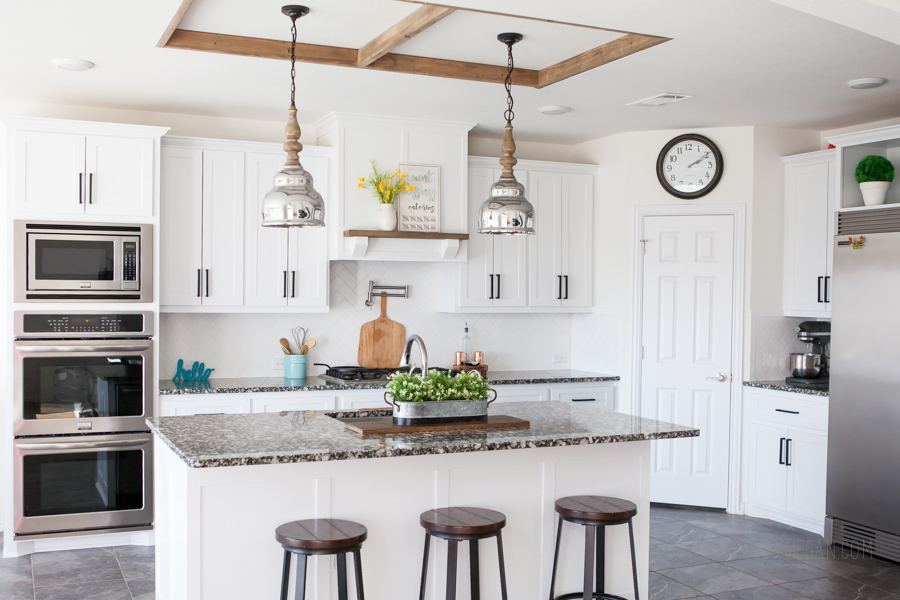
When we were designing and building our house, I had my ‘wish list’ and then I had my ‘back to reality‘ list.
Custom vent hood, island & pantry cabinetry, double ovens, commercial size built-in fridge/freezer, professional range….Basically, I wanted a designer kitchen.
I sent in requests for quotes on each upgraded item just to see how much it would be and quickly realized that – yep – not gonna happen and so those items dropped off real quick. 🙂
The builder was going to charge us some crazy amount in the range of 3,000 dollars JUST for the custom vent hood cabinetry! Yikes.
And this is why I’m so passionate about DIY-ing my way through life.
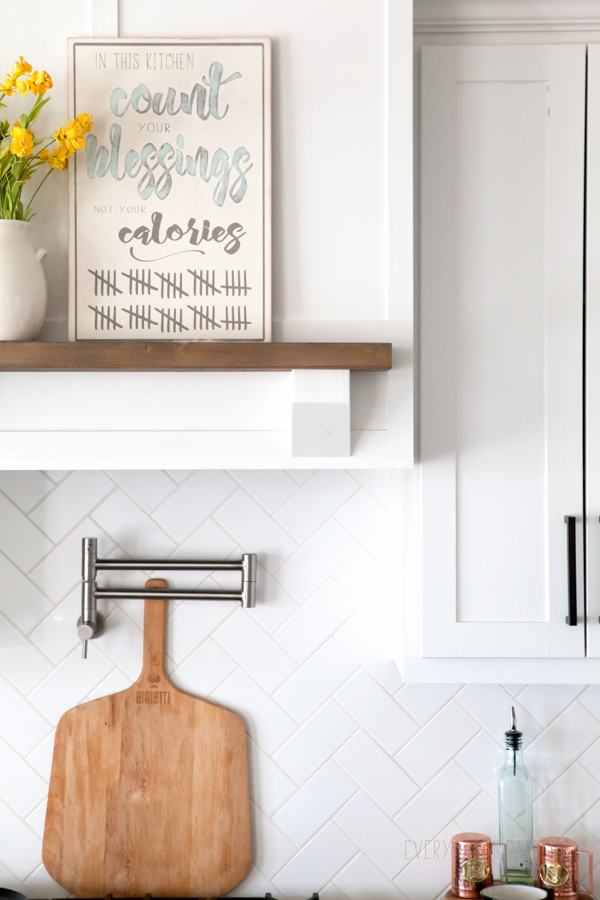
Custom building this vent hood cost us somewhere in the range of $175 dollars!!!
DID YOU GET THAT??? ONE HUNDRED AND SEVENTY FIVE DOLLARS!
If I was good at math I could give a percent of cost savings but I don’t want to break my brain and try to google that right now. 🙂
And seriously, it looks NO different from the $3000 hood by the builder!
Quite honestly, I’m happy we didn’t have the builder do it. I’m always up for the challenge of a new project and I love putting thought into the design of it all.
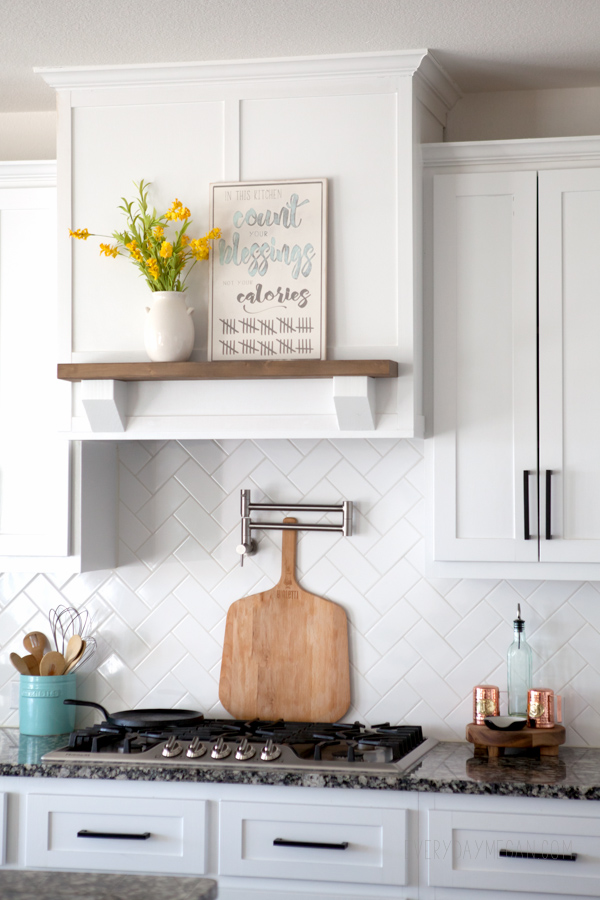
We decided to replace the whole shebang.
I’m sure you have seen that there are plenty of tutorials out there on building a hood around the basic exhaust fan and cabinet already existing.
We thought about doing that but once I started researching I found that it wasn’t too crazy expensive to buy a new insert designed for a built-in hood.
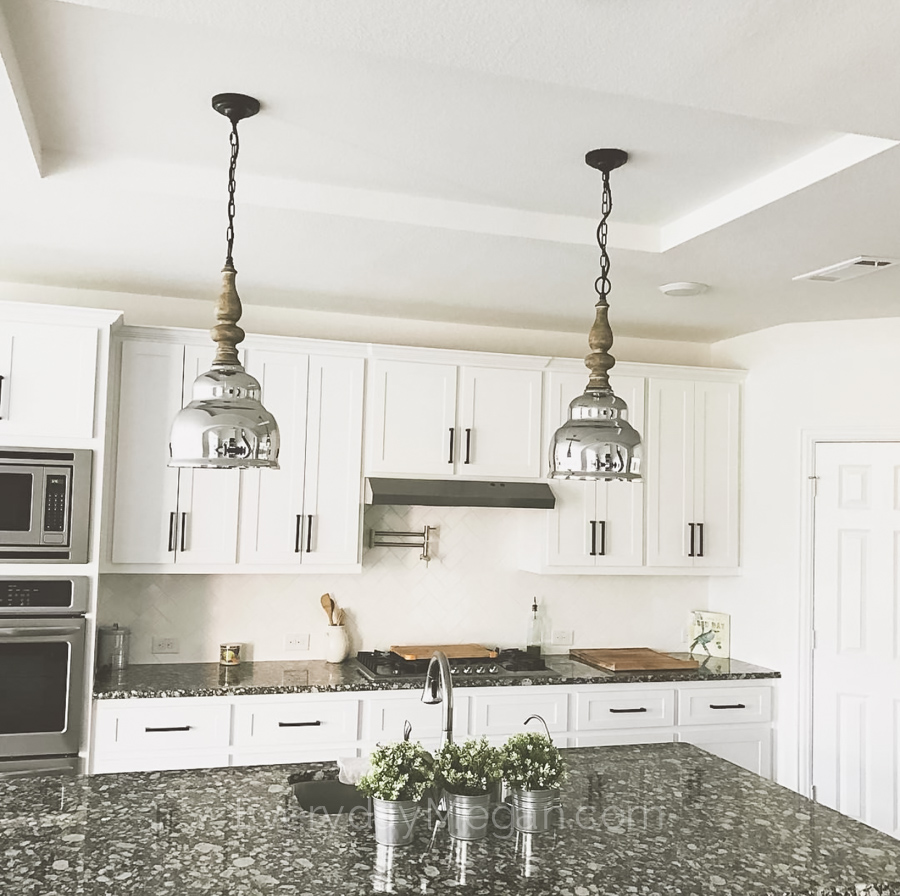
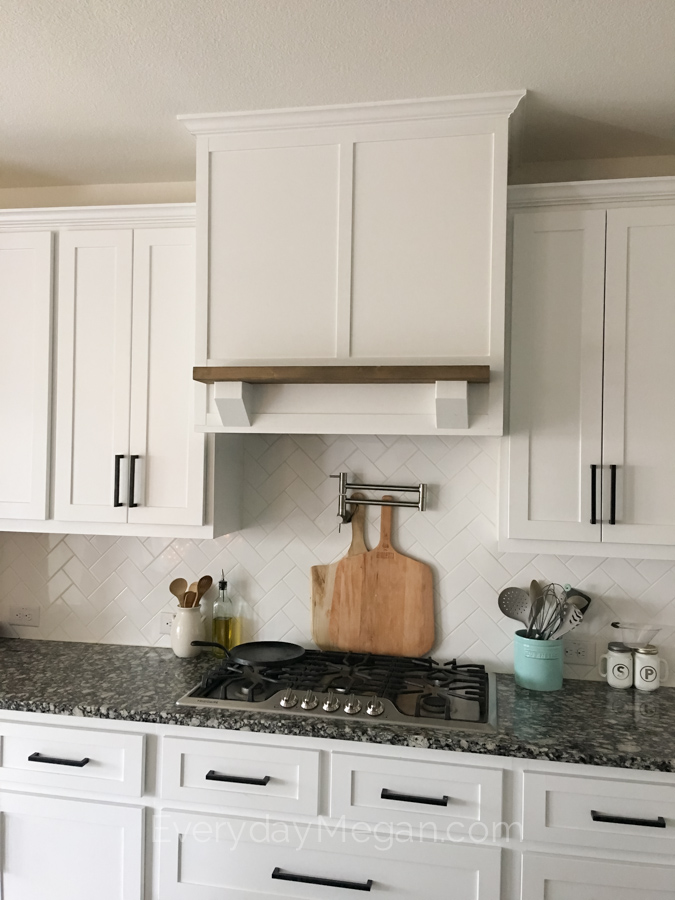
Here is the before photo:
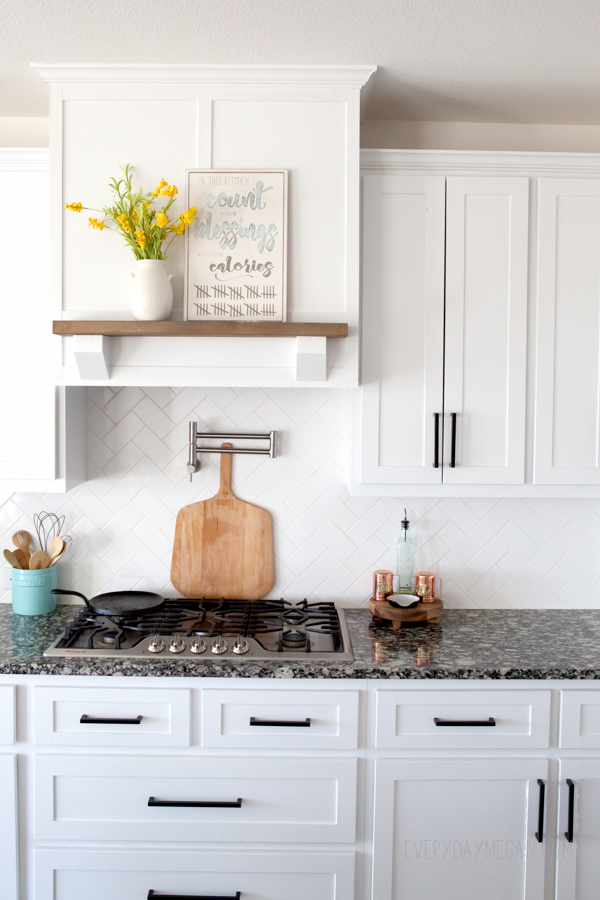
And after!
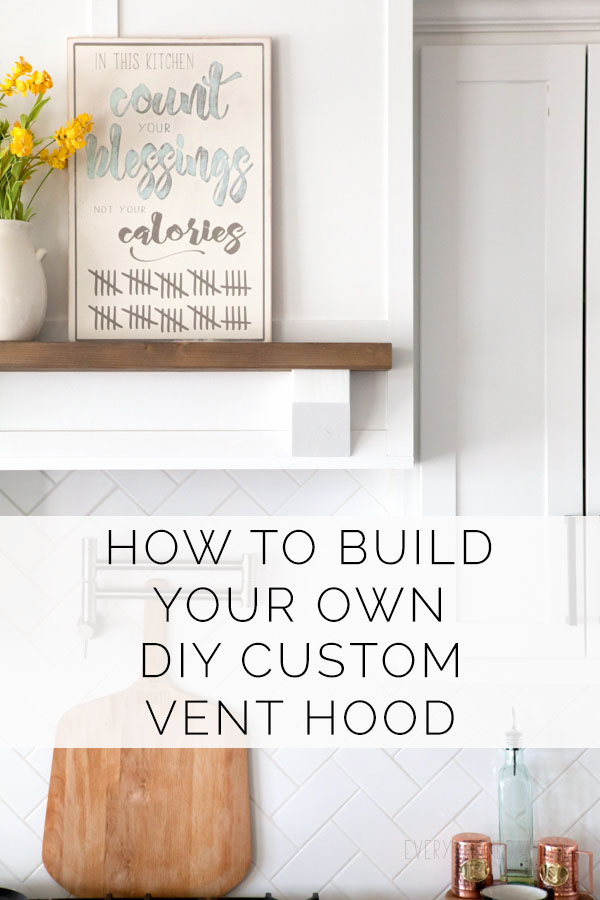
**This post contains a few affiliate links for your convenience, to learn more about my disclosure policy click here. If you purchase a product via these links, it doesn’t cost you more but I get a percentage of the sale.
Supplies we used:
Broan PM250 Exhaust Fan – (designed for hard wire, not plugin)
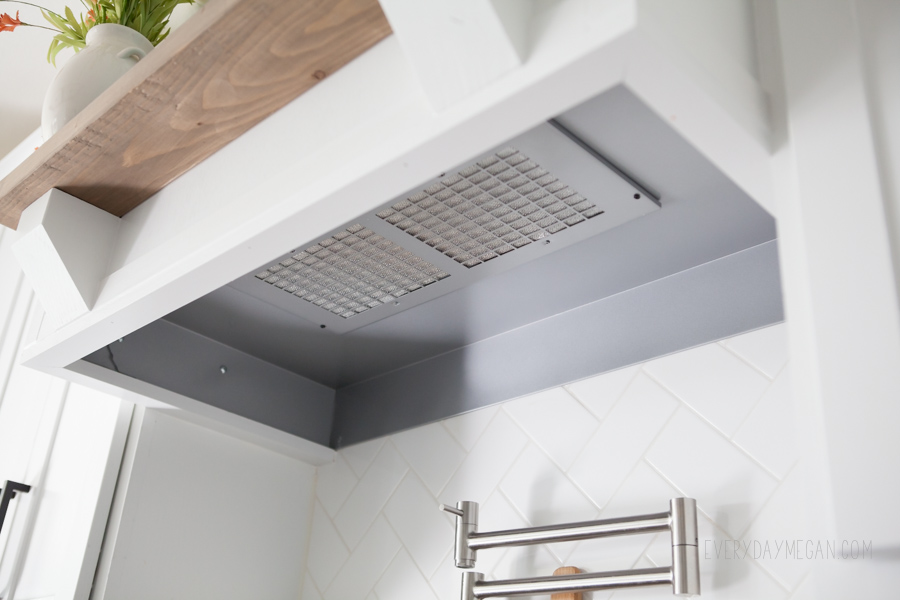
Broan Hood Liner
1 x 2 x 8 select pine for trim along bottom
4 x 4 x 8 to make corbels for shelf or corbels of your liking
2 x 6 for shelf/mantle
crown molding (for top)
table saw or circular saw
tape measure
pencil
miter saw
pocket-hole jig
1-1/4″ pocket-hole screws
drill
nail gun
stud finder
1-1/4″ nails for nailer
wood filler
caulk gun and white paintable trim caulk (if you are painting)
sandpaper (220 to 400 grit)
paint and/or stain for finishing
Prep Work
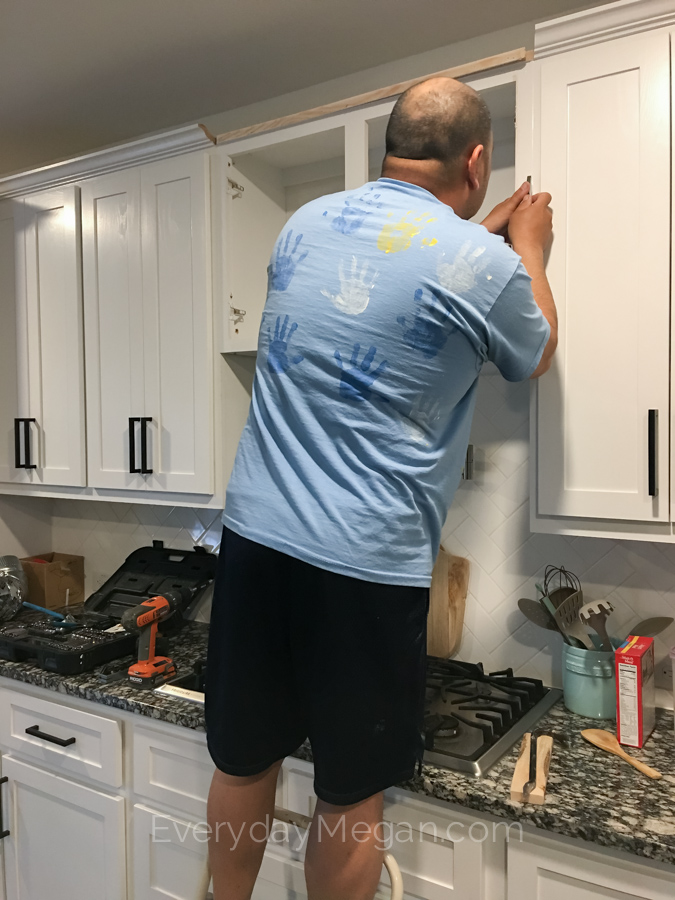
First we had to remove the old cabinet and vent hood. If your cabinets are painted like mine are, there is always an exorbitant amount of caulk everywhere.
It’s best to use a razor blade and cut the caulk along the seams to make it easier and neater to remove the cabinet. Then it’s a matter of locating the screws and removing them all to take the old range hood and cabinet down.
Convert the new exhaust fan from hard wire to plug in
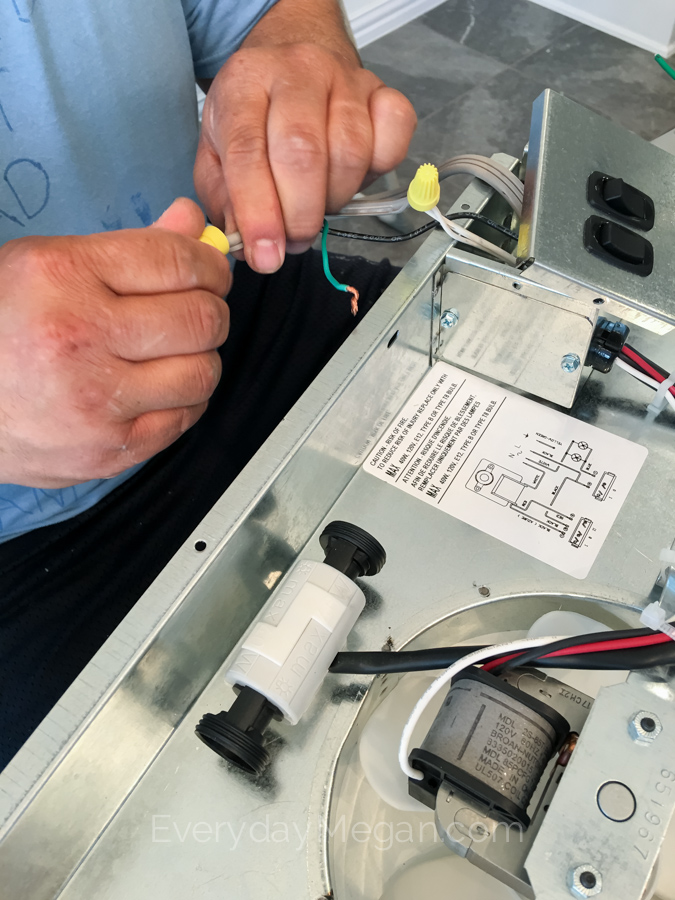
Once you have the old range hood off, this is where it gets a little tricky and requires a little bit of knowledge with electrical.
If you have a basic vent hood like we did, it was designed to plug into an outlet.
But the exhaust fan insert we bought is designed to be hard-wired.
My husband had to cut the plug off of the old fan and wire it into the new fan so the new fan could be plugged into the wall.
If you aren’t knowledgeable or comfortable doing this, then I suggest you find somebody who can help you out because I’m not an advocate for messing with electrical without the know how. 🙂
Building the box
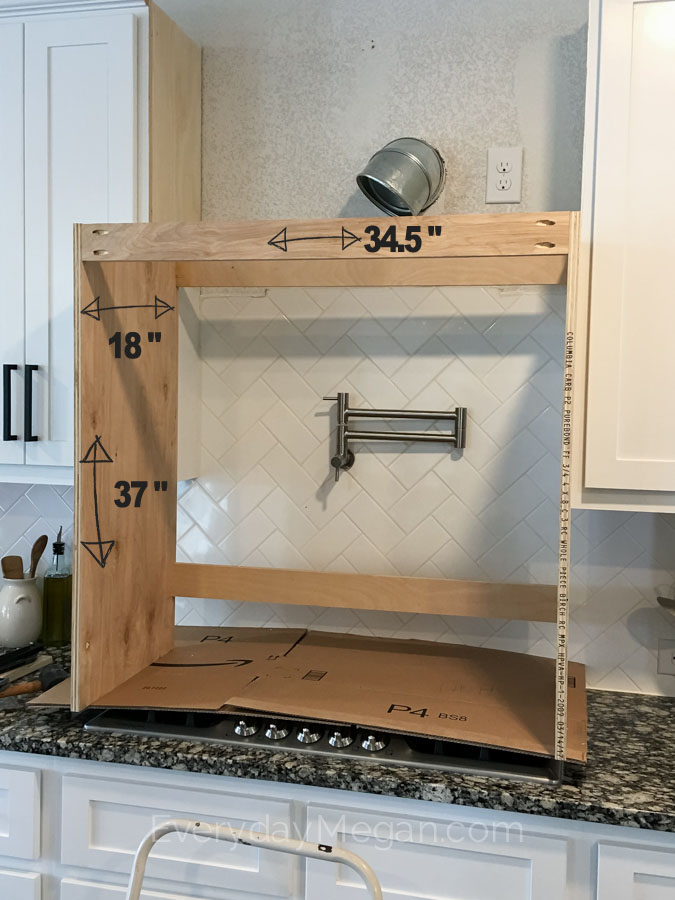
First Measure – our cook top measures 36″ so the space where the cabinet above was 36″ too.
The liner measured 36″ wide by 18″ deep and that is what we based the measurement of the 2 sheets of plywood for the sides.
There are several tutorials out there showing how to build a hood without using the liner, they use wood instead (the liner is only necessary if the hood is going to be less than 30 inches from cooktop) Ours was 32″ but I preferred the look of the metal liner inside the box
To build the box, we measured the inside between the cabinets (36″ subtracting 1.5″ to account for the plywood) to determine the size the supports needed to be between the sheets of plywood. The photo below shows measurements that we used.
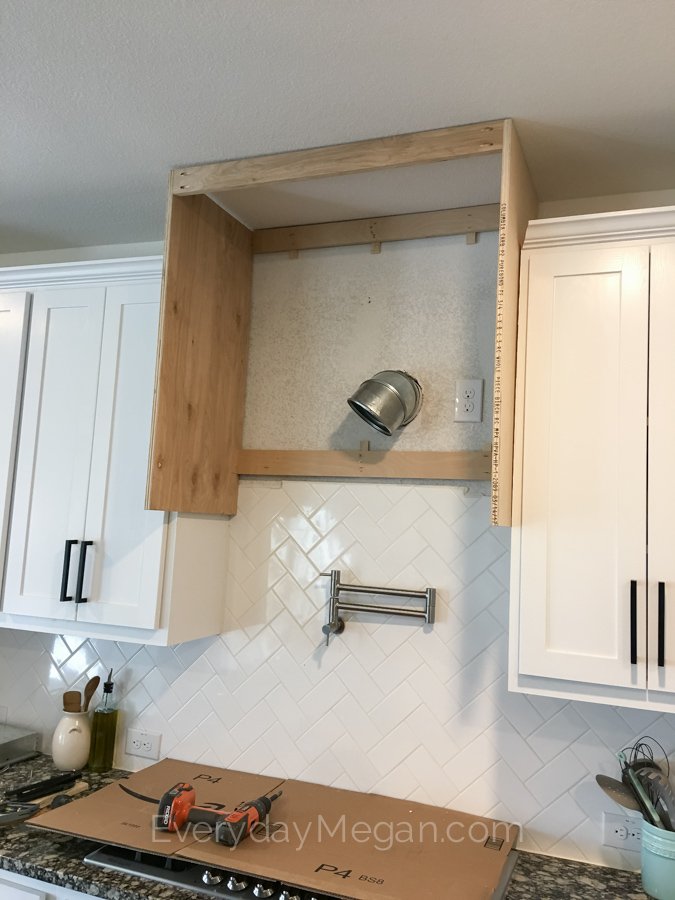
Then we located the studs and mounted the box to the studs using 3″ screws through the supports. We used some scrap pieces of wood for spacers to offset the difference of the back splash tile because the bottom of the box overlapped with the tile. It was the difference of about 1/2 inch.
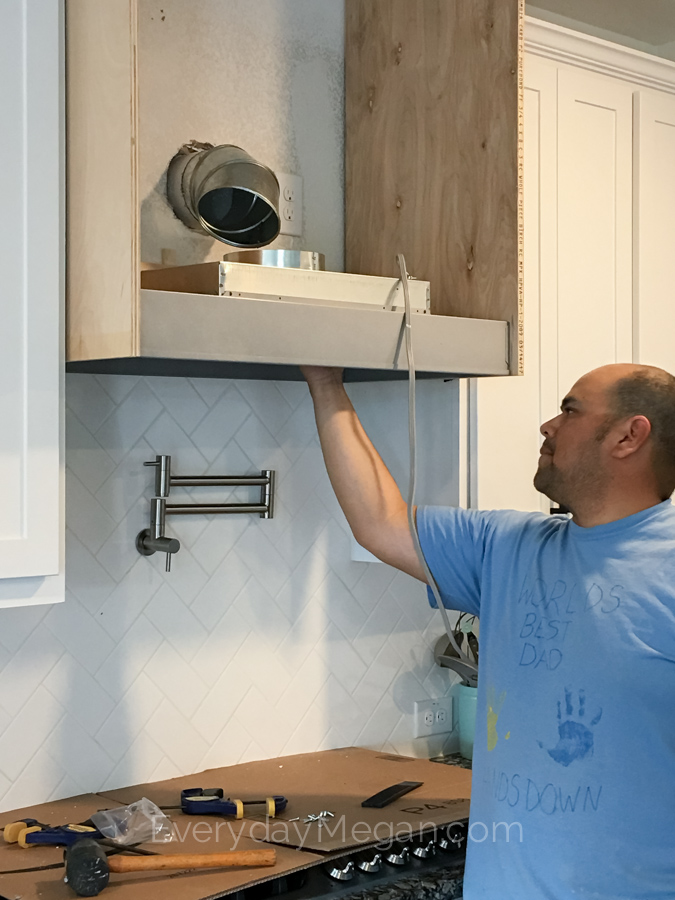
Attaching the liner to the box
Attaching the liner was pretty simple.
It’s a 2 person job, I held it in place while he put the screws in.
In the packaging, the liner came with screws to attach to the plywood box on the sides and then the exhaust fan insert came with screws to attach to the liner.
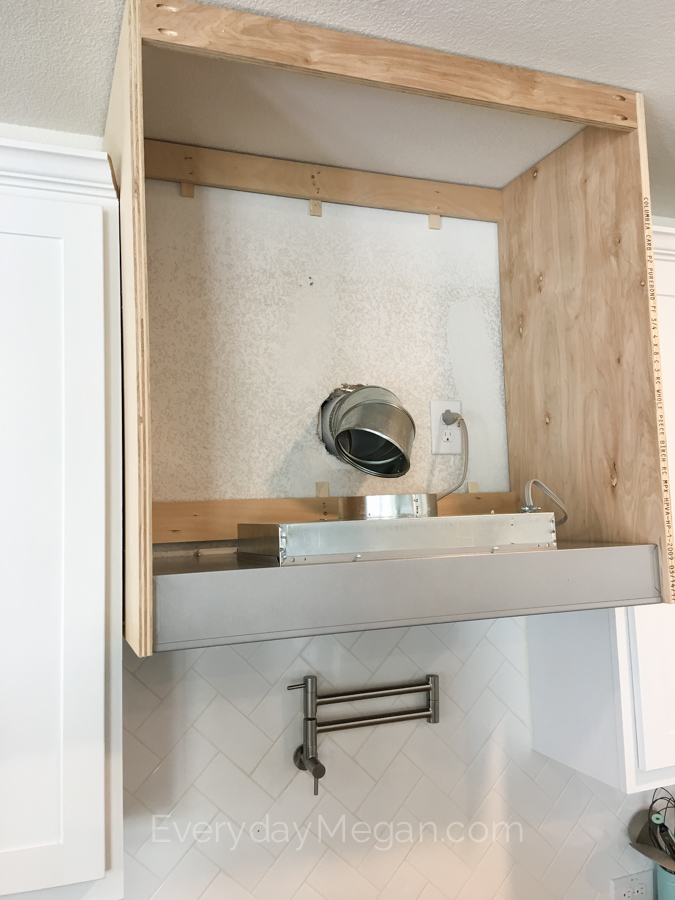
We mounted it flush to the bottom of the plywood and then trimmed it out with 1×2 pine to make it look seamless. (pictures below)
Here is what it looked like before we added the front. There was a small gap between the liner and the front of the box but the trim covers it in the end.
Then we had to pause to go get the ducting.
We held off until this point because we didn’t know exactly how much was needed.
And then my dear sweet husband finished it out before I could get a picture!
But basically, he fit the ducting and then taped it with HVAC foil tape to seal it up.
Trimming it out
So then it was a matter measuring and cutting a square piece of wood for the front. We attached it with nails and then added the crown molding on top.
This is how my kitchen looked for a couple of days as we decided how we wanted to finish it out.
The design was on the fly from here. I had a general idea of what I wanted to do but not a firm plan.
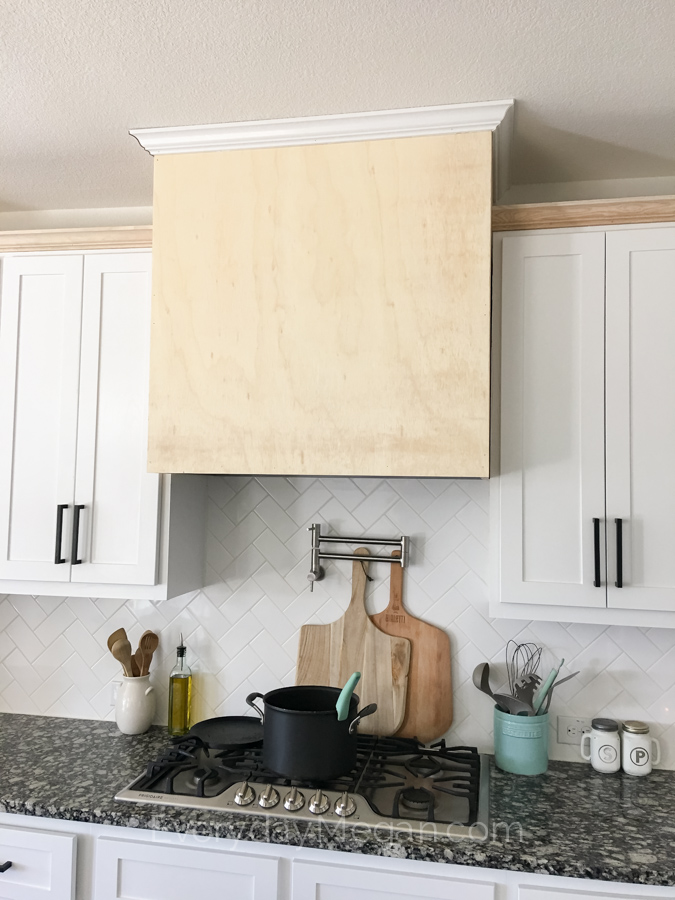
To keep the design cohesive, we finished it out to match the cabinets. We went to the hardware store and bought 1/4 inch Poplar trim and attached it with finishing nails.
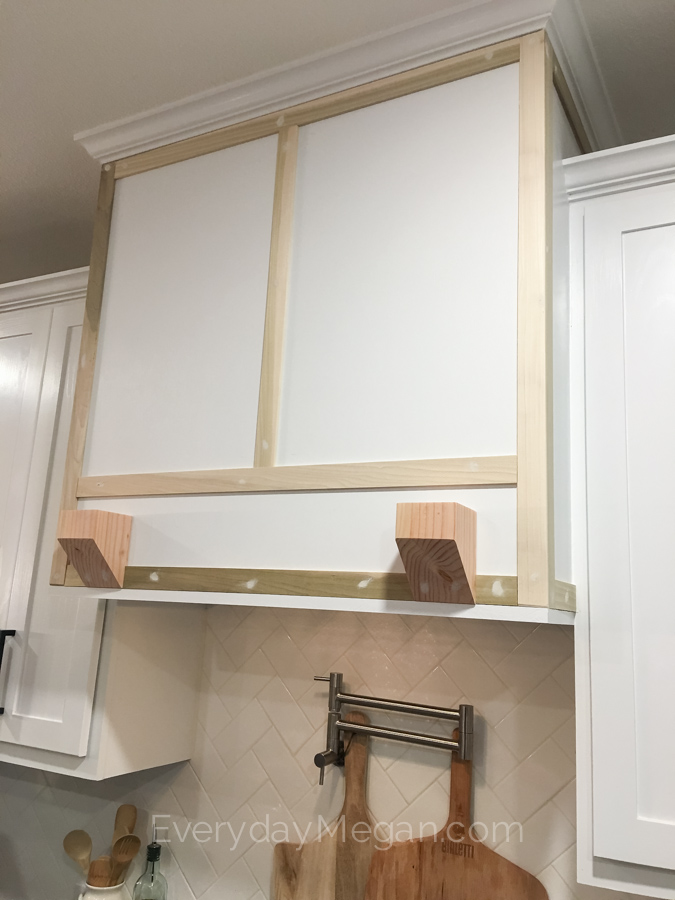
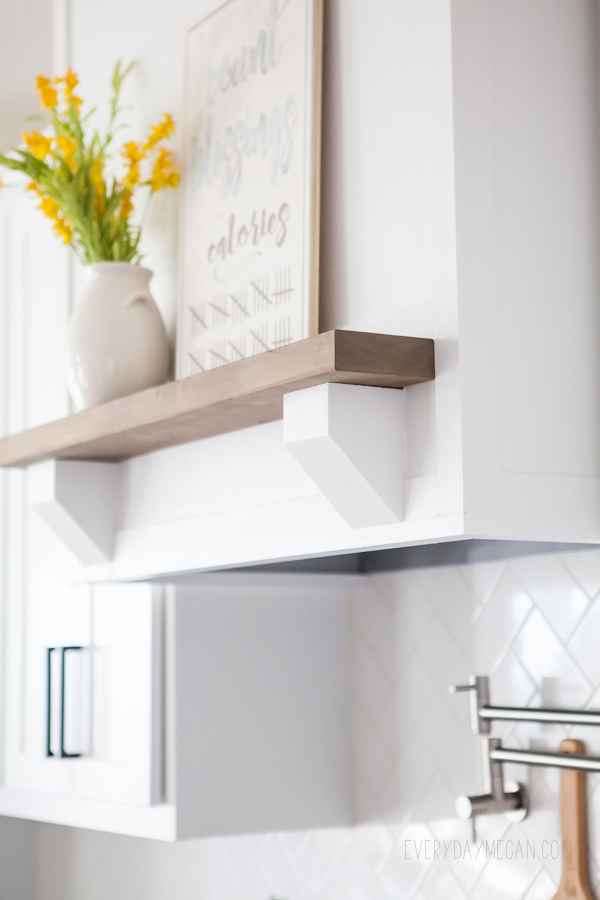
I messed around with a few different designs for corbels but ended up going with a chunky look using a 4×4 post with the corner cut at a 45.
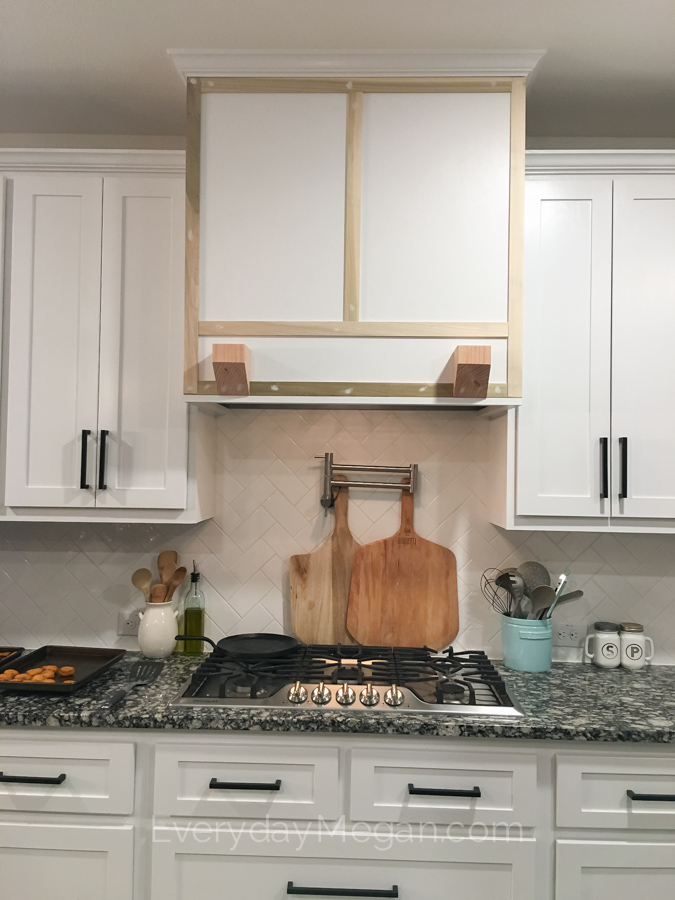
Then we filled the nail holes with wood filler.
Once the wood filler was dry, I sanded it with a fine grit (400 is best) and it was ready for paint!
At the bottom, you can kind of see the 1×2 trim that was added (it’s painted white though) to finish out the bottom.
{There are pictures further down in the post of the underside that you can get a better look of the underside.}
For the shelf I knew I wanted to bring some wood tones into the space to tie in with my island pendant lights.
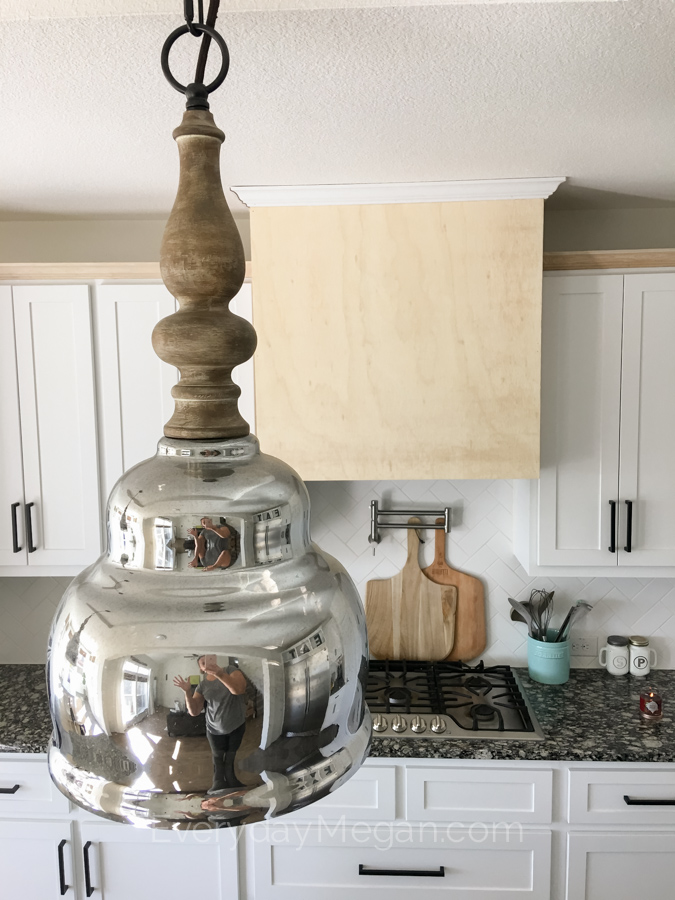
So this is where I landed. The shelf is a 2×6 that we ripped about an inch off. I then color washed it (faux stained) with a deep brown paint.
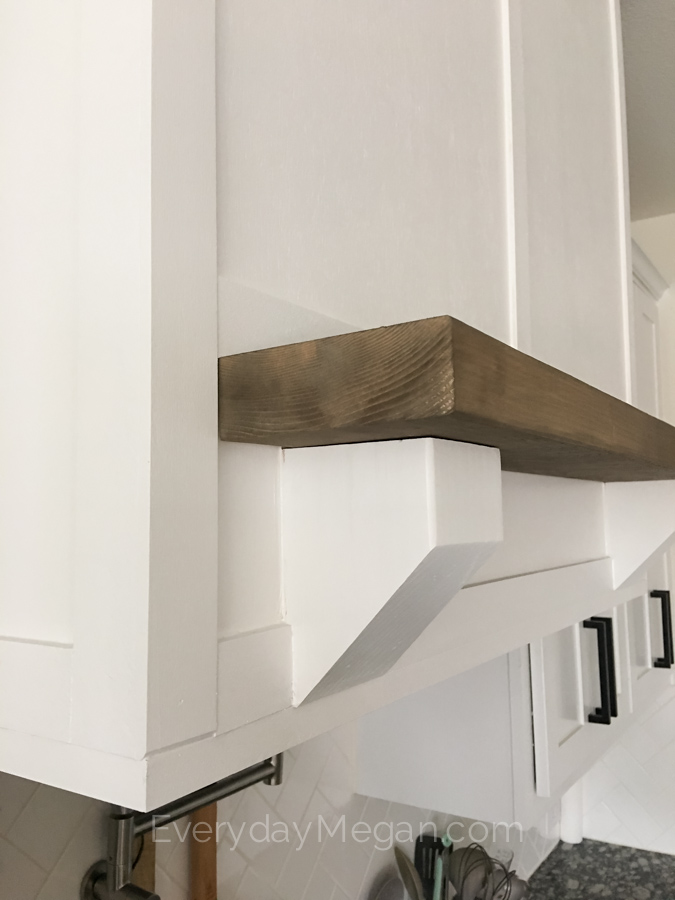
And then we added wood to the tray
I wanted to bring in some more wood tones to the kitchen and so we added in the faux beams to the ceiling.
So this was really simple and again I have limited pictures.
When I went to select the wood, I looked for the roughest cuts I could find and didn’t sand any of it down.
I color washed these with a deep brown paint. If you don’t know what color washing is, it is basically really watered down paint applied very similar to how a stain would be. There are a few reasons why I did it this way.
1) I was impatient and this dries way faster than stain and it isn’t stinky.
2) I don’t need protective wear to apply it.
3) It gives a great dried out looking finish which is how I wanted my beams to look. Old, beat up and dried out!
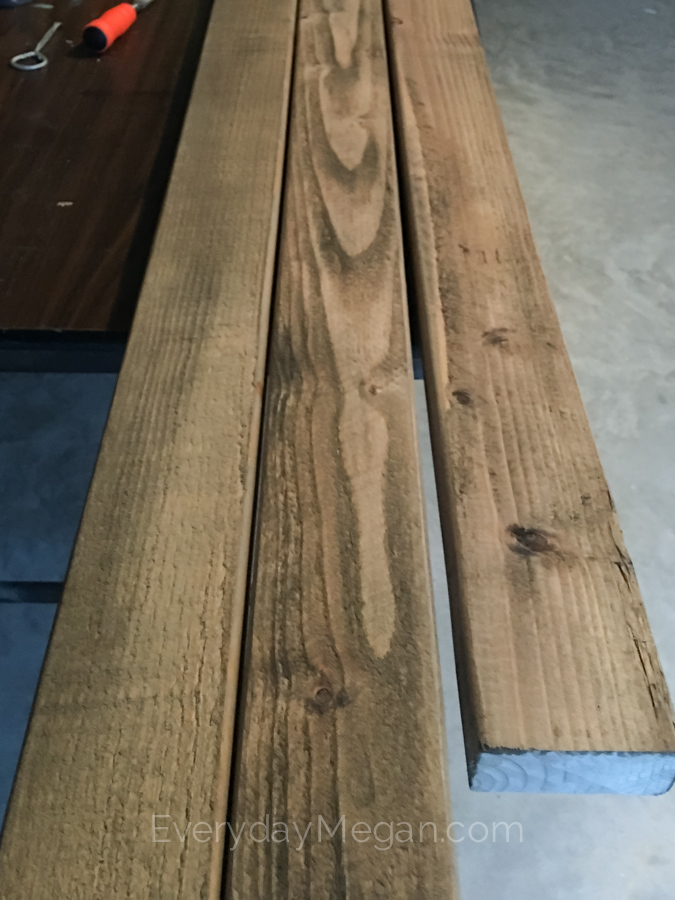
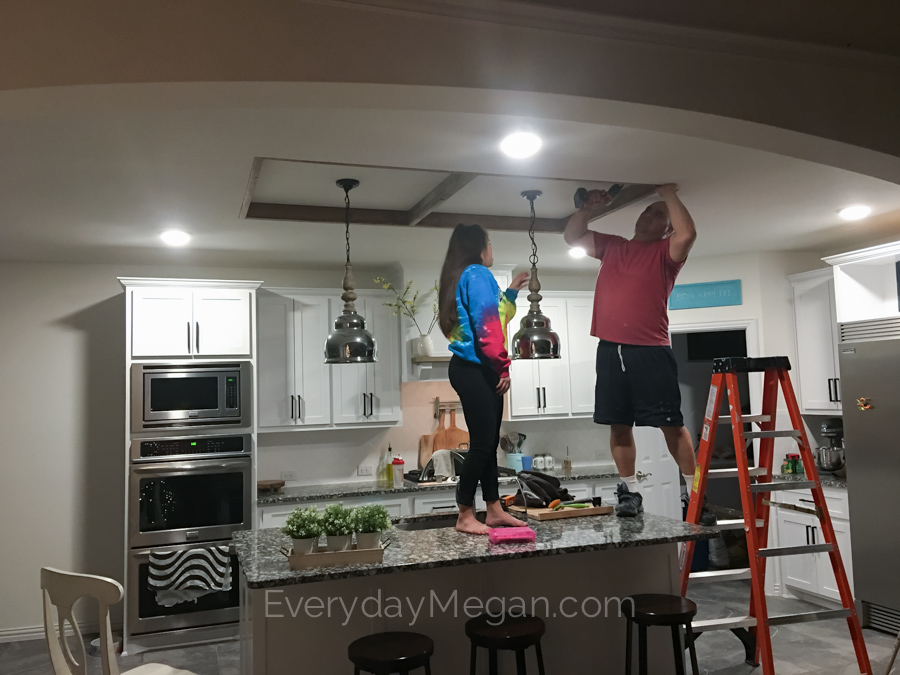
It’s amazing what adding in the wood does for the space.

We have a few more projects on the list for the kitchen. Customizing the island and pantry and switching out the countertop.

I would say that this is an intermediate project only because you do need a little bit of knowledge in using power tools and building. But on a scale of 1-10 in level of difficulty, it was an easy 4. The only difficult part was switching out the electrical.
So tell me, what do you think? Would you be more attracted to a kitchen with an upgraded vent hood and cabinetry?
Love this project? PIN IT so you don’t forget it!



Quick question about the liner. If the space between the plywood is 34.5, how does the 36 inch liner fit?
Thanks!
The dimensions of the insert is 17.25 x 34.44 inches, designed to insert in a 36″ wood hood.